
NexoPOS on Plesk
Plesk is one of the popular hosting management applications available. One of the benefits of using Plesk is that you have the support of composer and Github, helpful to clone and deploy a project.
In this guide, you'll learn how to install NexoPOS on Plesk.
Requirements
Before installing NexoPOS, let's talk about the requirements that need to be fulfilled :
- SSH Access: this is required to run composer commands
- 2 GB of Ram: while it's not an absolute requirement, NexoPOS works well there.
- supervisor: If you cannot install supervisor from the CLI, you might need to request the installation to your provider.
- PHP 8.3 : it's the minimum version required.
- Composer 2: The popular PHP package manager.
Getting Started
Let's now break down everything you need to do in order to install NexoPOS on Plesk.
Configuring The Domain
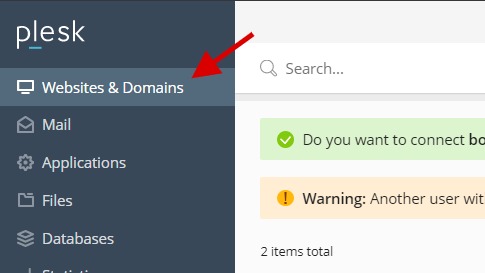
The first step is configuring the domain. Assuming you're installing NexoPOS on a subdomain, we'll head to the "Websites & Domains".
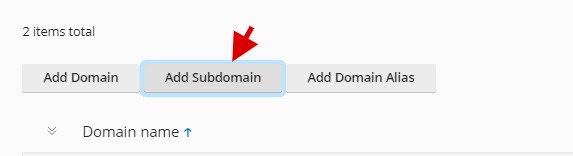
From there, you'll click on "Add Subdomain" (but it's also applicable to "Add Domain").
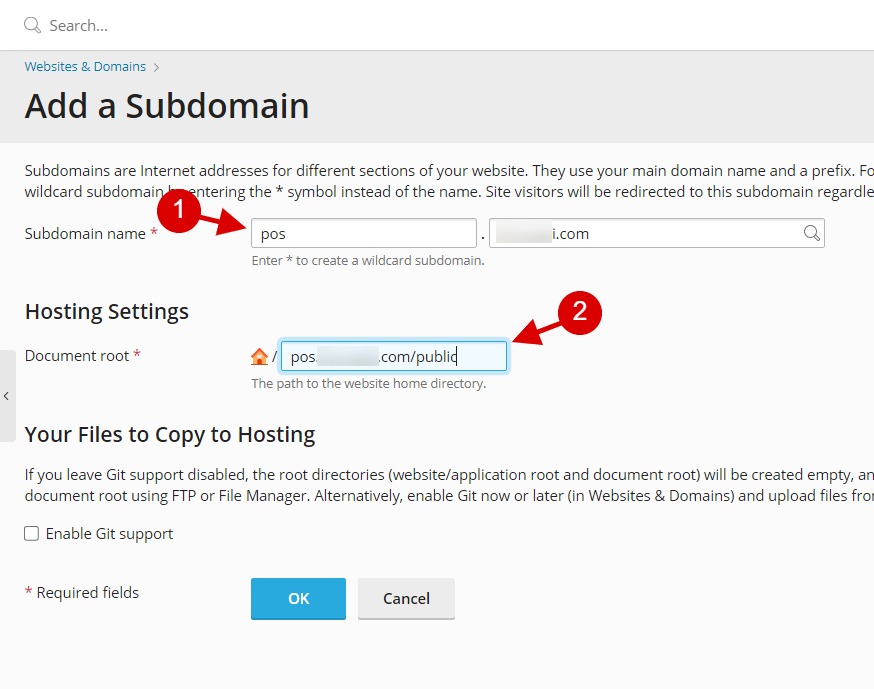
This will take you to a form where you'll have to fill in the details for your subdomain. So for the subdomain name, we'll choose "pos" but for the document directory, we need to add "/public" as the "index.php" is located there.
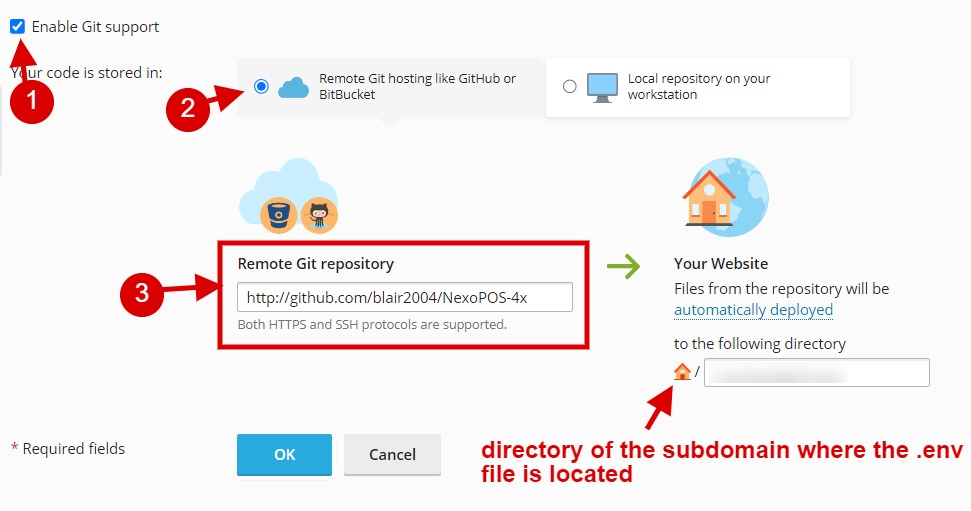
Now, we'll enable Git (but it's not mandatory if you know how to upload the files), so that we can quickly clone the project.
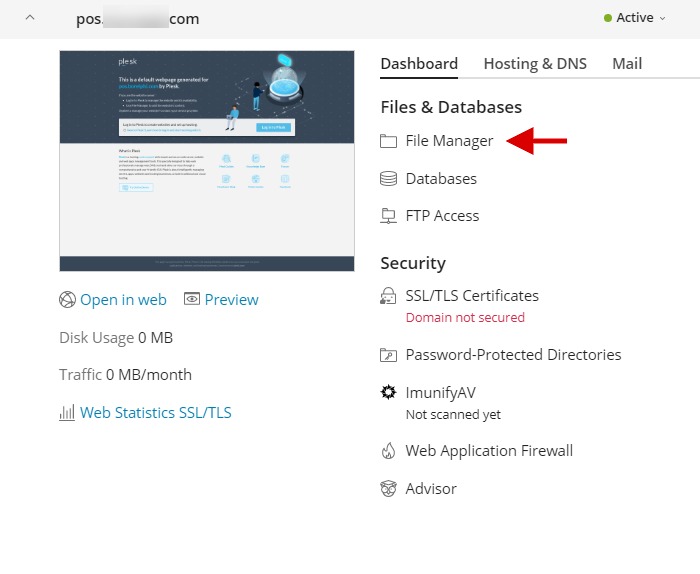
Now the domain will be created, and we'll be able to access it. Now, we need to disable the default Plesk page. For that, we'll access the page manager.
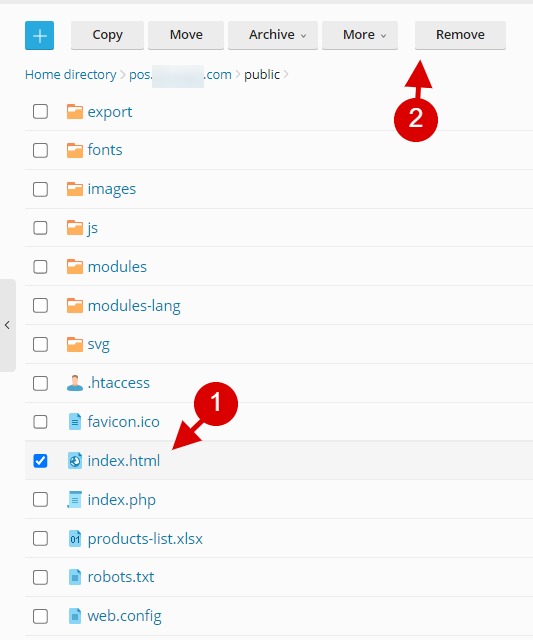
From there, we'll make sure to open the folder "public" of the project and search the file "index.html", and delete it.
Now, if you access the website, you should see an error like this.
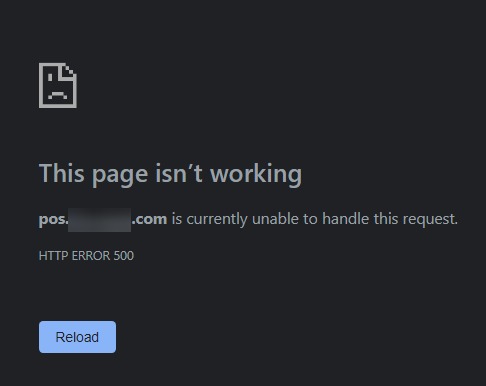
This error is caused by the composer, whose dependencies are not installed. So we'll proceed to the installation.
Installing Dependencies
Now that the project is copied, we need to download and install composer packages. From the website and domains, we'll click on "PHP Composer".
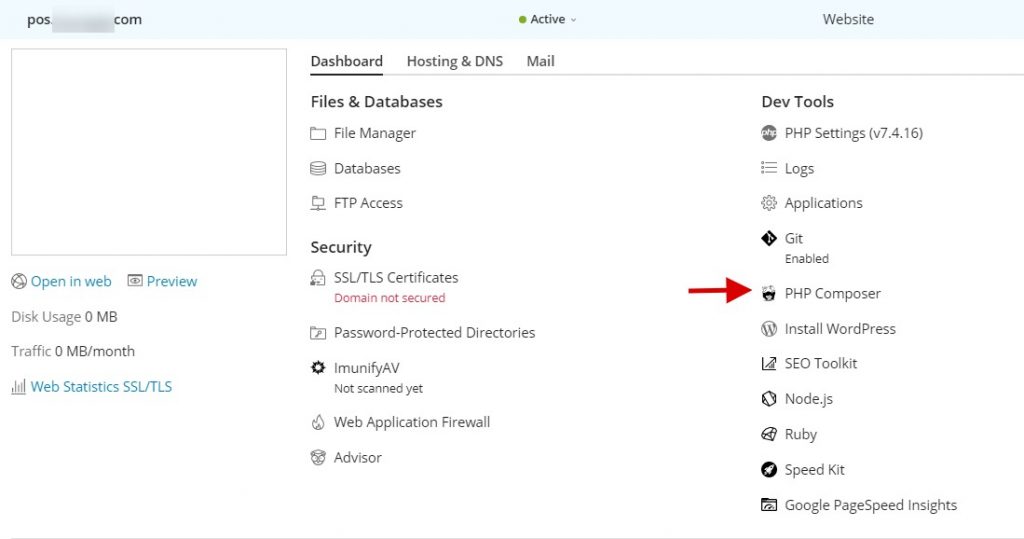
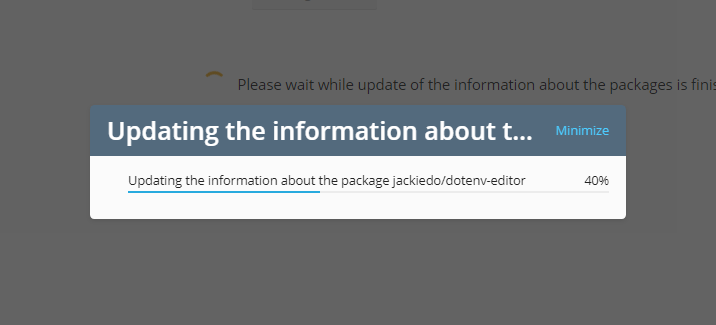
Then, from the next page, you should click on "Scan". If the folder is valid, you should have the package being installed.
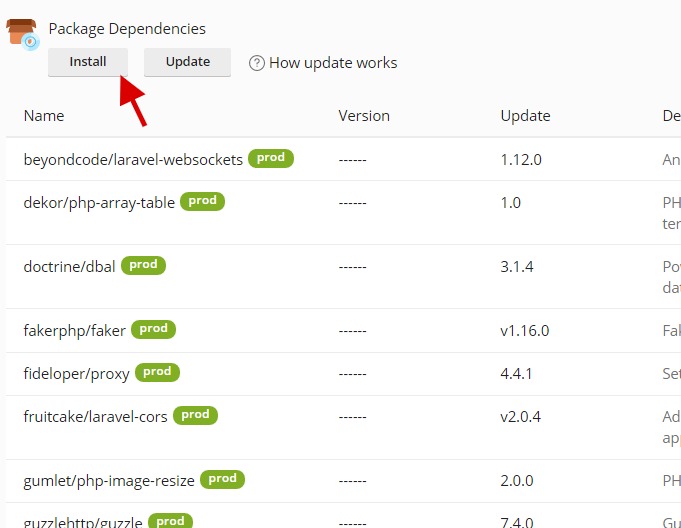
When the scan is complete, you should have the following page displayed. You just have now to click on "install" to proceed.
Creating An Environment File
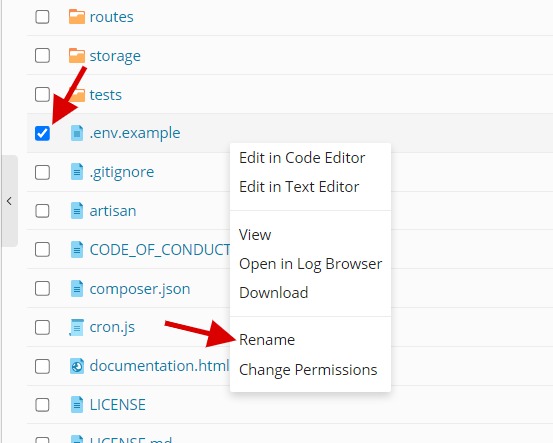
The environment file is used to save the database credentials and make other useful configurations. Now we need to create a .env file using the existing .env.example (we'll just rename it). Let's then go to the file manager and locate the file .env.example.
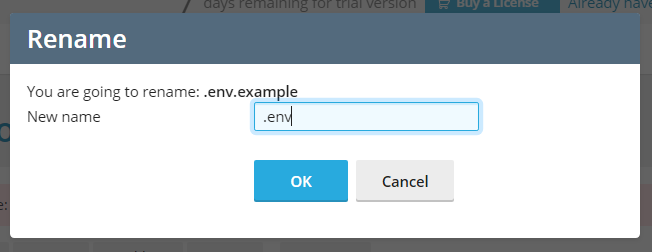
We should now make sure to rename the file ".env" only.
Now, let's edit the .env file and make sure to change the value of "APP_KEY" to a random long value. Your value shouldn't be exactly as it is here.
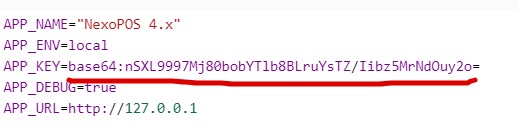
Additionally, you might need to connect to the CLI to run the command on the directory where NexoPOS is installed :
php artisan storage:linkFrom now on, if you access the project on the browser, you should see the welcome page.
Troubleshooting
While installing, you might face some issues, and we'll try to help you resolve them.
Wrong Default PHP Version
While you can assign a PHP version to a project, if you have PHP 8.3 selected as the default PHP version for the system, then from the CLI (in case you're using the CLI), the version assigned to the domain or subdomain is not the same. Alternatively, you can use one of the binaries available on Plesk :
/opt/plesk/php/8.0/bin/phpManually Installed Composer 2
In case you install Composer 2 manually from the CLI, you'll probably need to have the full path to it using the command :
which composerYou'll probably have the following output.
Typically, you might find yourself using Composer like this on the CLI :
/opt/plesk/php/8.3/bin/php /usr/local/bin/composer installWrong File Permission
While login into the system, you might see a permission issue error.
You can resolve it by deleting the file mentioned in the error.
Generating The APP_KEY from the CLI
If you can't type a random string of letters and numbers, you can use the CLI to generate it for you.
php artisan key:generateSummarizing
So you're at the end of this guide. If you still can't install NexoPOS, let us know at [email protected].