
Setup Wizard
When you access your installation for the first time, you should land on a welcome page that include few links to important resources. As we have not yet installed NexoPOS, clicking on any link should take you to the setup wizard.
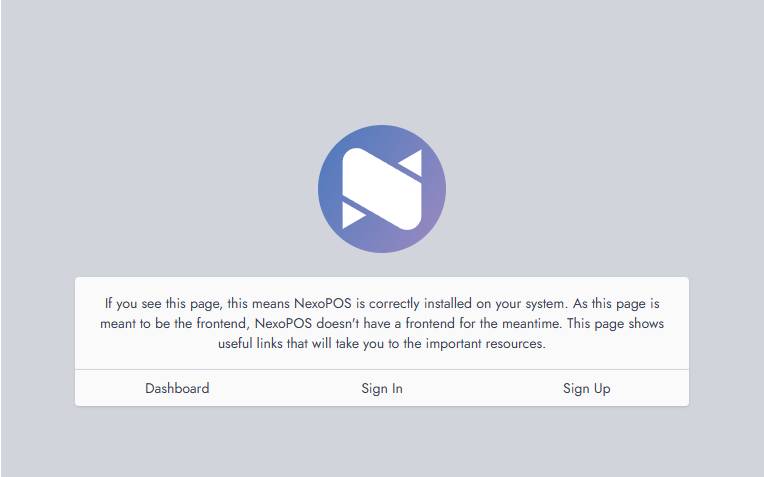
welcome page nexopos
By clicking on any of the following links, you'll be redirected to the setup wizard that we'll cover on this guide.
Language Selection
The first page of the setup wizard is the "Language Selection". From there, you can select the language in which you want to install NexoPOS. You can choose between 12 supported languages.
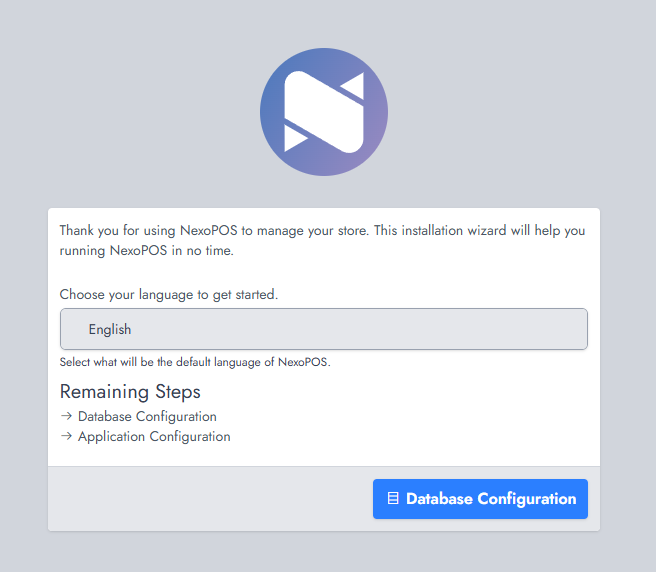
After your language selection made, click on "Database Configuration".
Database Configuration
At this stage, you need to tell NexoPOS how it should connect to your database. The system supports MySQL, MariaDB, and SQLite, so your choice depends on how you plan to use the application.
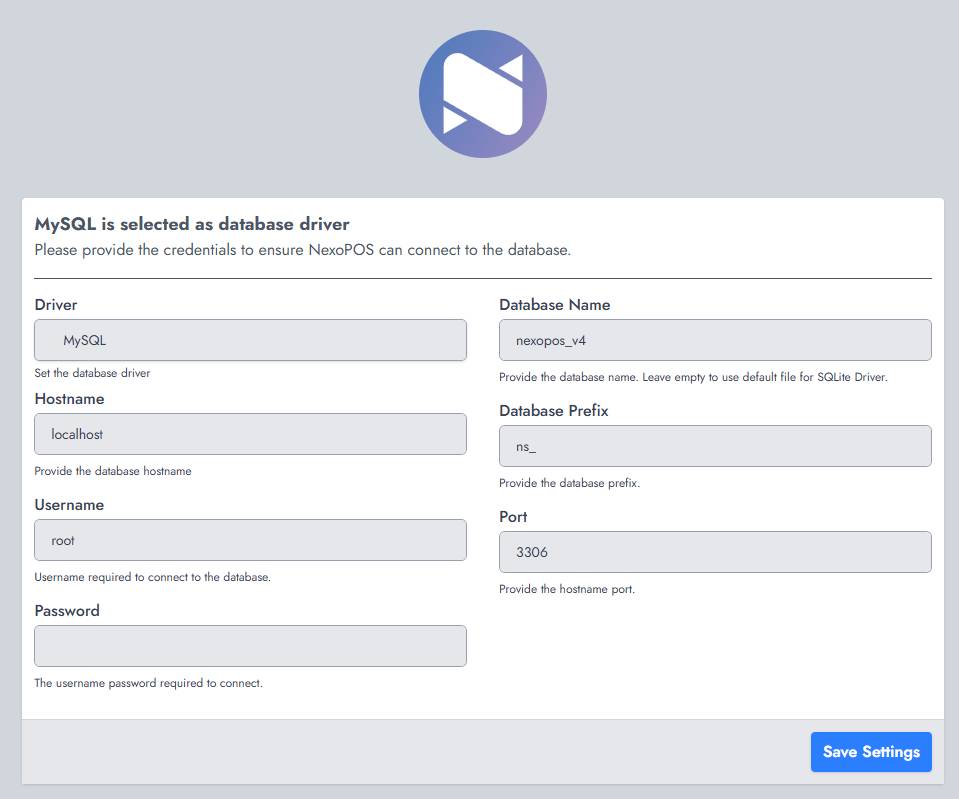
Here, you define how NexoPOS connects to your database. You can choose between MySQL, MariaDB, or SQLite.
For most installations, select MySQL or MariaDB, then provide your database name, username, and password. The hostname is usually localhost, and the default port 3306 can be kept as is. The prefix (ns_) can remain unchanged unless needed.
If you choose SQLite, you can leave the fields empty—NexoPOS will handle the database automatically.
Click “Save Settings” to continue.
Admin & Store Settings
At this step, you’ll finalize the installation by creating the administrator account and naming your application.
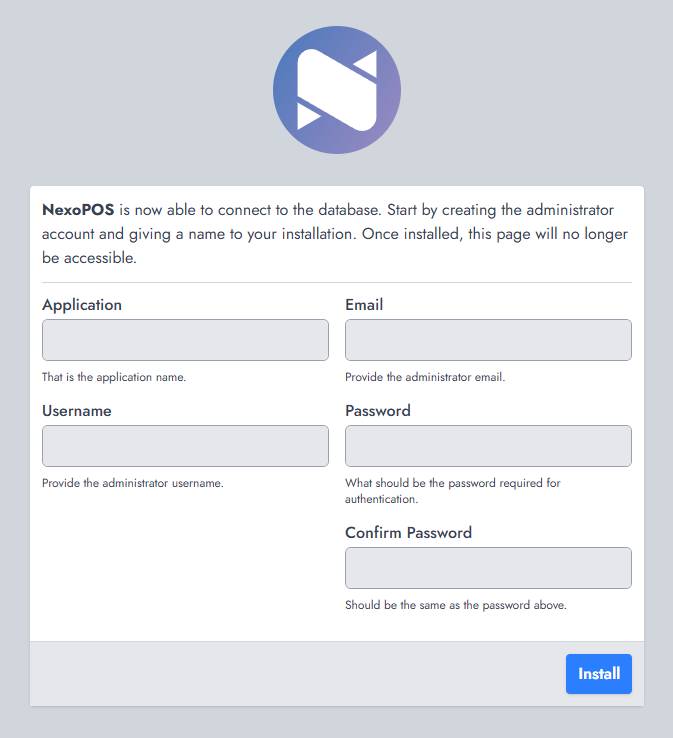
Enter a name for your installation (this will represent your store or business), then provide the administrator email, username, and password. Make sure the password is confirmed correctly, as these credentials will be used to access the dashboard.
Once everything is filled in, click “Install” to complete the setup. After this step, the installation page will no longer be accessible.
Sign-in Page
Your installation is now complete. You can access NexoPOS by logging in with the administrator credentials you just created.
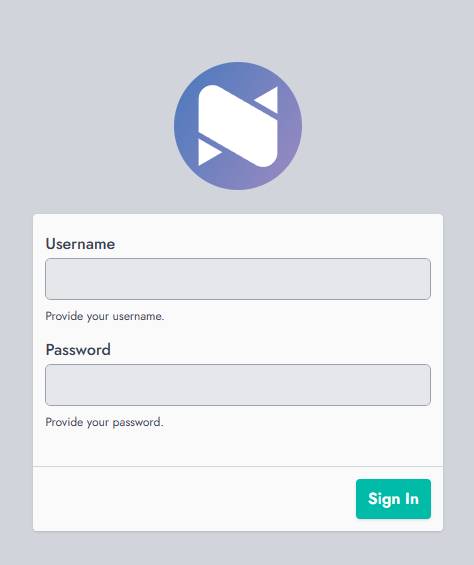
Enter your username and password, then click “Sign In” to access the dashboard and start using the application.