
Creating Permissions
Permission gives a special capability to the role to which it's attached. Permission might then be attached to many roles at the same time. Concretely, Permission should be used to allow or deny access to a feature. It can be used to restrict users from deleting an order or accessing sensitive information. Unlike Roles, Permissions aren't created from the NexoPOS dashboard, but instead programmatically.
<?php
use App\Models\Permission;

$permission               = new Permission;
$permission->name         = __( 'Walk on Walls' );
$permission->namespace    = 'walks-on-walls';
$permission->description  = __( 'Allow a user to walk on walls.' );
$permission->save();
As with any Laravel Model, it can be deleted using the "delete" method (once retrieved).
Give/Remove Permission To A Role
A role without permission cannot do anything. We, therefore, need to give permission to a role so that I can perform the specific action we've explicitly granted. It's also possible to permit a role from the NexoPOS dashboard.
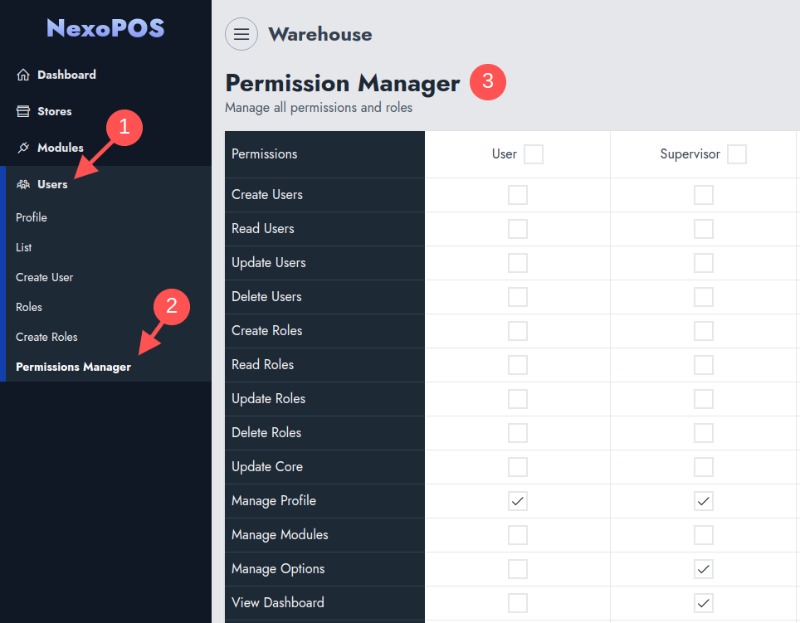
Programmatically, you'll proceed like so :
<?php
use App\Models\Permission;
use App\Models\Role;

$role         = Role::namespace( 'super-agent' );
$permission   = Permission::namespace( 'walk-on-walls' );

$role->addPermissions( $permission );
The "addPermissions" method accepts a String (permission namespace), an Array, and a Collection of "Permission" instances. For removing permission, you'll use the "removePermissions" method that accepts the same parameters.
<?php
use App\Models\Permission;
use App\Models\Role;

$role         = Role::namespace( 'super-agent' );
$permission   = Permission::namespace( 'walk-on-walls' );

$role->removePermissions( $permission );

 // or
Role::namespace( 'super-agent' )
   ->removePermissions( 'walk-on-walls' );