
Custom Printing Handler
A printing handler is a service or a script used to manage printing. By default, NexoPOS comes with a default print handler which is the browser printing. However sometime, you might want to print differently an order. That technique was used by Nexo Print Adapter which inject on NexoPOS a new custom print handler.
This guide will share how to create your own print handler.
Requirements
Before creating a print handler, you need to be familiar with creating modules on NexoPOS. We really do not recommend you touch the source code. You should also know how to inject views into the footer.
Add A New Option As A Printing Gateway
The first step is to register our customer print gateway. This will be made by adding the following snippet to your ServiceProvider.php.
<?php
namespace Modules\YourModule\Providers;

use App\Classes\Hook;
use Illuminate\Support\ServiceProvider as RootServiceProvider

class ServiceProvider extends RootServiceProvider
{
    public function register()
    {
        Hook::addFilter( 'ns-printing-settings-fields', function( $fields ) {
            $fields =   collect( $fields )->map( function( $field ) {
                if ( $field[ 'name' ] === 'ns_pos_printing_gateway' ) {
                    $field[ 'options' ][]   = [
                        'label' =>  __( 'My Custom Print Handler' ),
                        'value' =>  'custom_print_handler'
                    ];
                }

                return $field;
            })->toArray();

            return $fields;
        }, 30 );
    }
}
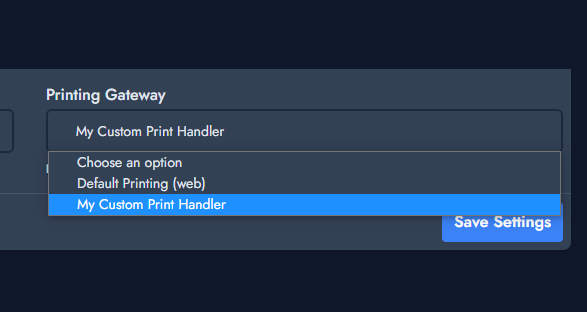
This will inject the new option into the Printing settings.
Catching Print On The POS Screen
Now that we've created a new handler, we need to catch every print request submitted from the POS screen. We then need to inject a view on the footer of the POS. This can be made using the hook "ns-dashboard-pos-footer" and then by loading a view within the module Resources/Views directory.
<?php
namespace Modules\YourModule\Providers;

use App\Classes\Hook;
use App\Classes\Output;
use Illuminate\Support\ServiceProvider as RootServiceProvider

class ServiceProvider extends RootServiceProvider
{
    public function register()
    {
        // previously defined filter. Skipped so you can focus on what is below.

        Hook::addAction( 'ns-dashboard-pos-footer', function( Output $output ) {
            $output->addView( 'DemoModule::custom-footer' ); // <= loading a file named custom-footer.blade.php on the module Resources/Views directory
        });
    }
}
Now, we'll edit that file to catch custom print requests. This will be made using the JavaScript filter "ns-order-custom-print".
<script>
    document.addEventListener( 'DOMContentLoaded', () => {
        nsHooks.addFilter( 'ns-order-custom-print', 'my-filter', ({ printed, order_id, gateway }) => {
            // we need to identify if our custom handler was selected
            if ( gateway === 'custom_print_handler' ) { // this "custom_print_handler" is used on our ServiceProvider.php
                // the printing logic goes here. You might need to use await/async to
                // stop the process while printing.
                // for now we'll just log
                console.log( `Print for order with id ${order_id}` );
                return true;
            }
        });
    });
</script>
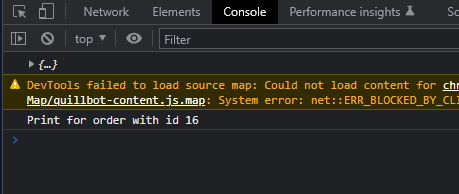
Now, every time we're printing with that custom print gateway selected, that log should appear on the console.
Next Step: Custom Implementation
The reason for providing a custom print handler is to be able to print as you desire. As you can see, you get the order ID that you can use to perform an async request to retrieve either the default printing template:
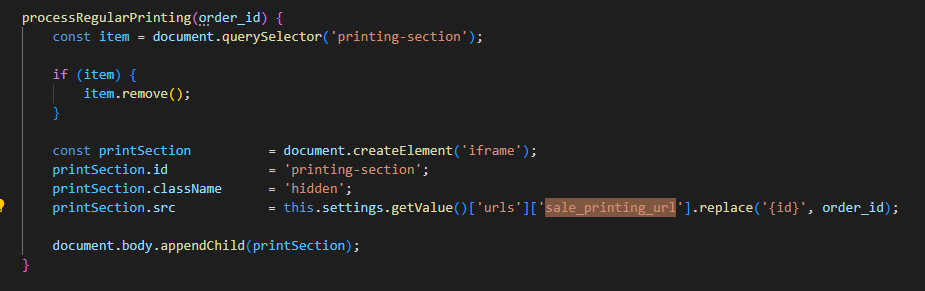
How NexoPOS retrieves the default template
But you can also make custom calls to your module's API to retrieve the order details. Remember, when loading users, you can pull data such as customers, products, refunds, payments, etc., like this.
<?php
namespace Modules\DemoModules\Http\Controllers;

use App\Http\Controllers\DashboardController;

ModuleController extends DashboardController
{
    public function loadOrder( Order $order )
    {
        $order->load([ 'customers', 'payments', 'products', 'refundedProducts', 'coupons', 'instalments', 'shipping_address', 'billing_address' ]);

        return $order;
    }
}
From there, you can basically do everything you want.