
Creating Module
Modules are the primary way to extend the functionality of NexoPOS. They allow developers to introduce new features, customize existing behaviors, or integrate external services without modifying the core application.
Each module operates as an independent unit with its own logic, resources, and configuration. This modular architecture ensures that custom developments remain isolated and compatible with future updates of NexoPOS.
By design, NexoPOS treats modules as first-class components of the system, enabling a flexible and scalable ecosystem.
Architecture
A module is structured as a self-contained component within the application. It typically includes:
- Controllers: Handle application logic and user interactions
- Views: Define the user interface rendered within the dashboard
- Routes: Register accessible endpoints and navigation paths
- Assets: Provide JavaScript, CSS, or other frontend resources
- Configuration: Store module-specific settings and metadata
All modules are stored within the modules directory and follow a standardized structure to ensure consistency across the system.
Module Generation
NexoPOS includes a built-in Artisan command that helps generate a new module with the expected structure. This is the recommended way to start a module, as it prepares the base files and directories required by the system.
To create a module, open a terminal from the root of your NexoPOS installation and run the following command:
php artisan make:moduleOnce the command is executed, NexoPOS will start an interactive process and request a series of details.
The first value to provide is the module namespace. This is the internal identifier of the module and is usually written in a compact format such as FooBar. This namespace is used to create the module directory and identify the module internally
.

After that, NexoPOS asks for the module name. Unlike the namespace, this is the human-readable name that can be displayed to users. For example, a namespace such as FooBar may use a name like The FooBar Module.
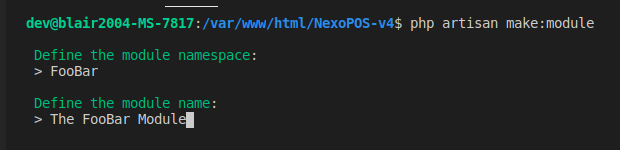
The next prompt requests the author's name. This is used to identify who created the module and is stored among the module metadata.
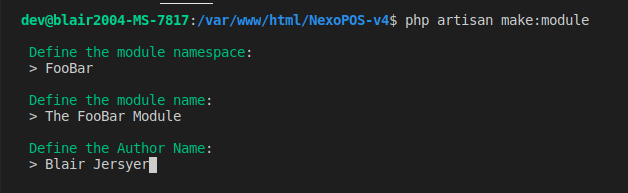
NexoPOS then asks for a short description. This description briefly explains the purpose of the module and helps identify its role.
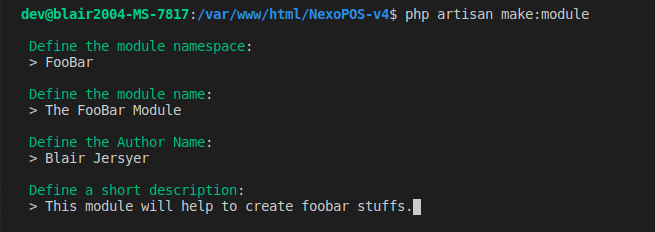
Before generating the files, the command displays a summary table containing the information that was provided, including the namespace, name, author, description, and version. At this stage, a confirmation is required. Confirming the information allows NexoPOS to proceed with the generation.

Once confirmed, the system creates a new folder inside the modules directory using the provided namespace. For example, if the namespace is FooBar, the generated module will be created under modules/FooBar.
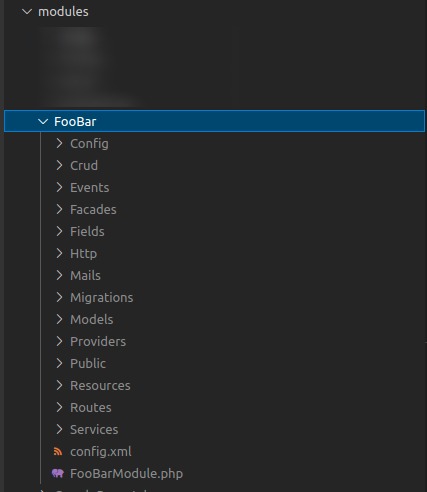
The generated structure includes several directories and files that prepare the module for further development. Among them are folders for configuration, CRUD logic, events, facades, fields, HTTP classes, mails, migrations, models, providers, public assets, resources, routes, and services. The module also includes core files such as config.xml and the main module class file.
This generated structure provides the foundation needed to start building features while keeping the module organized according to NexoPOS standards.
Recommendation
To ensure compatibility and maintainability, modules should always be created using the built-in generator provided by NexoPOS.
This guarantees alignment with system standards and reduces the risk of structural or integration issues.