
How To Refund An Order On NexoPOS
Refunds in NexoPOS are handled from the order details screen. This guide explains how to find an order, select the products to return, choose the refund method, and confirm the operation.
Before you start, make sure the order has already been paid and that your user role is allowed to manage order refunds.
Open The Orders List
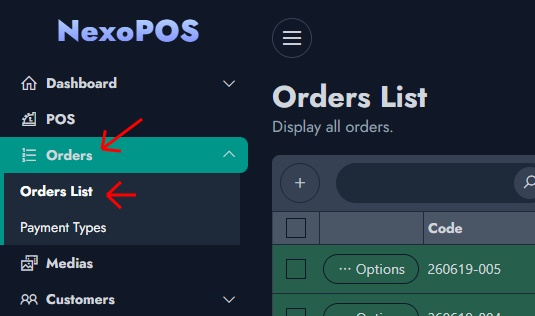
From the dashboard sidebar, open Orders and click Orders List. This page lists the orders that can be opened, reviewed, printed, or refunded.
Find The Order
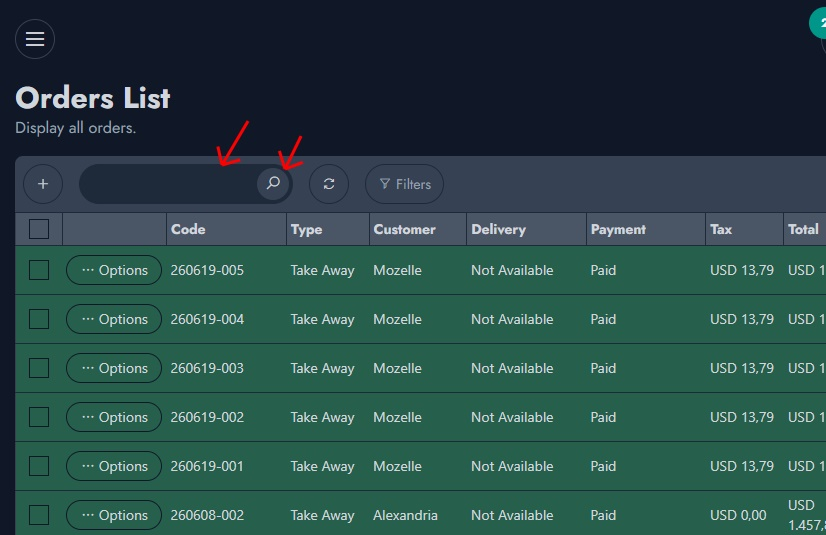
Use the search input at the top of the list to find the order by code, customer, or other visible order details. You can also browse the table and locate the order manually.
Open The Order Options
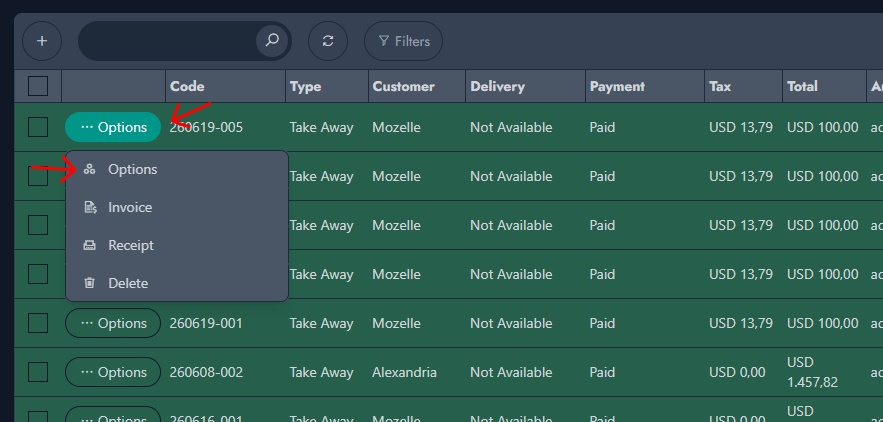
When the order is visible, click Options on the order row. NexoPOS opens the order actions menu.
Open Refund And Return
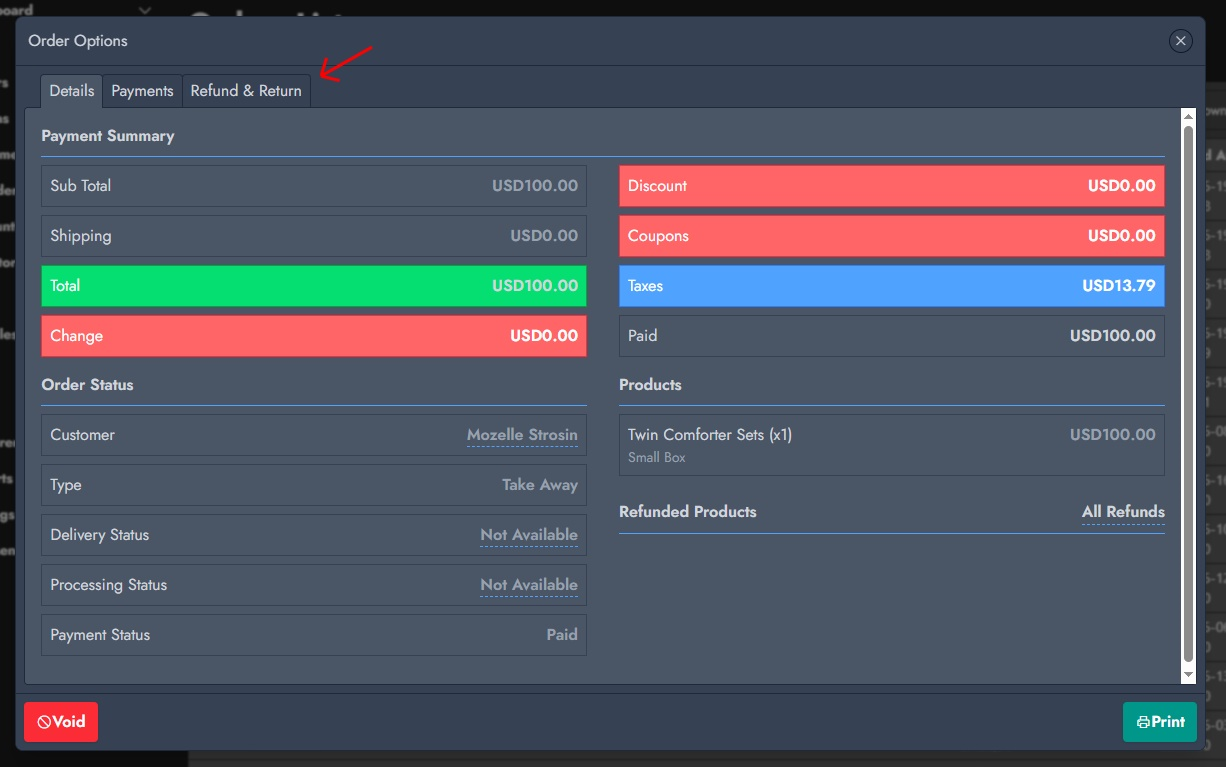
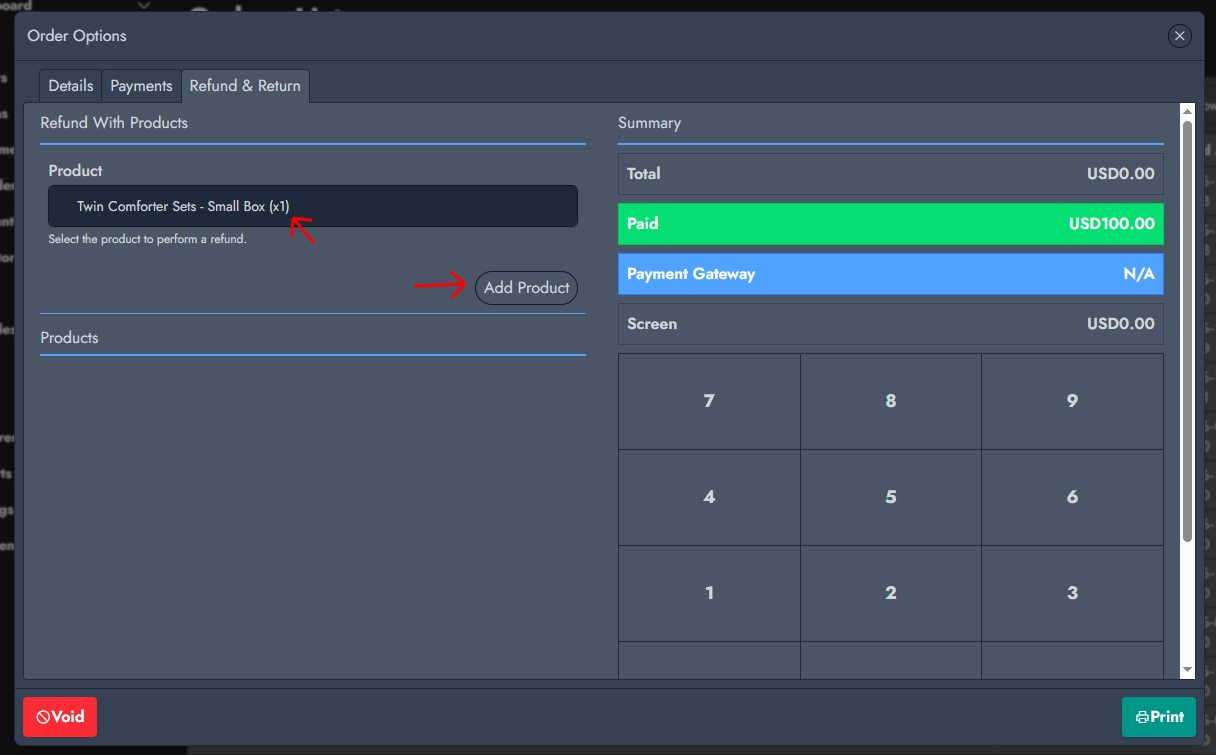
In the order popup, click the Refund & Return tab. This opens the refund screen for the selected order.
Choose The Product To Return
Under Refund With Products, select the product that the customer is returning. If the customer is returning only part of the order, add only the products that should be refunded.
Click Add Product to configure the return details.
Define The Return Details
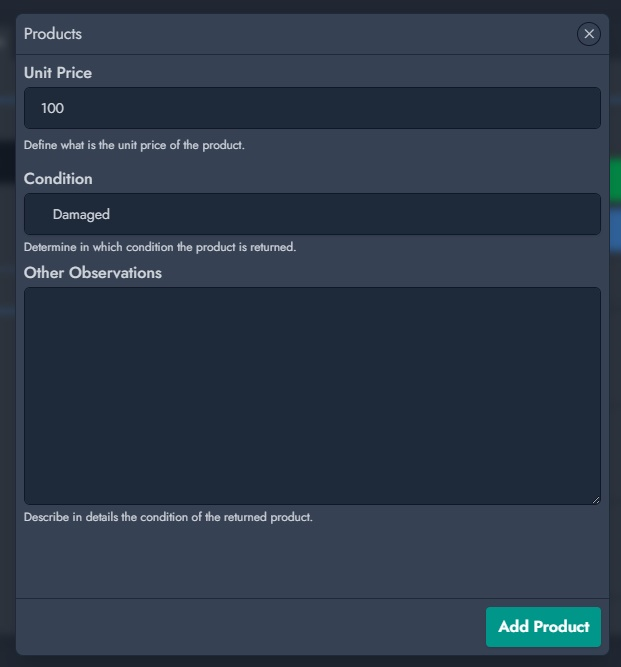
For each returned product, NexoPOS lets you define the unit price, product condition, and any other observations about the return.
- Unit Price: the amount to refund for one unit of the product.
- Condition: whether the product is returned as Damaged or Unspoiled.
- Other Observations: additional notes about the product condition or the reason for the return.
After setting those values, click Add Product.
Review The Returned Products
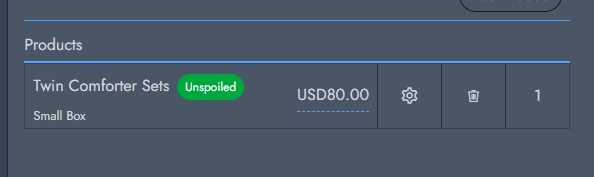
The product is added to the refund list. You can still adjust the refund before confirming it.
- Click the cog icon to edit the product return details.
- Change the quantity from the quantity field.
- Click the delete icon to remove the product from the refund.
Check The Refund Summary
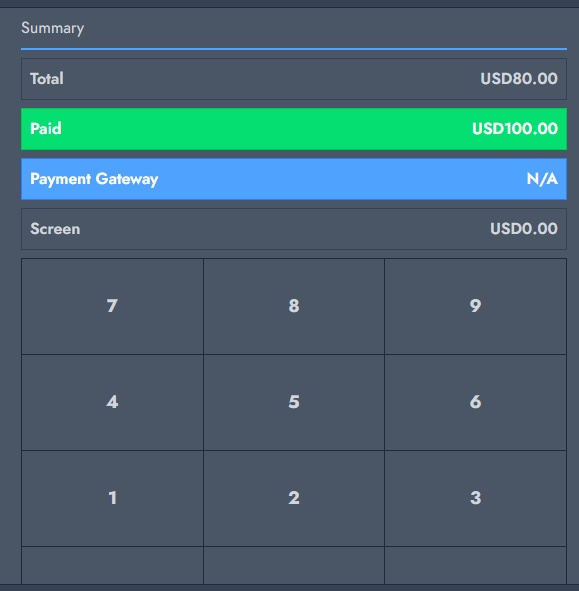
The summary on the right shows the amount that will be returned to the customer. Review the total before choosing the payment gateway and confirming the refund.
Choose The Refund Payment Method
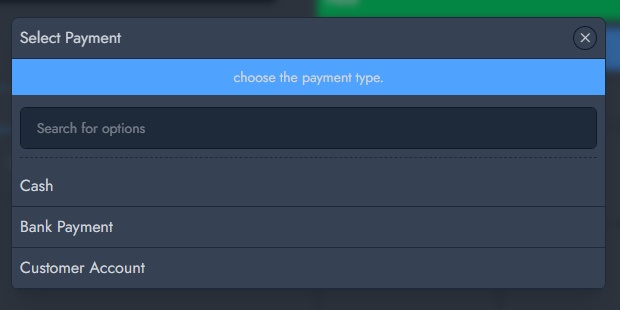
Click the Payment Gateway row to choose how the refund should be returned. Depending on your store configuration, the refund can be returned through options such as cash, bank payment, or the customer account.
- Cash
- Bank Payment
- Customer Account
Use Customer Account when you want the refund to be credited to the customer wallet or store account balance instead of being paid out immediately.
Confirm The Refund
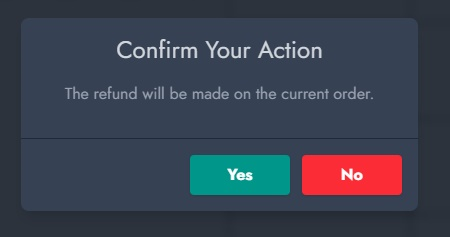
After selecting the payment method and reviewing the refund amount, confirm the action. NexoPOS asks for confirmation before applying the refund to the current order.
Verify The Refunded Order
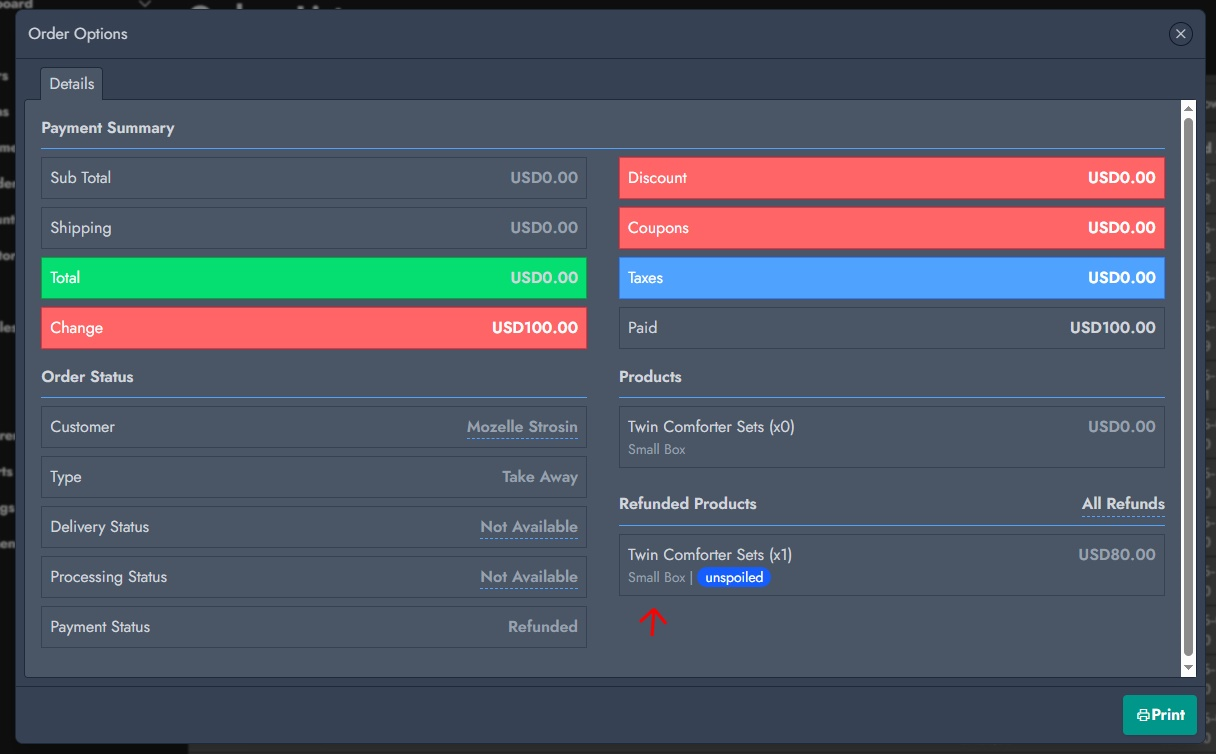
Once the refund is completed, the order details show the refunded products and the updated payment status. If the full order was refunded, the payment status is displayed as Refunded. If only part of the order was refunded, the order remains partially refunded.
Important Note About Returned Product Conditions
The condition selected during the return affects inventory. Choose the condition carefully so the stock history and available inventory remain accurate.
- Unspoiled products can be resold. NexoPOS adds the returned quantity back to the product inventory.
- Damaged products cannot be resold. NexoPOS records the returned quantity in the product history as damaged stock, which is treated as inventory loss.
Summary
To refund an order, open Orders > Orders List, find the order, open Options, choose Refund & Return, add the returned products, define their condition and refund price, choose the refund payment method, then confirm the action.