
NexoPOS on cPanel
If you're using the cPanel to manage your website, you can also use it to deploy NexoPOS. Note that installing on the cPanel might require some features that aren't available on a shared hosting plan. Here are the required features from cPanel:
- Terminal Access / SSH Access
- Installing Composer
We'll go through the following requirements and details the installation steps.
Terminal / SSH Access
To install NexoPOS, you’ll need access to your server through a terminal. This can be done either using the Terminal feature available on cPanel or by connecting via SSH. Both options allow you to run the required commands directly on your server.
If your hosting provider does not provide access to a terminal or SSH, you likely won’t be able to install NexoPOS properly, as the installation relies on command-line tools.
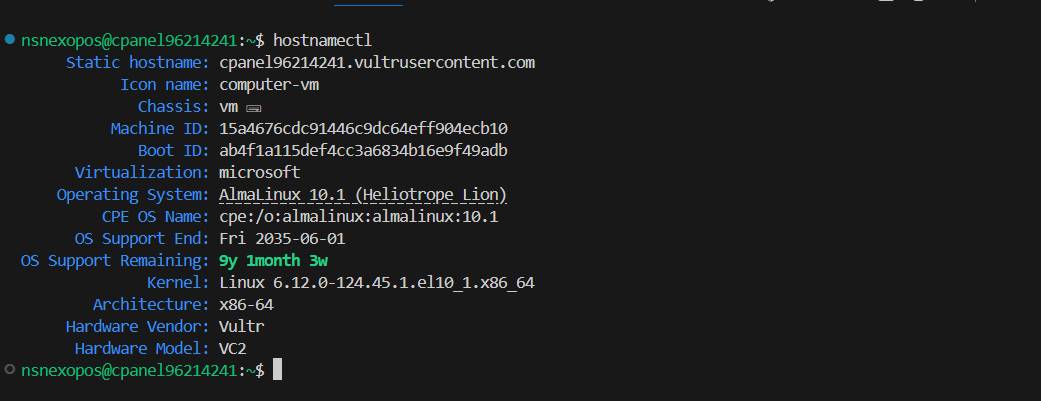
You might run "hostnamectl" to have few details to the host you're connected to.
Installing Composer
From this moment, you're ready to install Composer. You'll need to run the following commands:
curl -sS https://getcomposer.org/installer -o composer-setup.php
php composer-setup.php
php -r "unlink('composer-setup.php');"
You might need to enable "allow_url_fopen" on your php.ini configuration. That option might only be available from the WHM of your cPanel.

After installation, you can verify it works by running:
composer --version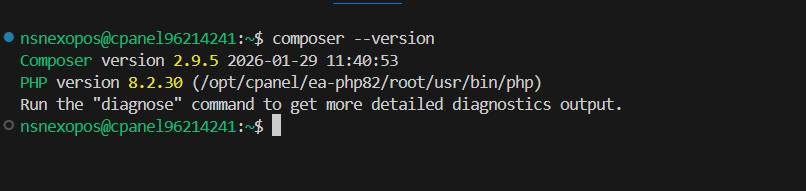
You should note that the installation might be restricted to the WHM account. You're therefore invited to reach out to your hosting provider for further guidance.
We'll now proceed with the domain configuration.
Domain Configuration
For your NexoPOS installation to be accessible, you need to point your domain to your server IP address. If you're using Cloudflare, you'll head to the DNS settings and create an "A" record with your server ip like so:

If you try to access the domain and see an empty directory page, that means the domain successfully points to your cPanel server, but it can't find NexoPOS files.
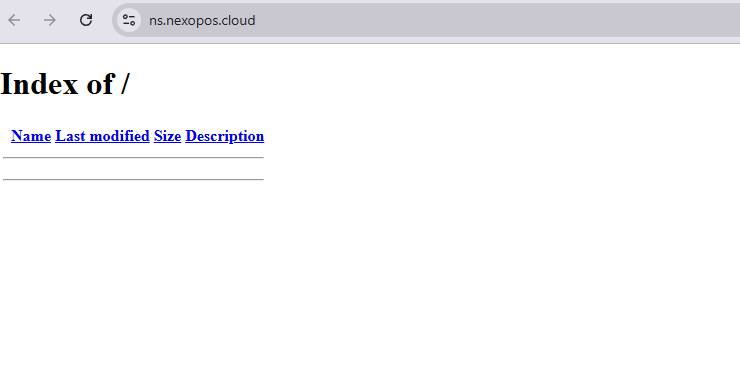
So now we need to install NexoPOS, and again, here we'll use Composer for that.
Installing NexoPOS
Once Composer is installed, you can use it to download and set up NexoPOS directly on your server.
From your terminal, navigate to the directory where you want NexoPOS to be installed (for example "nexopos"). We'll need to make sure the path "/home/[user]/nexopos" exists, if not, we'll create the directory "nexopos". Note that "[user]" refer to your cPanel username.
Now move within the directory "nexopos" then run:
composer create project blair2004/NexoPOS .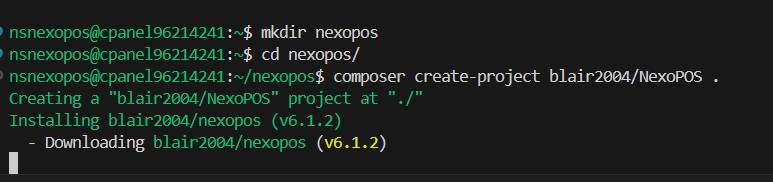
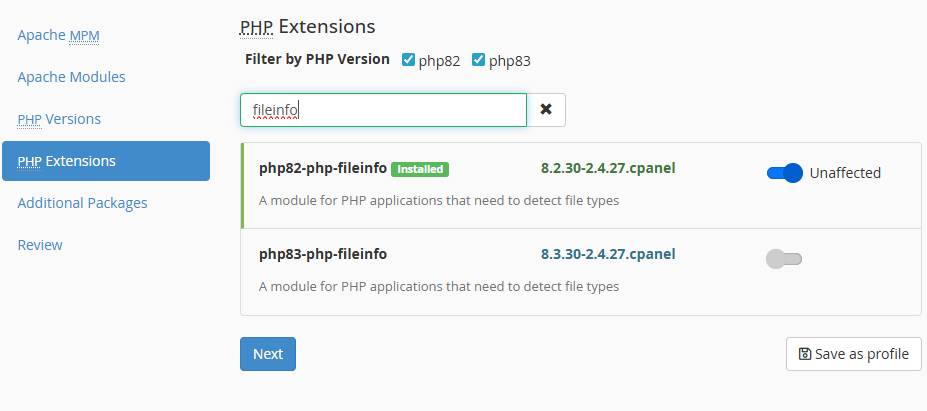
Note that if the installation fails, some PHP extensions might not be enabled, such as "fileinfo". That can be enabled from WHM.
From here, we'll delete the "public_html" directory and create a symbolic link that will point to the directory "public" of our project that is on /home/[user]/nexopos/public.
rm -rf public_html
ln -s nexopos/public public_html
From now on, you should see the NexoPOS welcome page. If that's the case, you can proceed with the Wizard configuration.