
NexoPOS On Laragon
Laragon creates a virtual server on Windows 10. What makes this application special is the support of the Laravel application and virtual domain. Since NexoPOS is based on Laravel, it's, therefore, one of the best ways to use NexoPOS on Windows. This tutorial will therefore cover everything you need to know to install NexoPOS on Windows 10 using Laragon.
Downloading And Installing Laragon
The installation of Laragon is pretty simple. You need to head to their website and get the binary to install. You're invited to download the full installer with at least PHP 8.3. But in our case, we need to make sure to install PHP 8.3 as it's a requirement for NexoPOS 6.1.x.
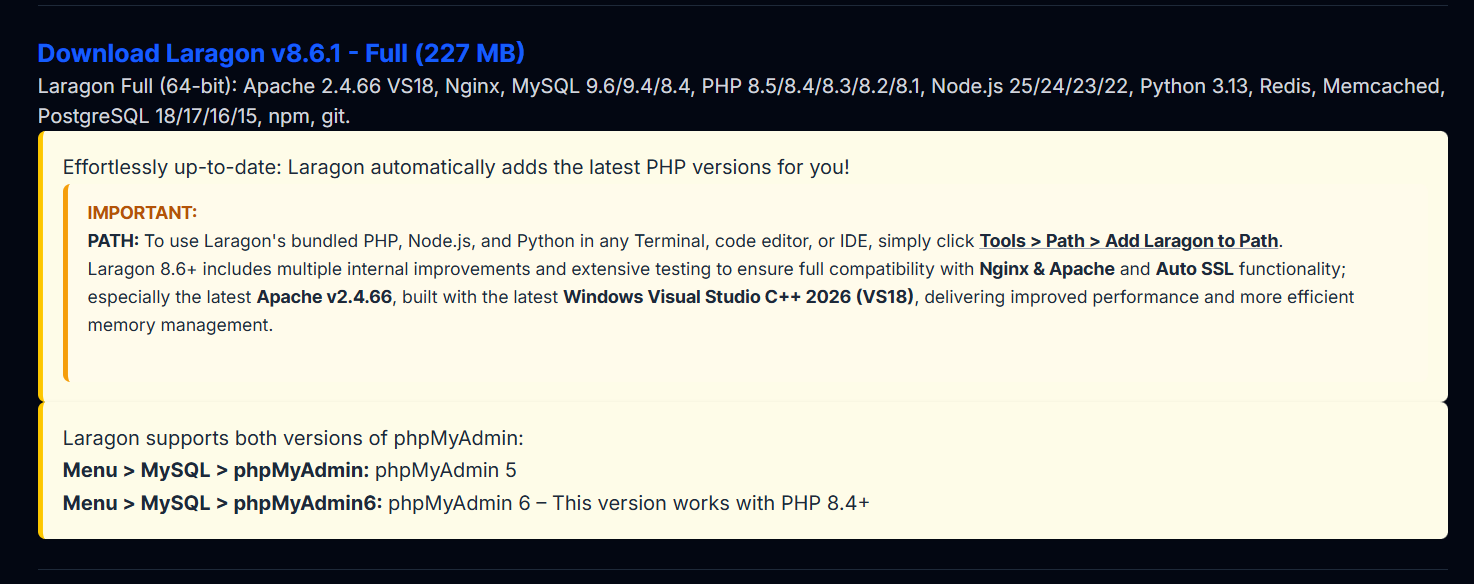
Once you've downloaded it, the setup process is common to any Windows application.
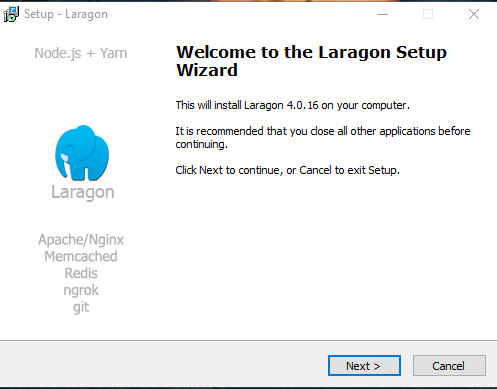
You just have to follow the steps to completely install the application. Once the application is installed, we'll now proceed by downloading NexoPOS. Make sure to remember the folder where you've installed Laragon.
Downloading And Copying NexoPOS
You can download NexoPOS from GitHub and from Codecanyon. Now that we've downloaded the project, we'll copy the project to the folder "www" within the folder where Laragon is installed. Make sure to unzip the zip file and you should have a folder with a name like "NexoPOS-6.1.2" (if you downloaded a specific version). You should rename it to have a unique name with no dots, preferably, as that name will be used for the virtual domain.
For this tutorial, we'll rename that folder "nexopos" and so, using Laragon virtual domain, we should be able to access our installation from https://nexopos.test, because "test" is the default domain extension on Laragon.
Installing Composer Packages
As you might have seen on the guide that shows how to download NexoPOS 4.x, we need to download and install Composer Packages. You'll need to open the terminal at the root of NexoPOS and run the following command :
composer install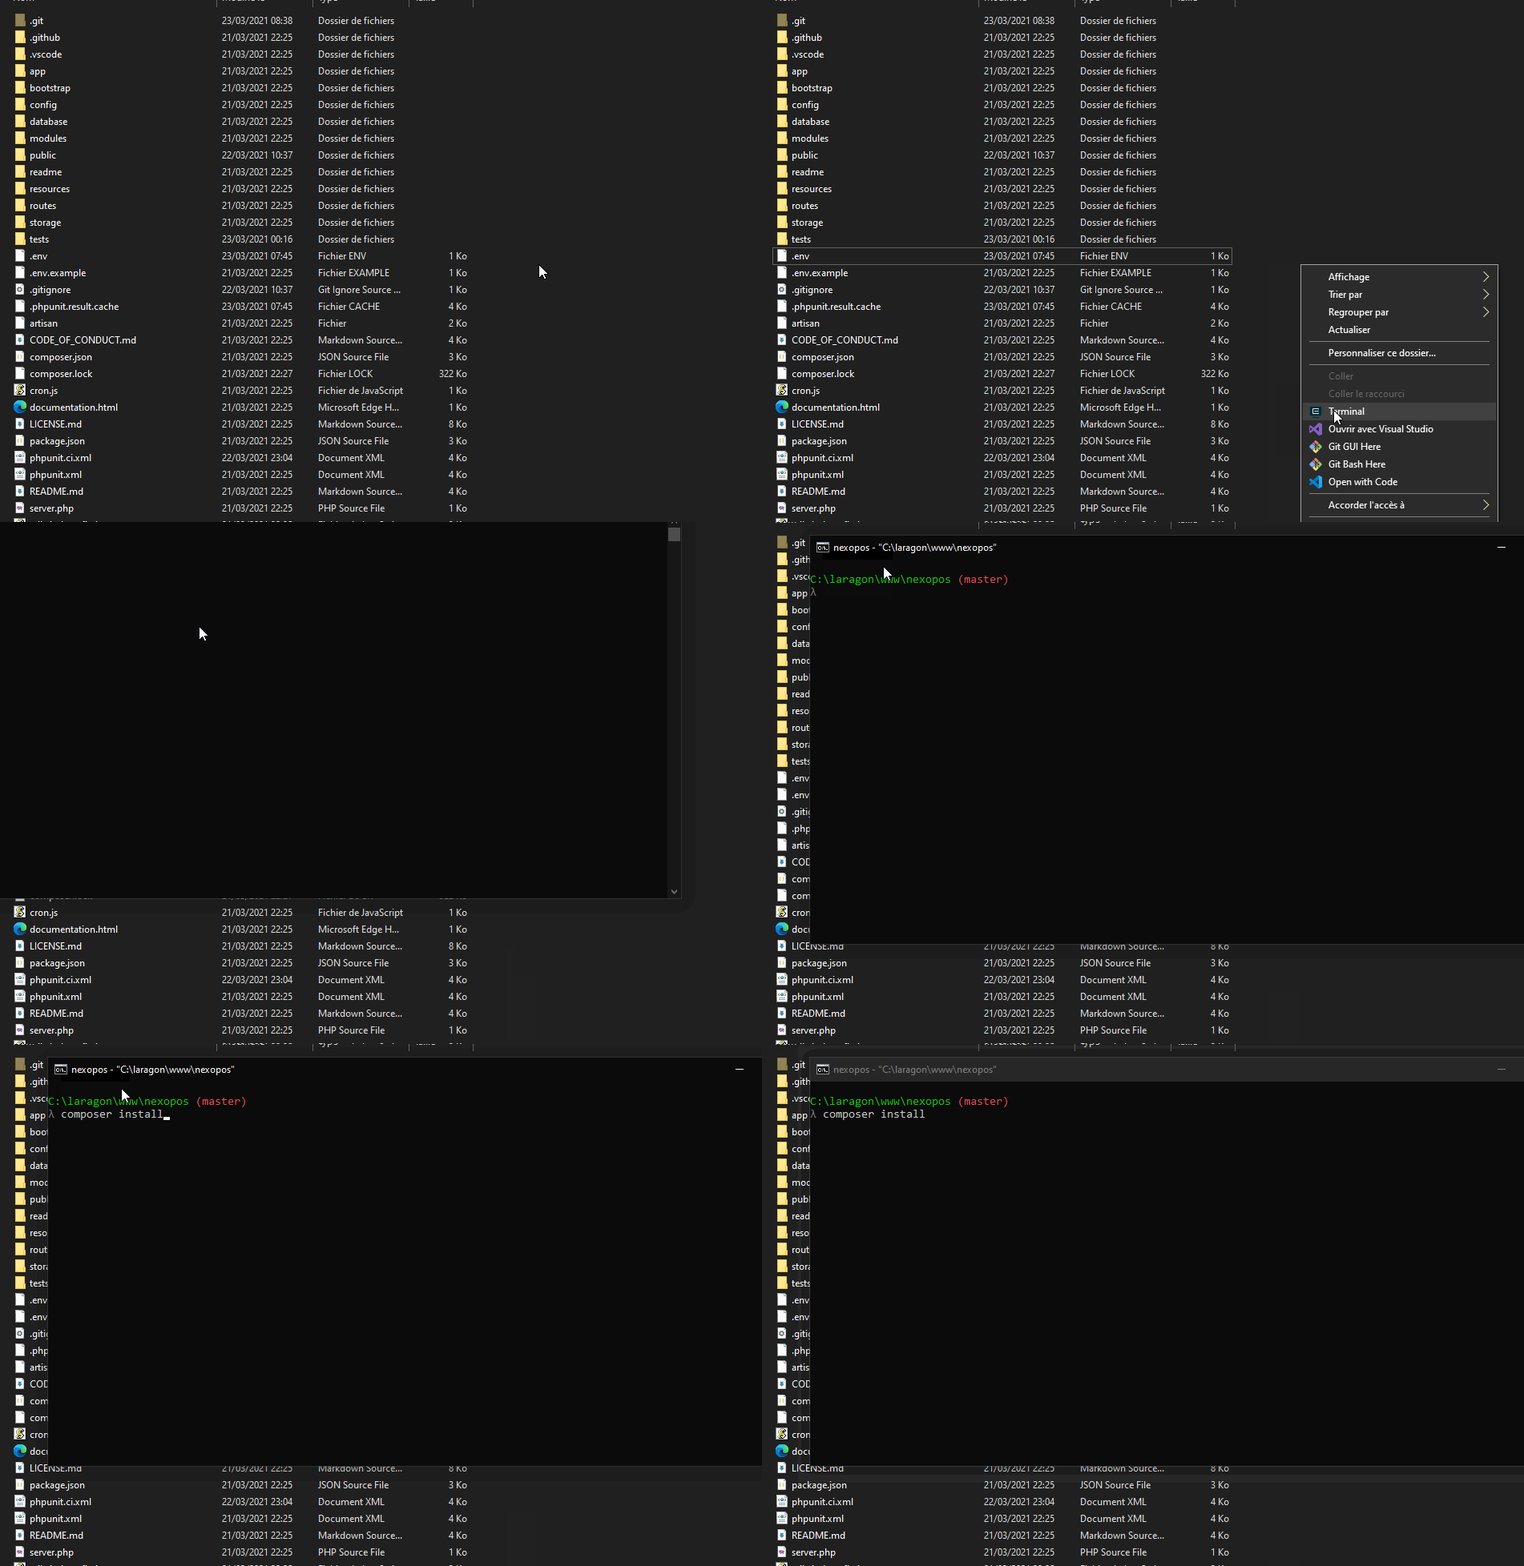
Once the packages are installed, you need to run the following commands.
If the .env file is missing, you need to create a file based on the existing .env.example.
cp .env.example .envNow, let's generate an application key :
php artisan key:generateThen, let's create a symlink to the storage directory :
php artisan storage:linkReloading Laragon Config
We're now ready to install NexoPOS 4.x on the database. But before, let's make sure to reload Laragon configuration so that the virtual domain is updated.
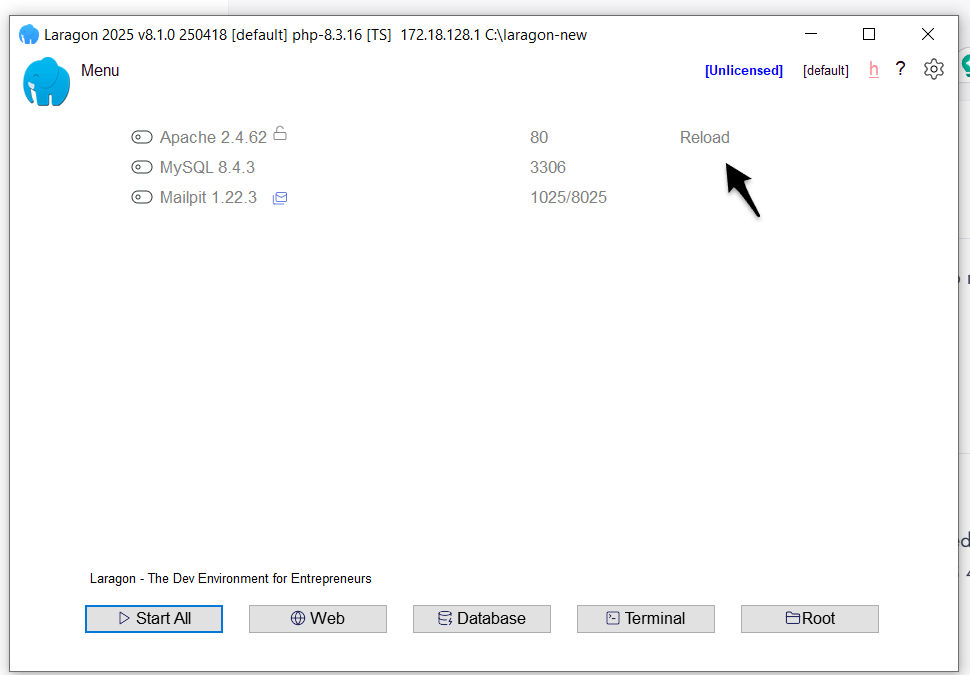
Installing NexoPOS On The Database
Now, from Laragon menu, we should be able to access to our project "nexopos.test".
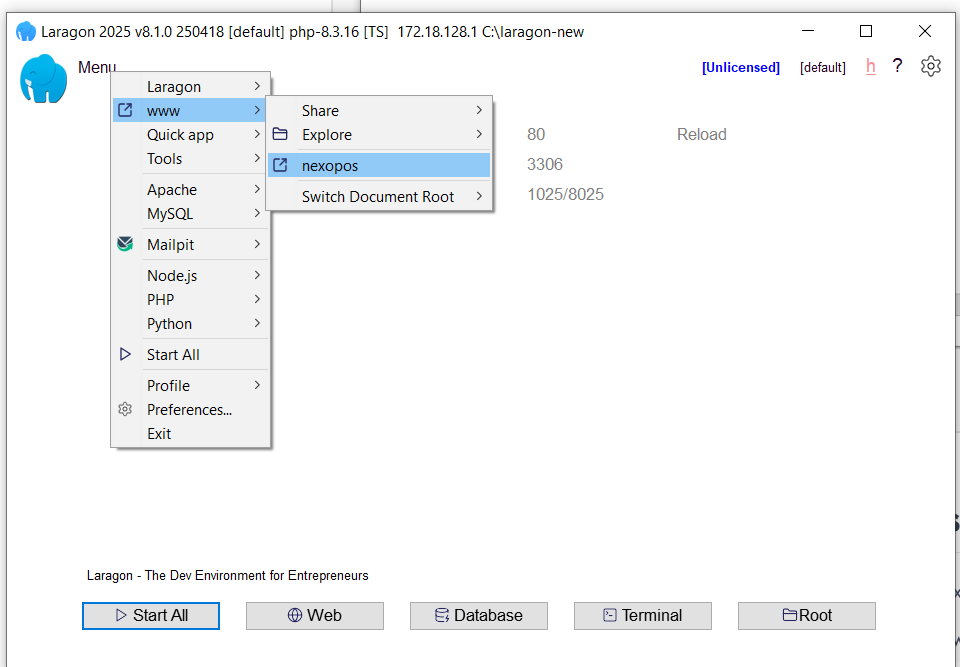
We're clicking on "nexopos" because that's the name of the folder where we've installed NexoPOS. This should open the default browser at the welcome page of NexoPOS.
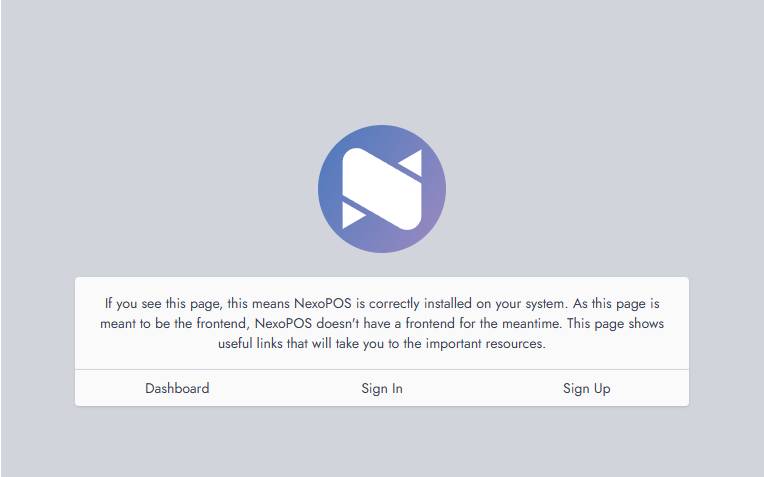
On link on this page will you to the installation wizard, you'll head to the installation page. You can follow the setup wizard documentation
Creating The Database
Before proceeding to the installation, you'll need to create a database on Laragon. From Laragon dashboard, click on "Database".
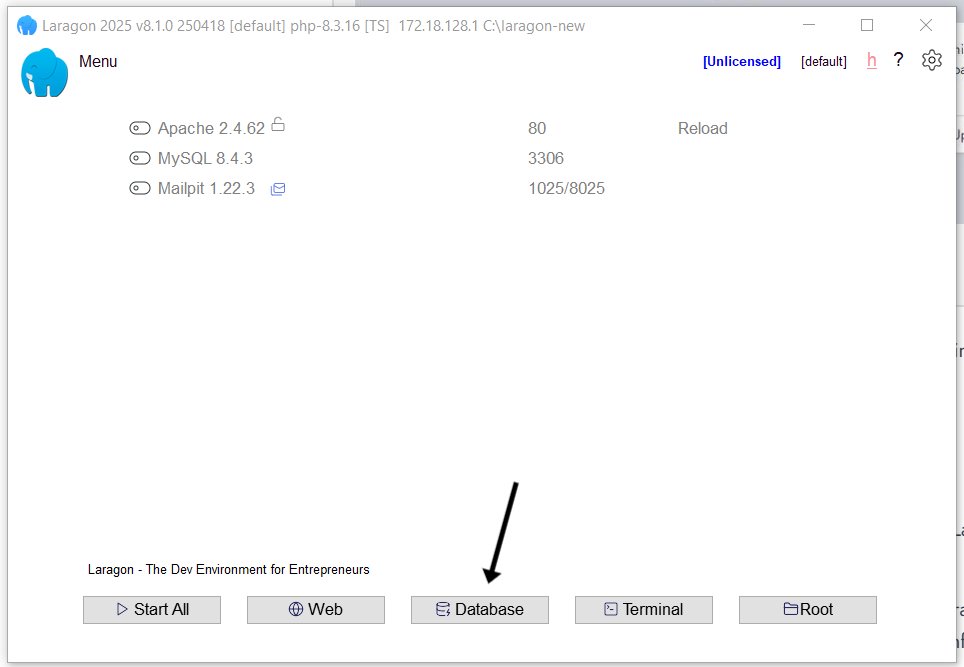
This will open "HeidiSQL" which is the database manager provided by Laragon. For some installation, it can also open PHPMyAdmin instead depending on your configuration.
We'll assume you have HeidiSQL opened on your end. Now, we'll create a session and then open the session.
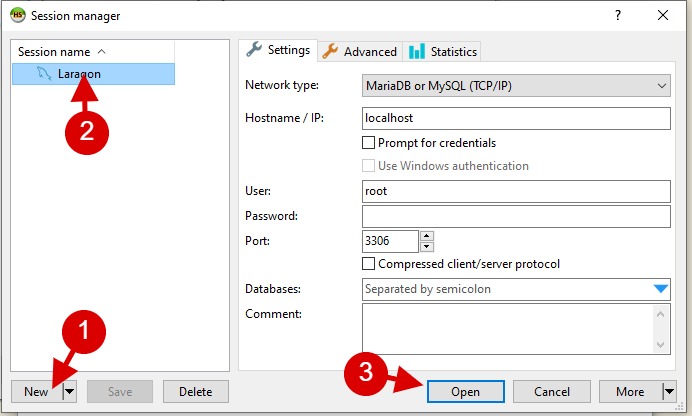
Now, we need to click on the name of the session "Laragon > Create New > Database".
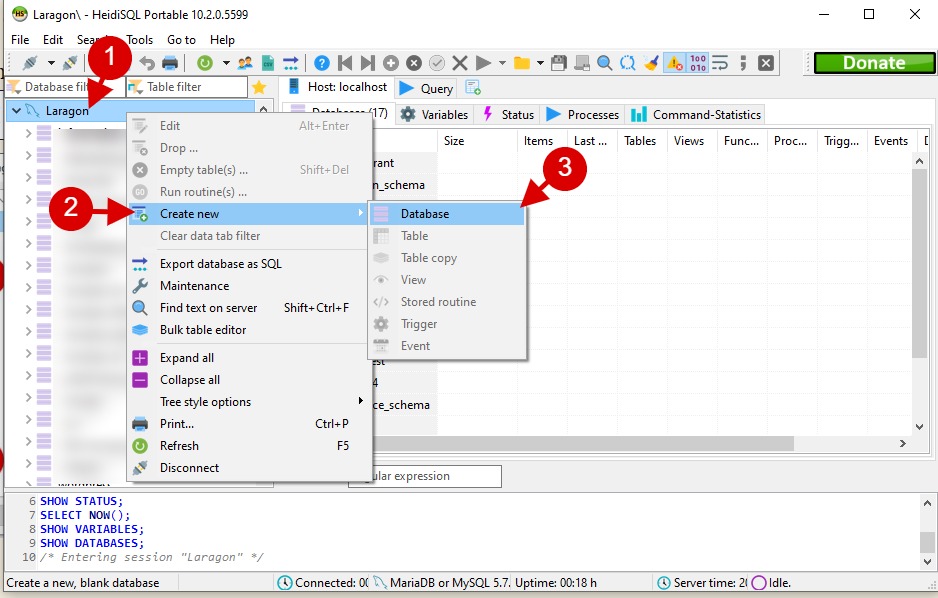
Provide whatever name you want. In our case, we'll create the database "nexopos_v4" and that's what we'll use during the installation.
When you access the application, you'll land on the welcome page.
You can now read the tutorial about the Setup Wizard for the next steps.
Troubleshooting
For some reason, according to your environment, you might face some issues logging in. Here is the list of topics you might explore to solve those problems:
- Common Database Issue
- CSRF Token Mismatch
- Environment Misconfiguration
If none of the above points don't help, you can reach out to the support at [email protected].