
The POS Screen
Sales on NexoPOS are performed from the Point of Sale (POS) screen. This interface is designed to provide everything you need in a single view so you can quickly build orders, manage customers, and complete payments without switching between pages.
The POS screen is organized into three main areas:
- Head Bar – quick actions and navigation
- Cart Section – where the current order is built
- Product Grid – where you browse and select products
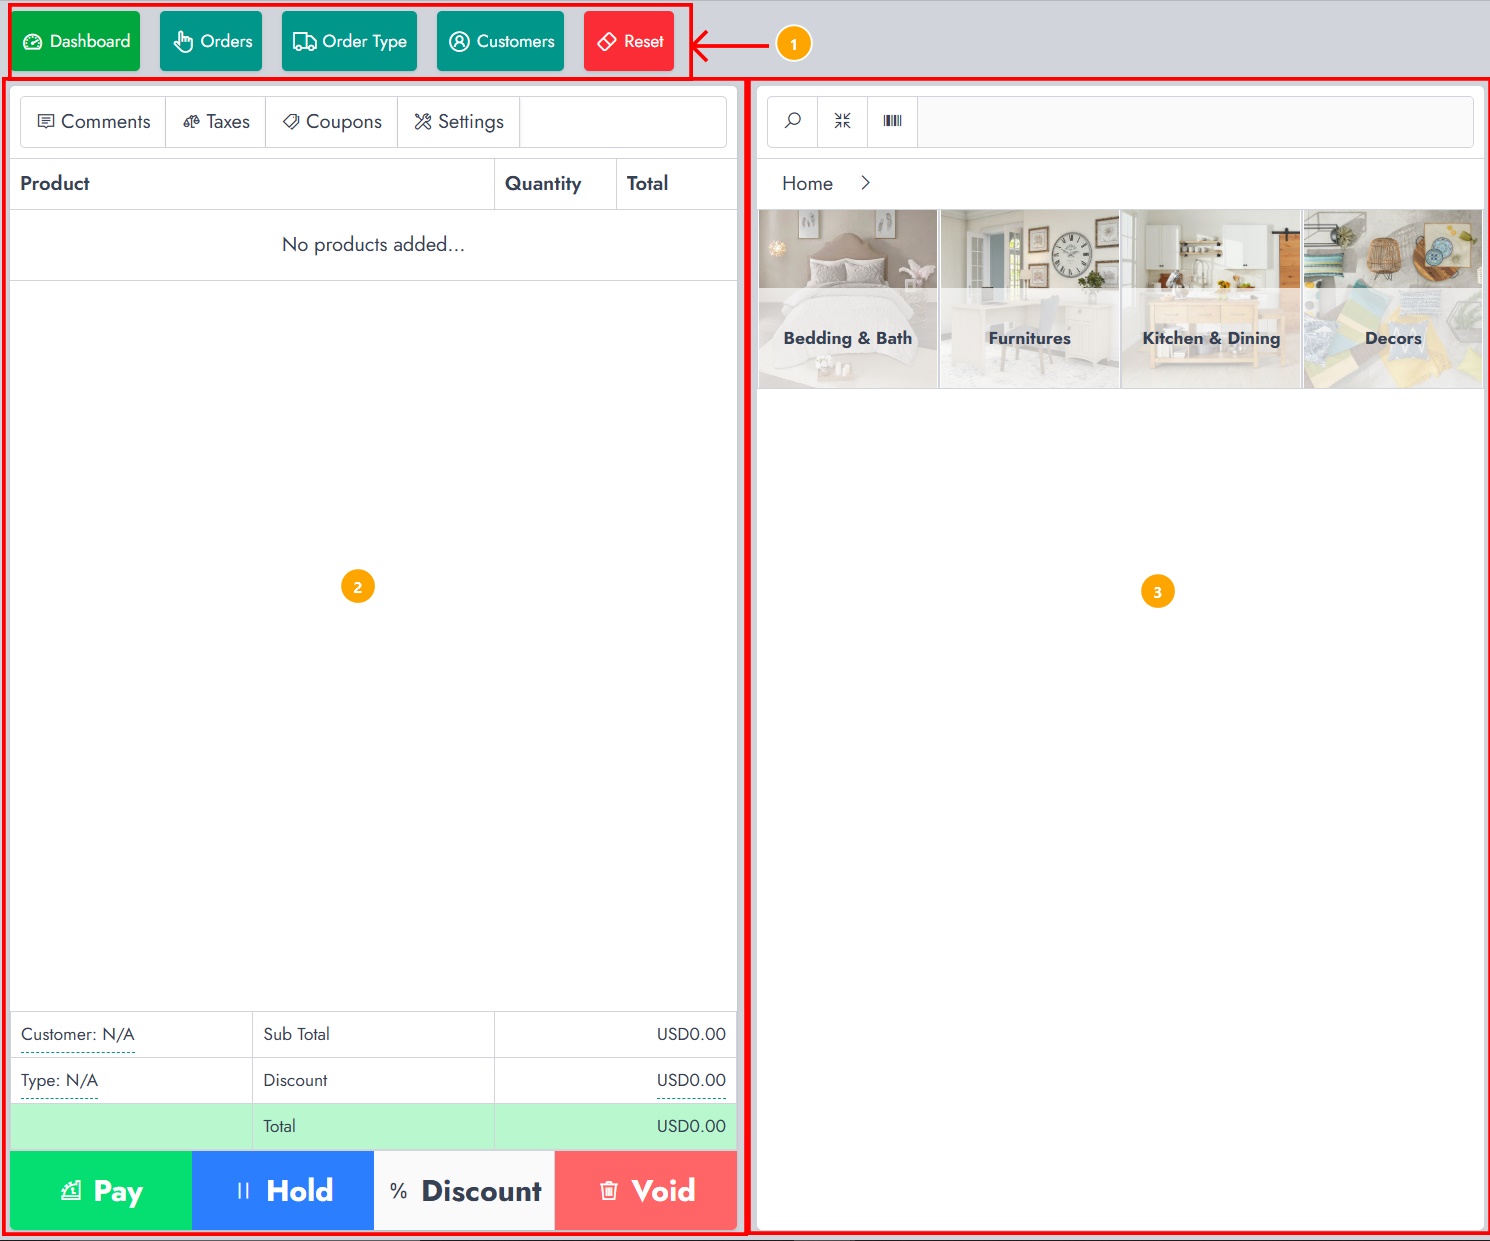
Understanding how these three sections work together is key to mastering the sales workflow.
Head Bar
The Head Bar sits at the top of the POS and remains visible at all times. It acts as a control panel, giving you quick access to essential features while processing a sale.

Here’s what each button does:
Dashboard
Takes you back to the main dashboard. This is useful if you need to quickly navigate away from the POS.
Orders
Opens a pop-up where you can manage existing orders. This includes:
- Orders on hold
- Unpaid orders
- Partially paid orders
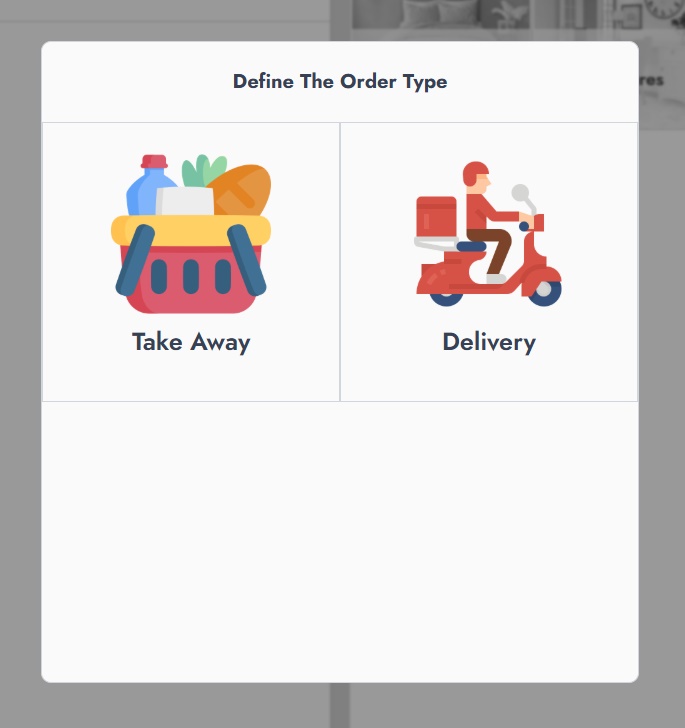
Order Type
Allows you to define how the order will be fulfilled. By default, NexoPOS supports options such as: Take Away Delivery
Customers
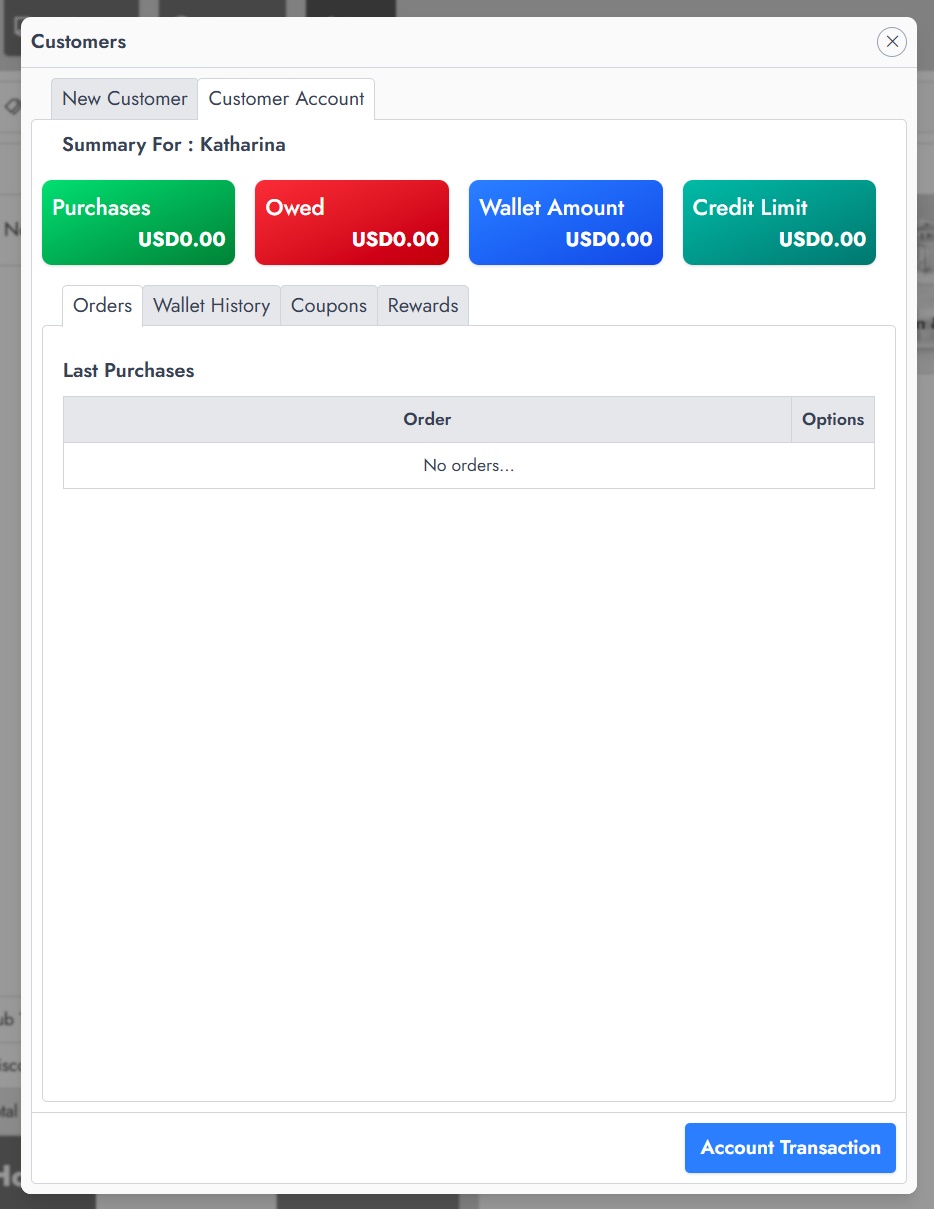
Gives you access to customer management directly from the POS. From here, you can: Create a new customer, Select an existing one, View account details such as wallet balance, coupons, and rewards
Reset
Clears the entire cart instantly. This is helpful if you need to start over quickly. Unlike “Void”, this does not register the order as canceled—it simply resets the current session.
Cart Section
The Cart Section is the core of the sales process. This is where all selected products are displayed and where the order is configured before payment.
Cart Options
At the top of the cart, you’ll find several tabs that allow you to customize the order:
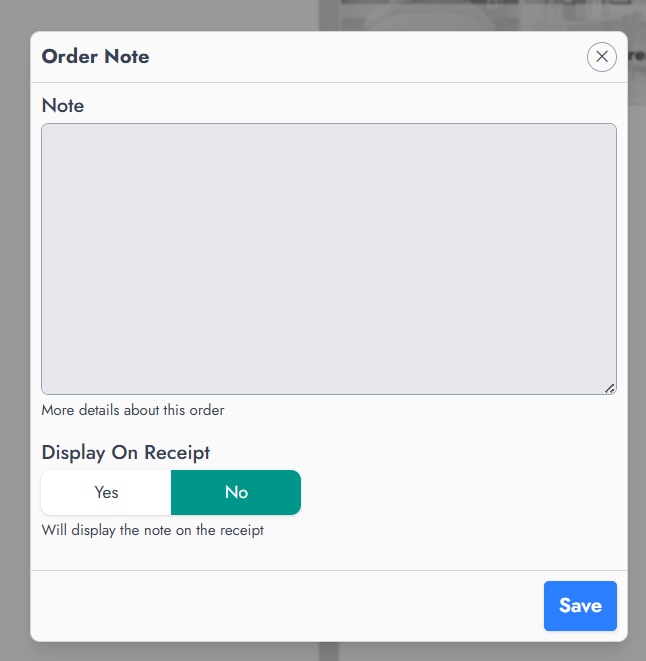
Comments: Let you add notes to the order. These notes can be printed on receipts or used internally (e.g., “Fragile item” or “Handle with care”).
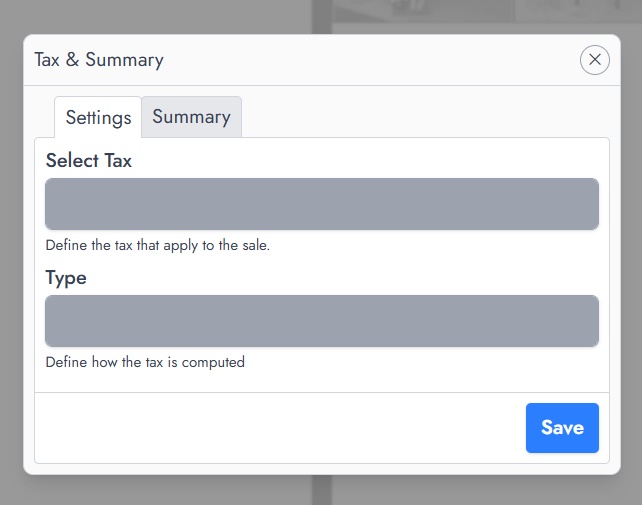
Taxes
Taxes allow you to apply a tax configuration to the current order, depending on how taxes are set up in your system.
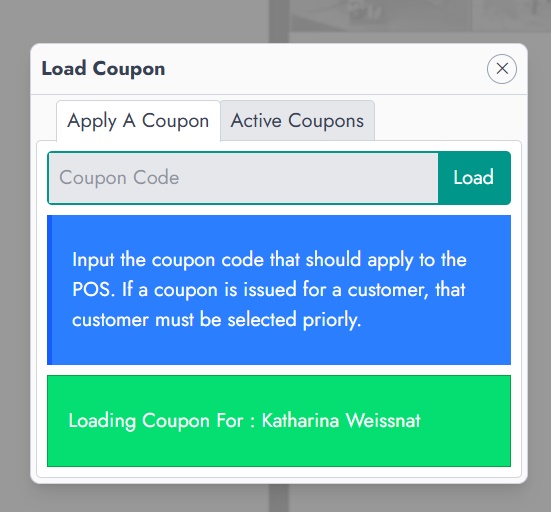
Coupons
Let's you apply discount codes. If coupons are linked to a specific customer, that customer must be selected first.
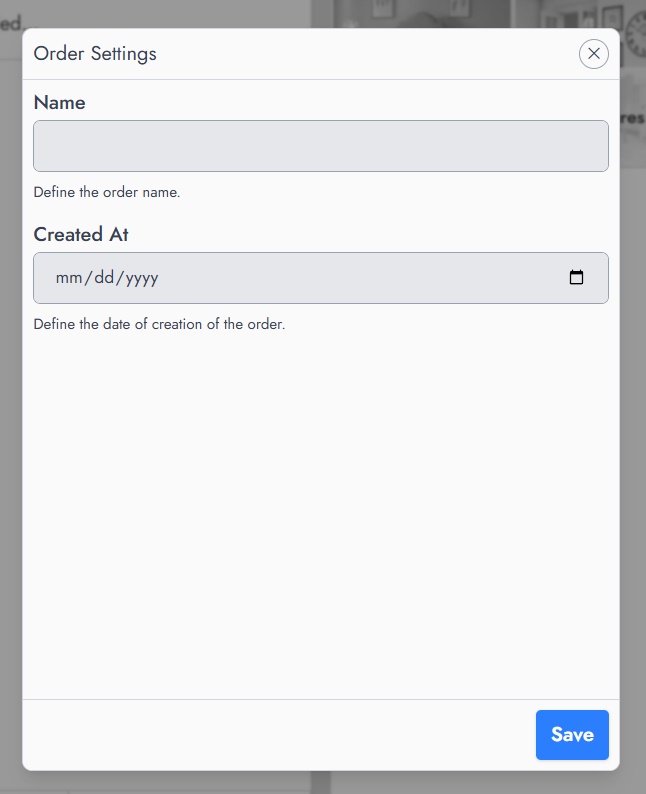
Settings
Provides additional configuration for the order, such as naming the order or adjusting metadata.
Product List
Once products are added, they appear in the central table of the cart.
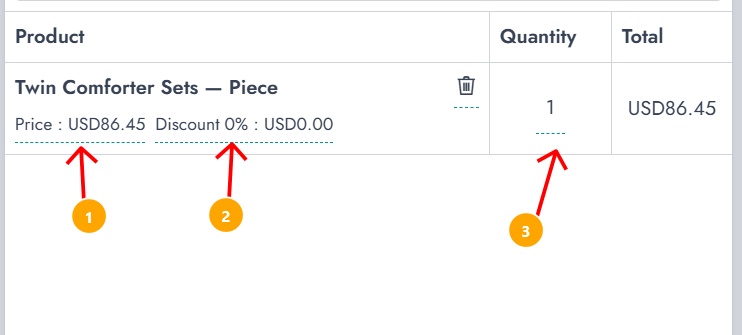
Each line represents a product and includes:
- Product Name
- Unit Price
- Discount (per item)
- Quantity
- Total Price
Depending on your configuration, you may be able to:
- Modify the price
- Apply a discount to a specific item
- Adjust the quantity directly
This flexibility allows you to adapt quickly to real-world scenarios like negotiated pricing or bulk discounts.
Order Summary
Below the product list, a summary gives you a clear overview of the current order.
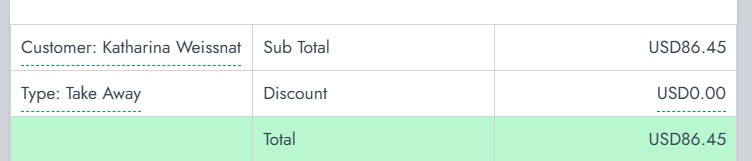
This section includes:
- Customer – the selected customer (if any)
- Order Type – e.g., Take Away or Delivery
- Subtotal – total before discounts and taxes
- Discount – applied to the entire cart
- Total – final amount to be paid
This summary updates in real time as you modify the cart, helping you avoid mistakes.
Action Buttons
At the bottom of the cart, you’ll find the main actions used to finalize or manage the order:
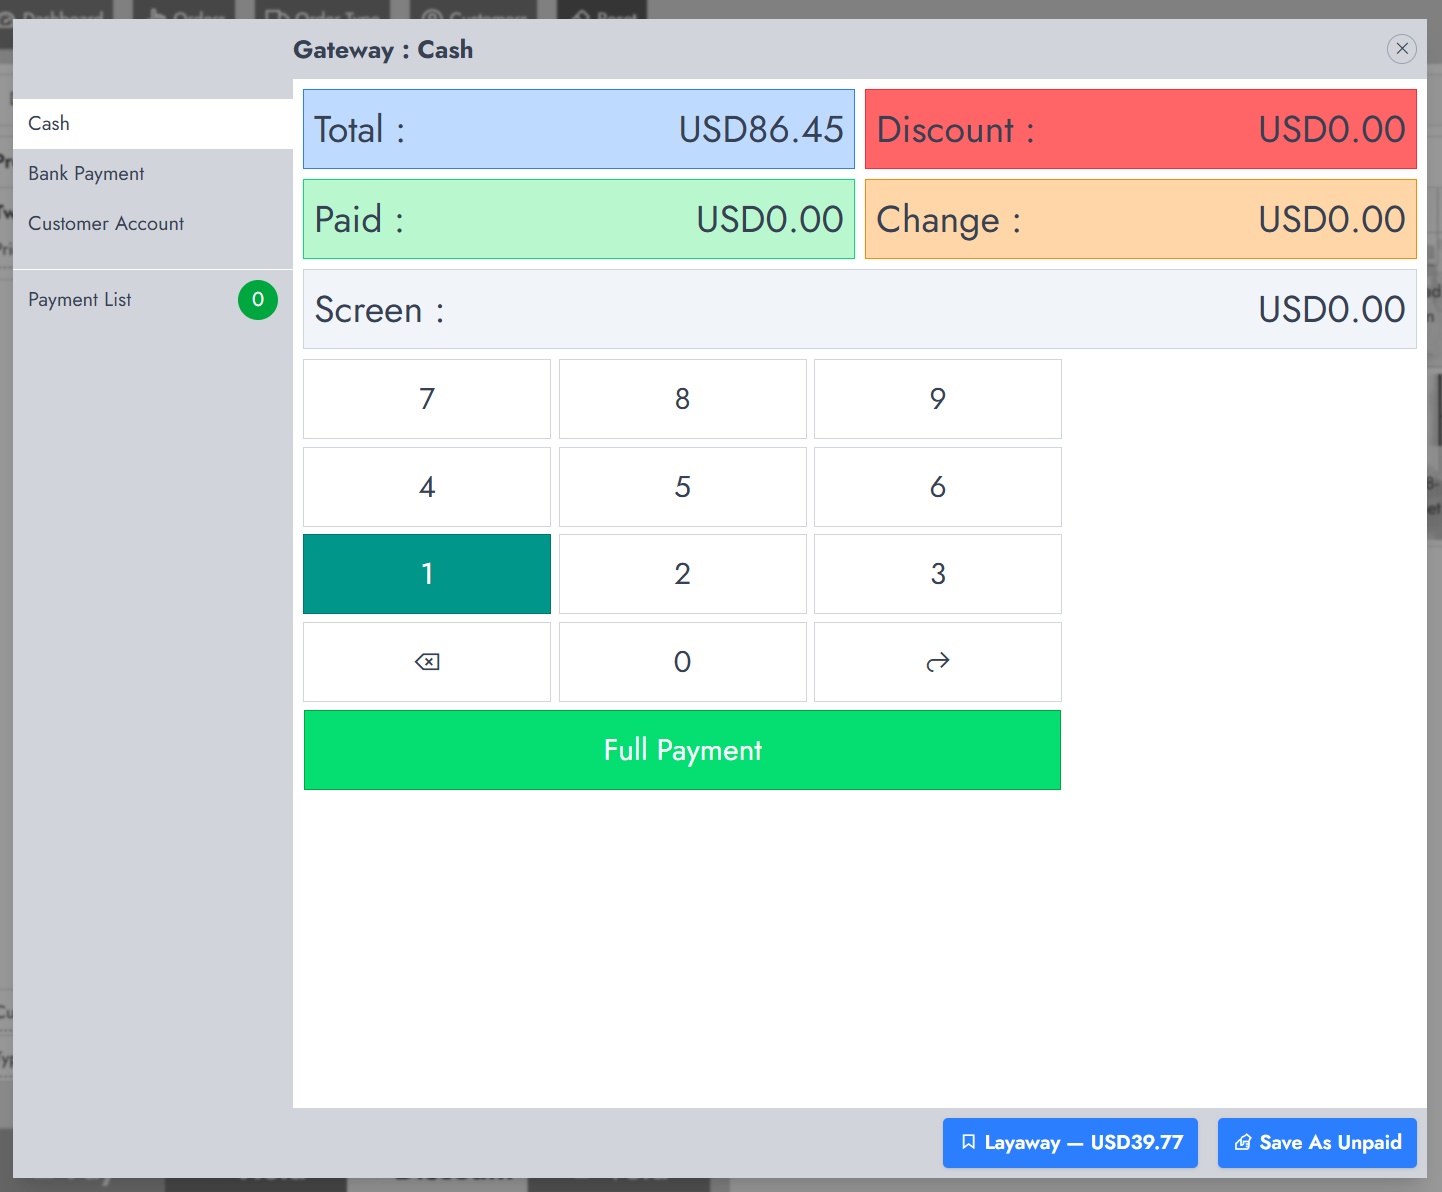
Pay:
Opens the payment screen where you can complete the transaction using different payment methods.
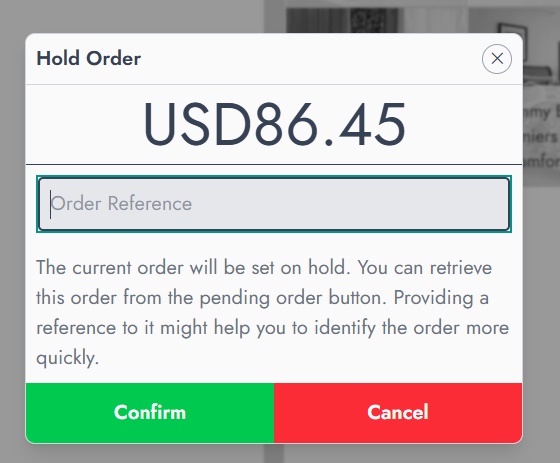
Hold
Temporarily saves the order so it can be resumed later. This is useful if a customer needs more time or steps away.
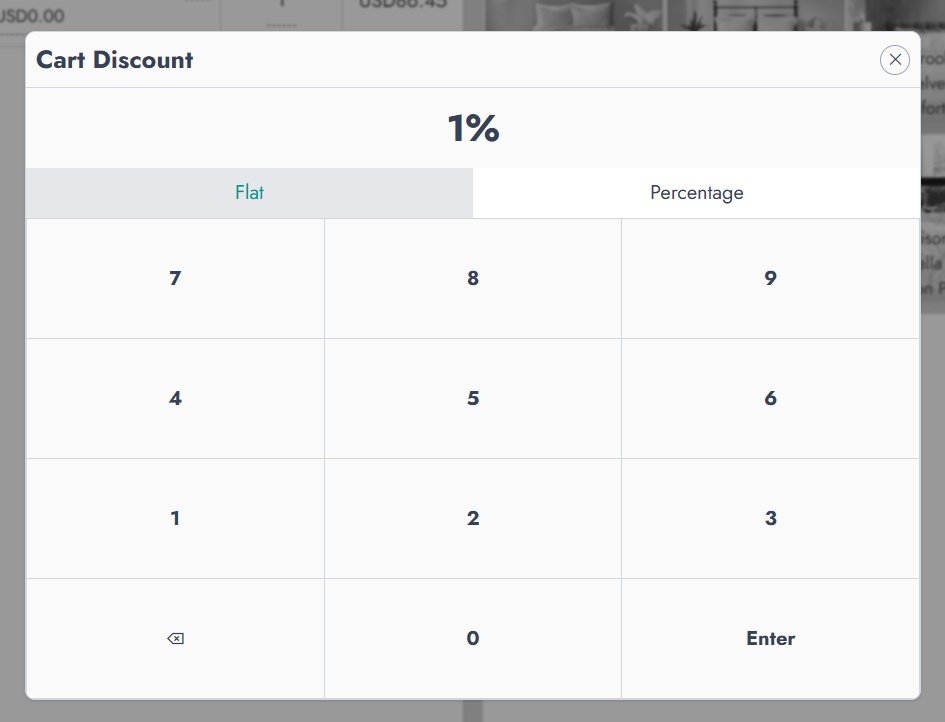
Discount
Applies a discount to the entire cart (either a fixed amount or percentage).
Void
Cancels the order and marks it as voided. This is different from Reset, as it records that the order was intentionally canceled.