Mail: [email protected]
Phone: +1(424)231-4091
Deploy NexoPOS in 1 minute for free. No credit card required. Deploy Now
Deploy Now
If you already have purchased the product, you can download it from your account downloads.
This module aims to provide a fast and convenient way to log in on NexoPOS using social networks. It relies on Laravel Socialite to support various networks such as :
After the module is installed, a new setting section named "Socialite" will be added to the Settings menu.
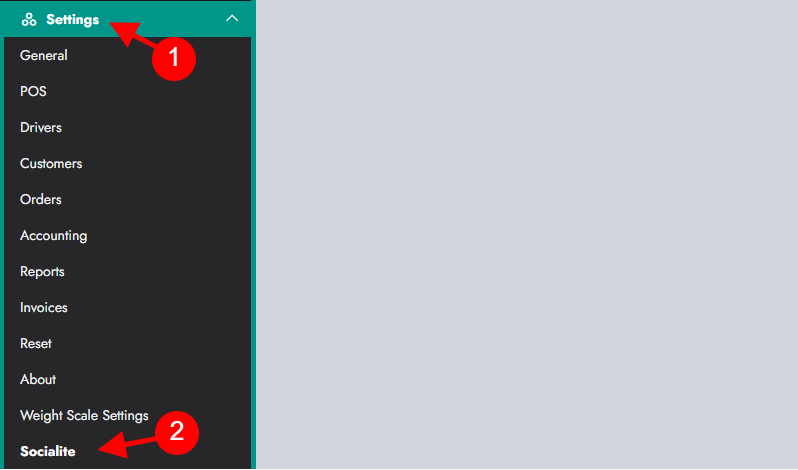
The first tab of the settings includes networks to make available for the login.

The process of using Facebook for authentication requires you to create an account and submit an application to be able to use the Facebook Login feature. You might be required to verify your company, which could be a long process.
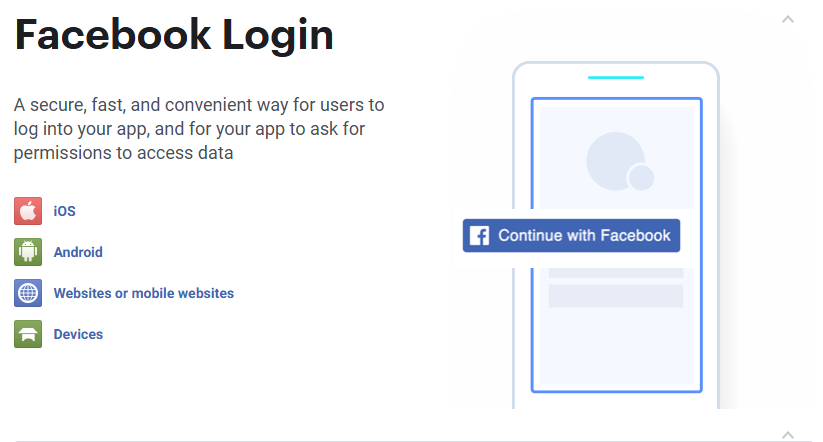
We'll assume that if you continue reading, it's certainly because Facebook successfully approved you (or you have the necessary to be approved). We'll now go through the process of creating an app

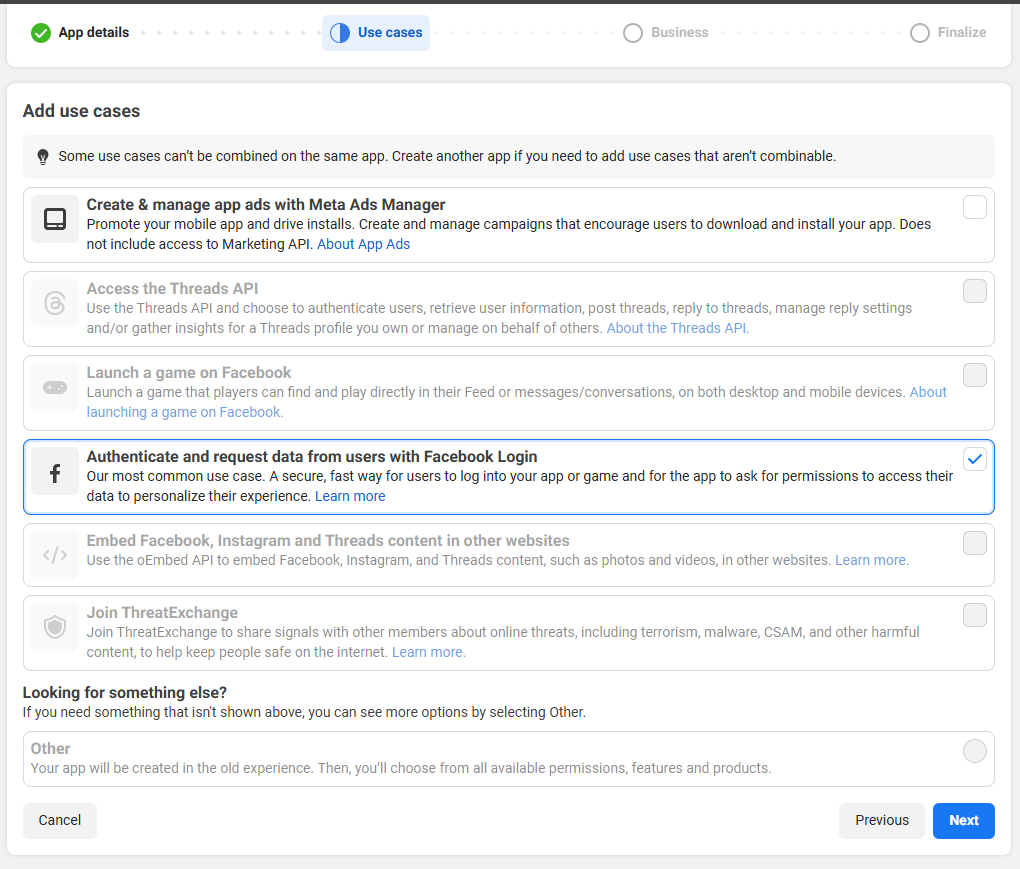
The steps are straightforward. For the Use Case, we'll select Authenticate and request data from users
On the Business, you'll need to select which business on Facebook is related to the app you want to create. Note that this business might be required to prove its existence.

The next step is finalizing.
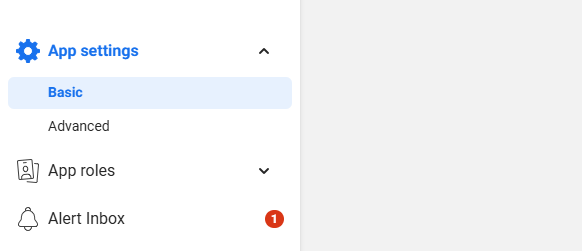
We'll now head to App Settings > Basic to obtain the credentials of the app.
The credentials of the app are used on NexoPOS so Facebook could recognize which app is attempting to get users' information.
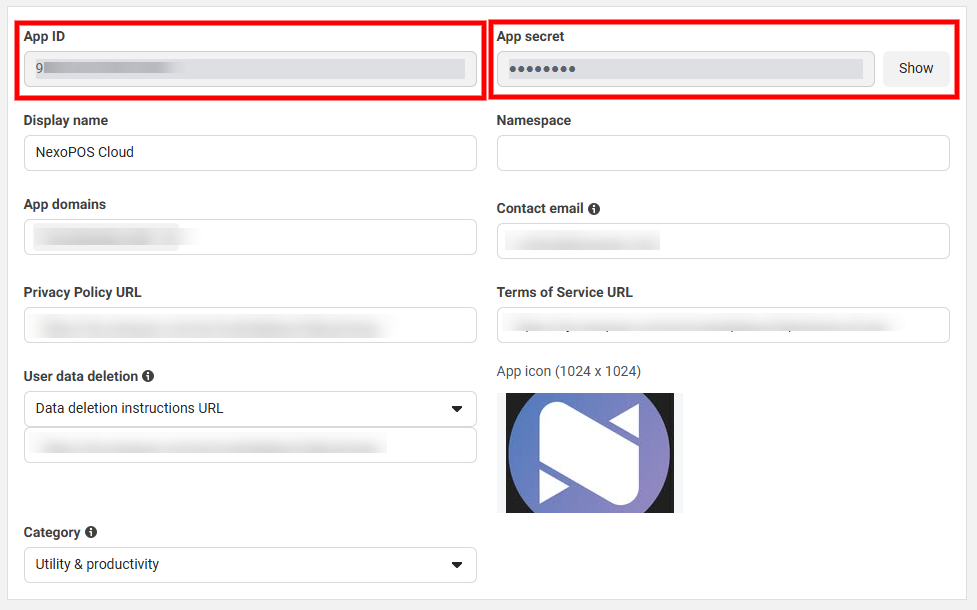
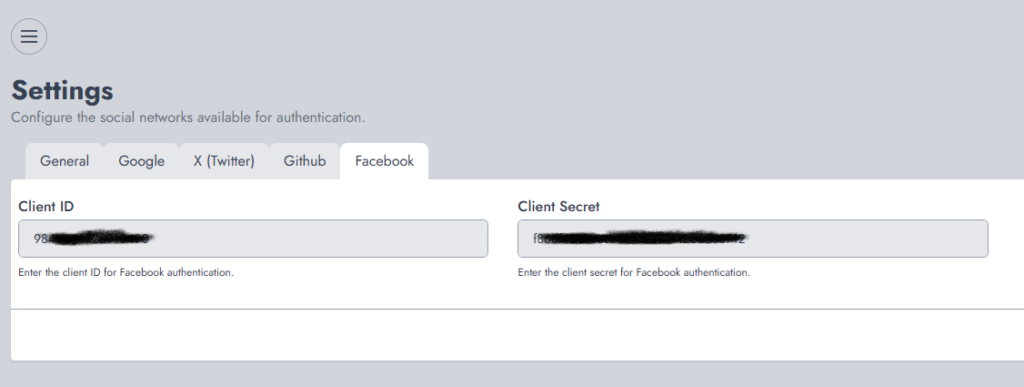
Here we'll use "App ID" and "App Secret" that we'll store on the Facebook tabs on Socialite Settings.
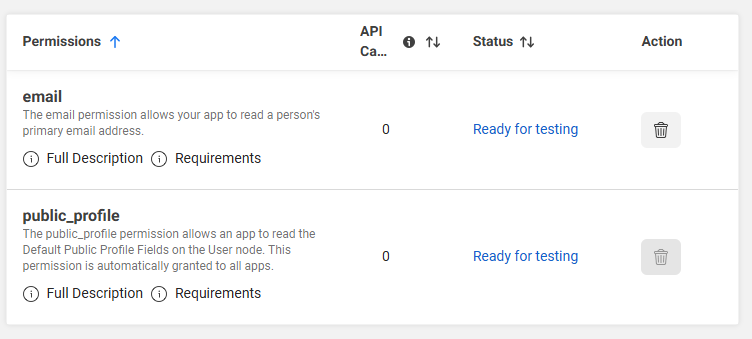
We should make sure our app scopes include "email" and "public_profile." For that, we'll go to Use Case and click on "Customize".
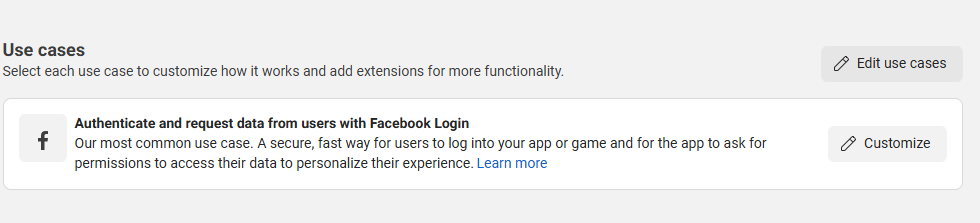
If both options aren't enabled, we'll make sure it is as on the following screenshot.
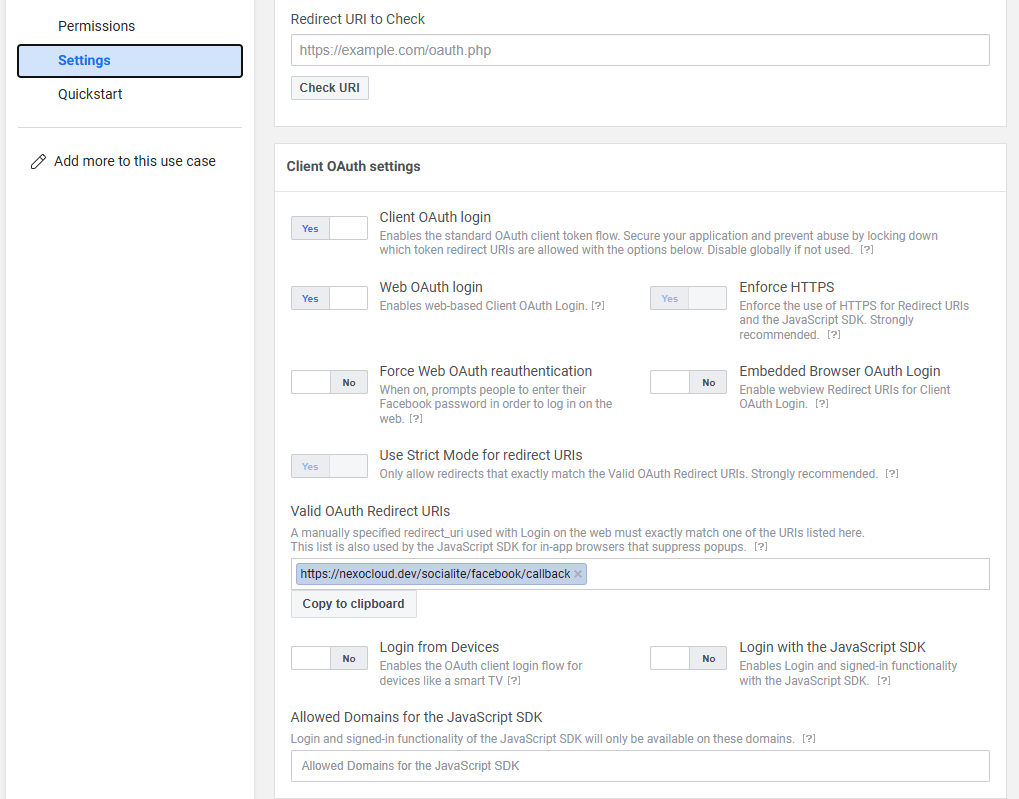
The callback URL is where Facebook will redirect the user after they approve your request. That URL must match what Socialite will send to Facebook. By default, Socialite sends your domain plus "/socialite/facebook/callback". Therefore, if you have a domain like "example.com", your Redirect URIs must be "example.com/socialite/facebook/callback".
GitHub is another network that is available for authentication. If you plan to allow developers to log in to NexoPOS, you might consider using that platform. Unlike Facebook, the process is simpler.
We'll first head to the profile and then scroll down to "Developer Settings"
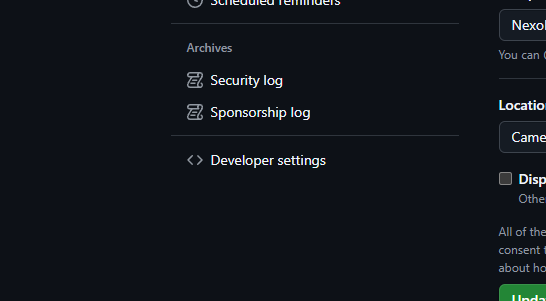
Now, we'll click on "Oauth Apps" and then "new Oauth App". You'll then land on a page where you have to provide the following:
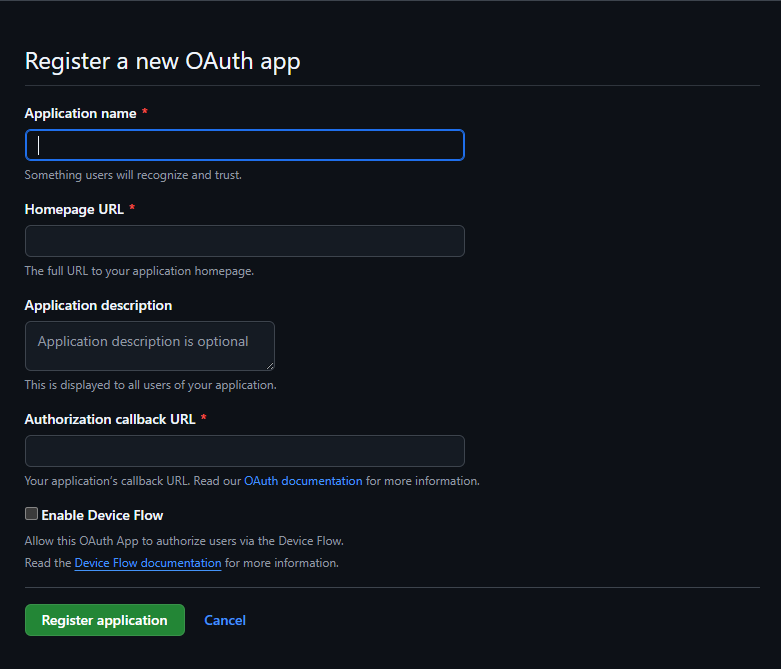
While you might specify any value that makes sense for those fields, for "Authorization Callback Url" it should be the domain where NexoPOS is installed, plus "/socialite/github/callback".
Again, if your website is example.com, the Authorization Callback URL should be :
example.com/socialite/github/callbackAfter the creation, you'll land on a page where you can generate the app's credentials.
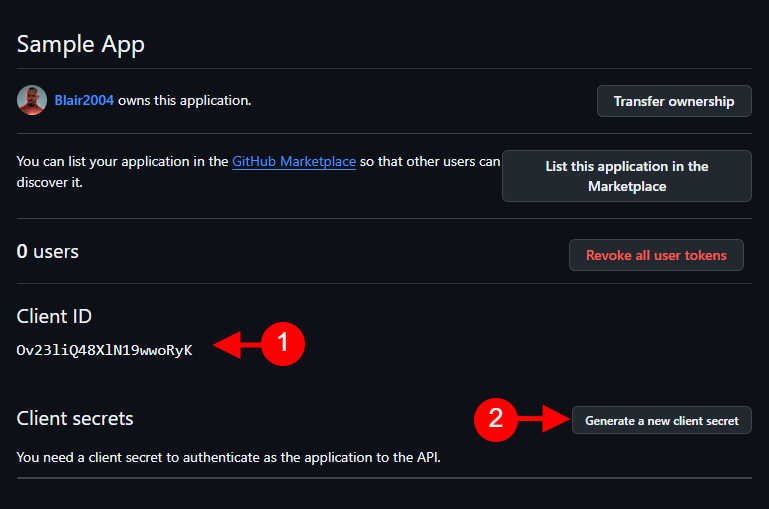
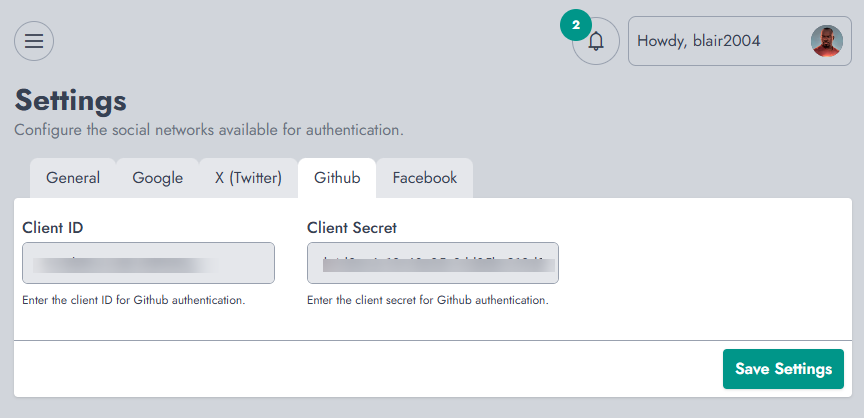
Now, those values, you'll paste them on the Github tab available on Socialite Settings.
You can also enable Google to ease authentication for all its users. The configuration of Google is relatively simple, while it requires you to go through their cloud console, which might look more like a plane dashboard than anything else.
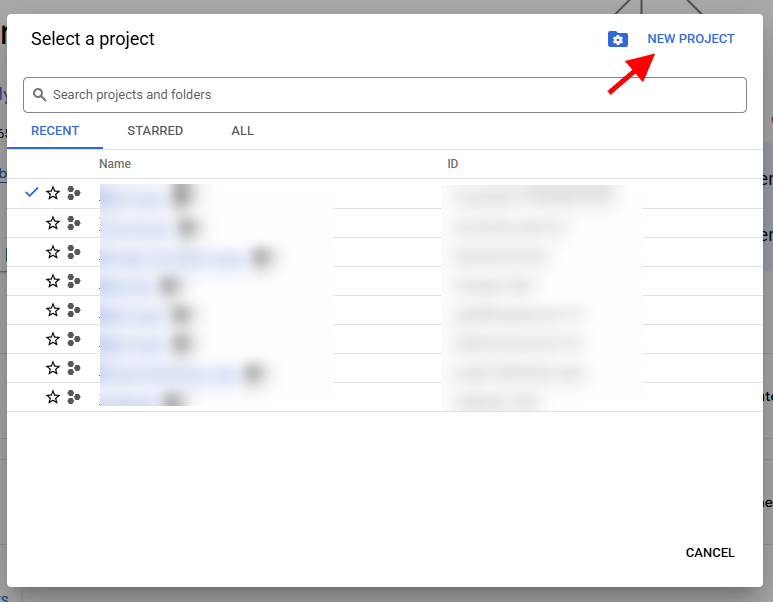
The first step on Google Cloud Console is to create a project. From the dashboard, you'll click on the project selector button close to the logo on the top left. This will show a pop-up where you can see your project and start the creation of a new project.
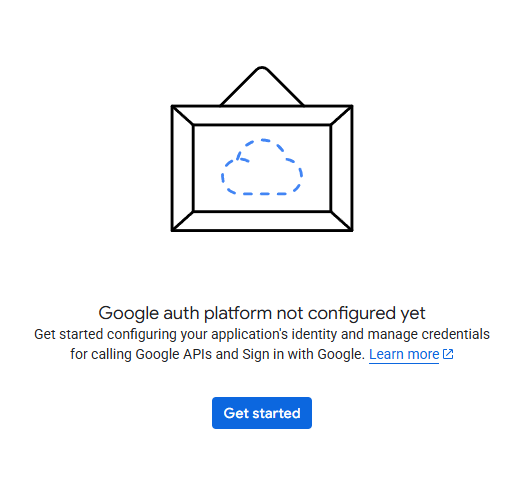
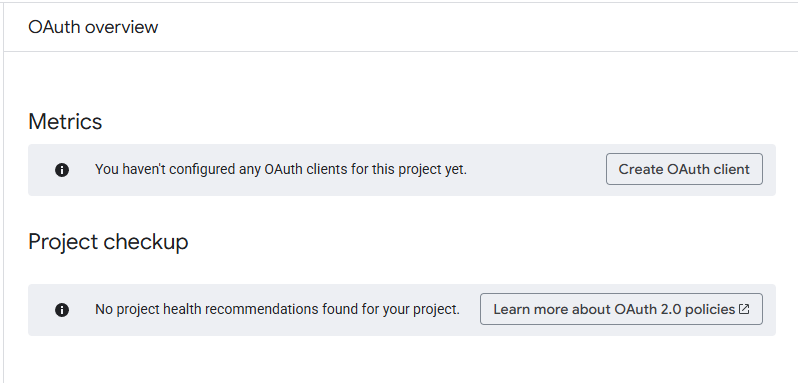
From now on, the steps consist of just following the guide. You'll land on a page that says nothing is configured. We'll click on "Get Started" to configure our project on Google.
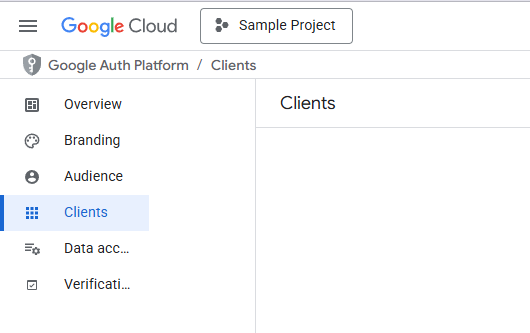
This will trigger another Wizard where we'll create our app. You should ensure you're on the tab "Clients" as it's there we'll create the app and get the credentials:
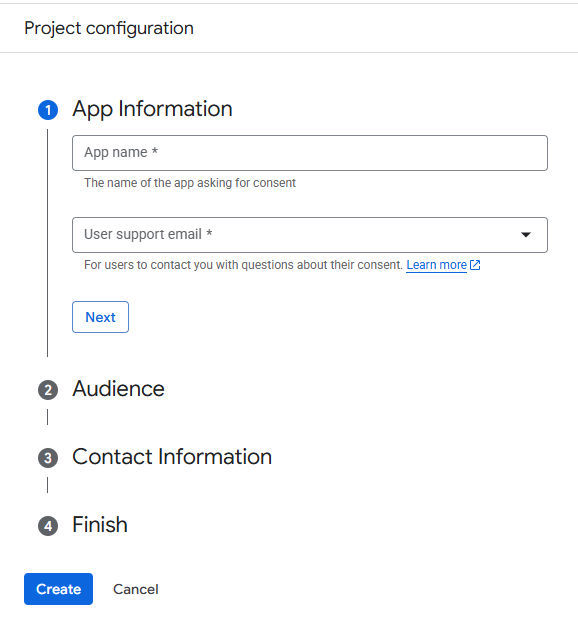
Now, the wizard will look like this. For the first page, make sure to provide any relevant information for the fields available.
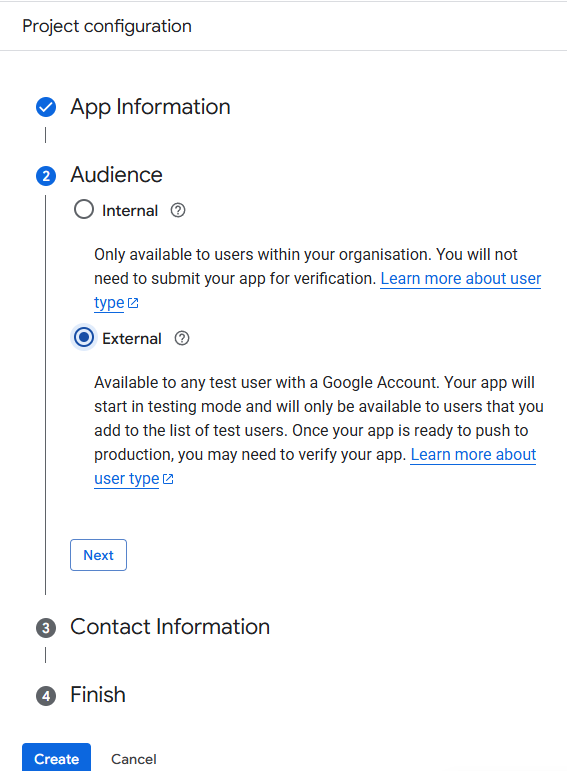
On the next page, you'll define what should be the audience. For our use case, we'll use "External" to make the app available for the public.
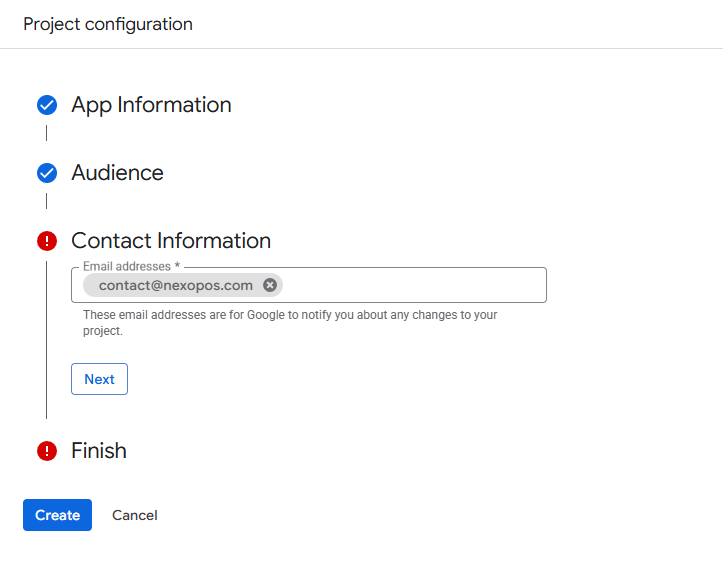
Now, for the contact information, you'll specify any email that makes sense for you.
Now, for finishing, you'll just approve the terms.
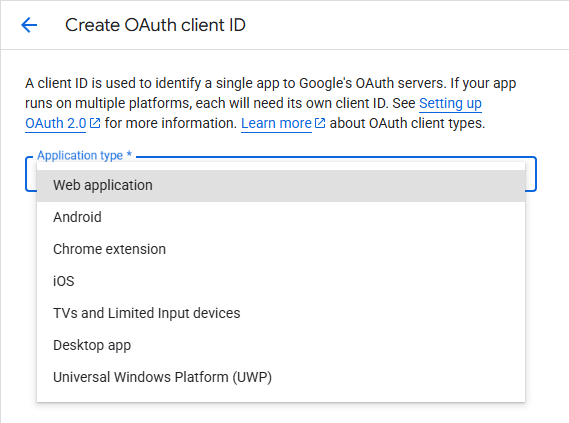
Now we'll proceed by clicking on "Create Oauth client."
We'll have to configure the nature of our app by defining "Web Application".
Then we'll specify the redirect URL. For Google, we'll use a URL like:
example.com/socialite/google/callbackYou'll make sure to replace "example.com" with the actual domain where NexoPOS is installed.
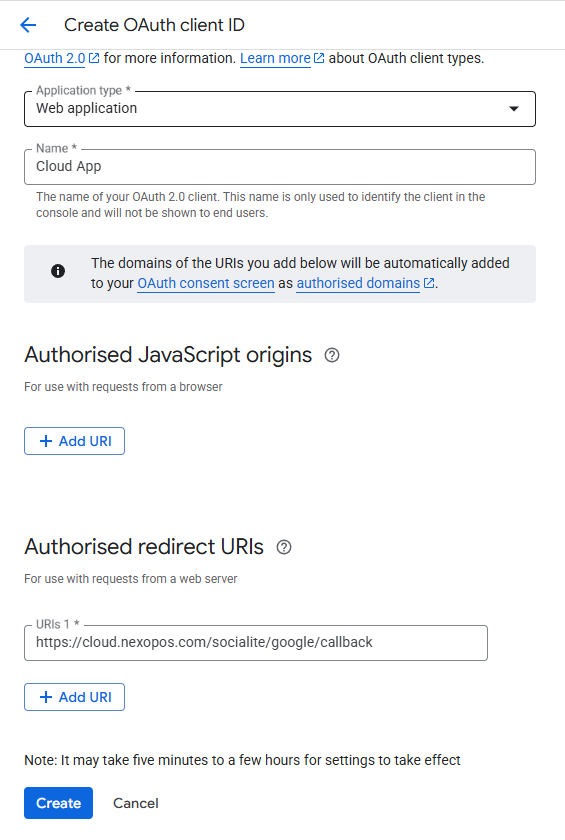
When you click on "Create", it will show a new pop-up with the app credentials.

Those credentials are what we'll use on the tab "Google" on the Socialite Settings.

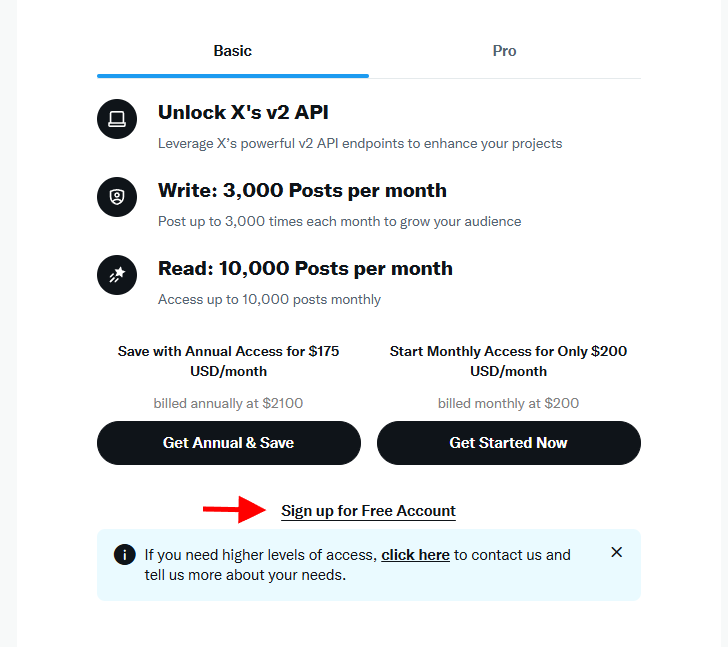
Same as Google, it's also possible to allow X users to log in to NexoPOS using their account. The complexity of this configuration is more similar to Facebook.
While X makes some API access paid, for this, we'll use the free version that remains accessible to any account.
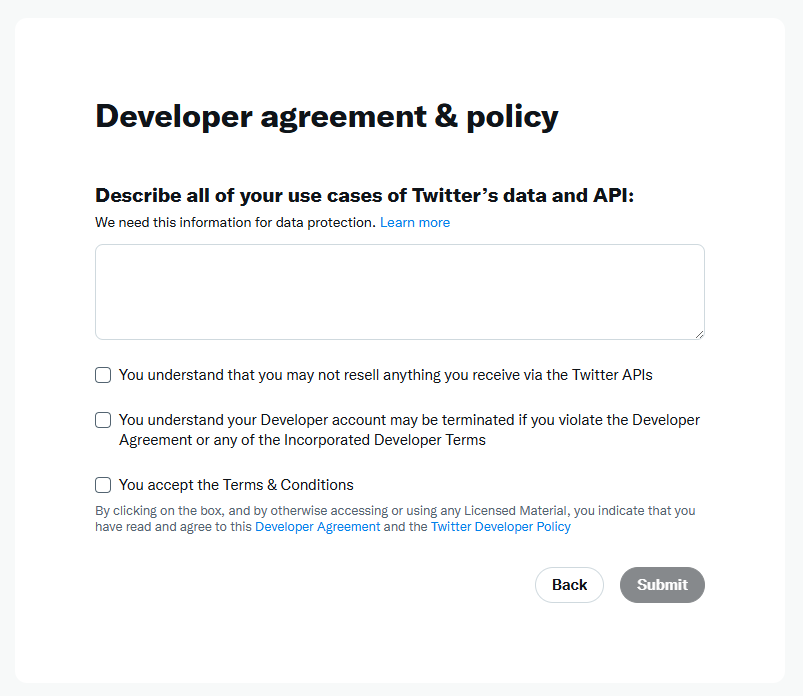
When you proceed, you'll have to describe the use case for using the API. I believe you need to be honest on the way you'll use the X API.
When you've submitted the data, you'll head to the dashboard, where we can proceed with the App Creation.

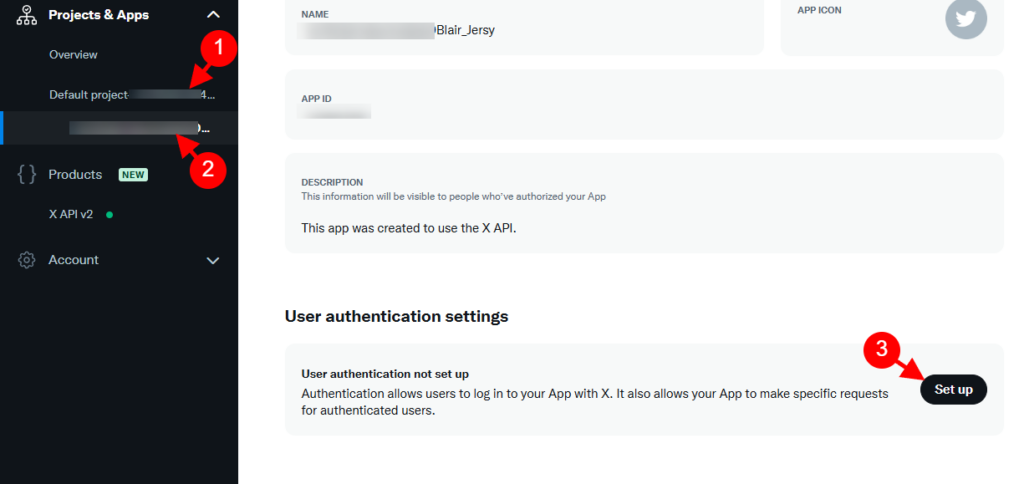
Now we'll make sure to enable the Authentication feature for our app. We'll open Projects & Apps, go to the project then select the app. Then, down below, we'll enable the Authentication feature.
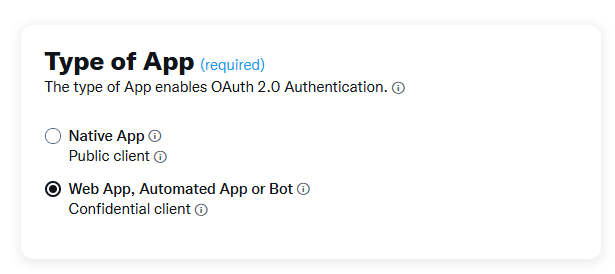
When you click on Setup, you'll be asked for various details such as the nature of the app. For our case, we'll use "Web App".
Now, below the App Info, we'll make sure to specify the callback URI, which should be your domain (where NexoPOS is installed) plus "/socialite/x/callback". We should have something that looks like this:
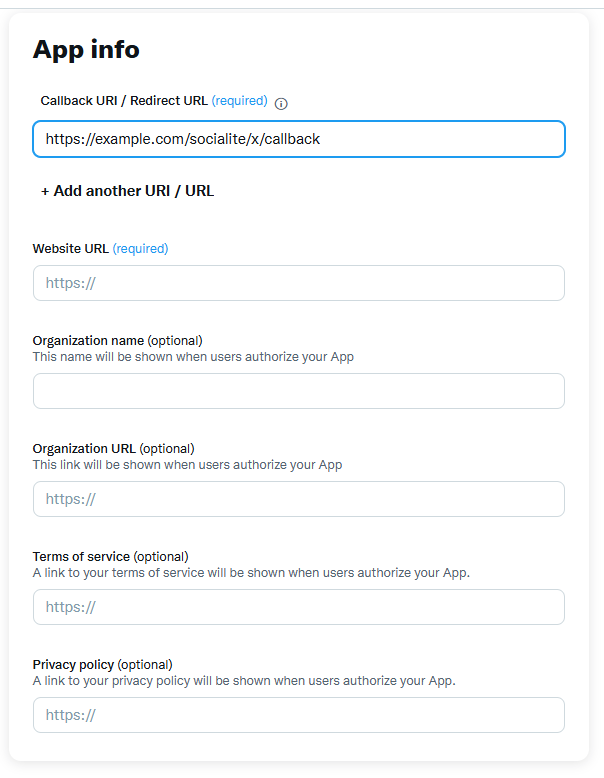
You'll replace "example.com" with your actual domain. Also, you should make sure to fill other required fields before submitting.
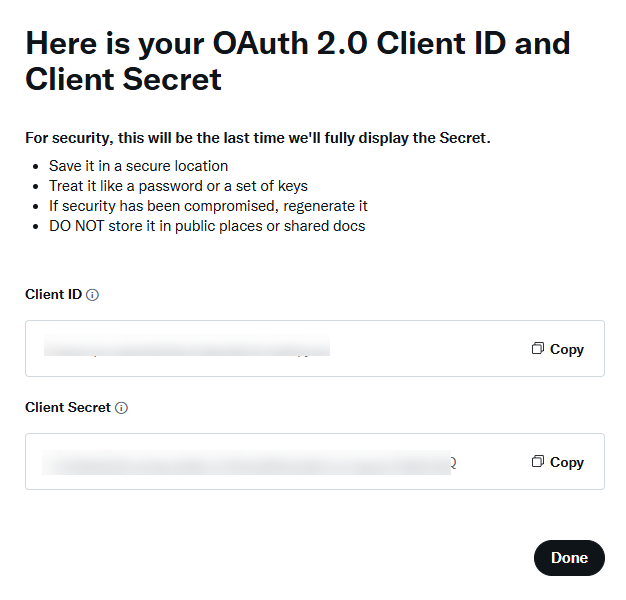
After the previous step, this will create the Client ID and Client Secret that we'll need to copy to the "X" tab on Socialite settings.
From now on, it should be all.
If you're facing any issues during the process, we remain available to help.
The Stock Transfers module ensures to be able to transfers...
If you already have purchased the product, you can download it from your account downloads.