Mail: [email protected]
Phone: +1(424)231-4091
Deploy NexoPOS in 1 minute for free. No credit card required. Deploy Now
Deploy Now
Everything you need to know about NexoPOS.
Deprecated Tutorial
NexoPOS 3x is no longer supported. We trully appreciate your interest on that legacy software. We however recommend you using NexoPOS >5x.
In order to validate NexoPOS 3.x with My NexoPOS, you first need to link your account with CodeCanyon. Once you're done, you'll need to create a client for your installation. After that, you can proceed to the validation of your installation. This guide will then show you how to proceed.
The first thing to do is to download your client key file and upload it at the root of your installation. The file should be exactly as you have downloaded from the client section. If you have lost the client key, you need to create a new client from that section.
The next step is to download Nexo Updater. This module is available on our marketplace and that version 2.x is required to validate your installation with My NexoPOS. Once the module is installed, you'll head to the activation page. If you see a page that looks like what follows, that means you haven't updated keys already.

You then need to proceed as indicated on the message or read the tutorial about creating clients. If the keys is stored on your installation (root of your NexoPOS 3.x installation), you'll see a page that invite your to authenticate with My NexoPOS.
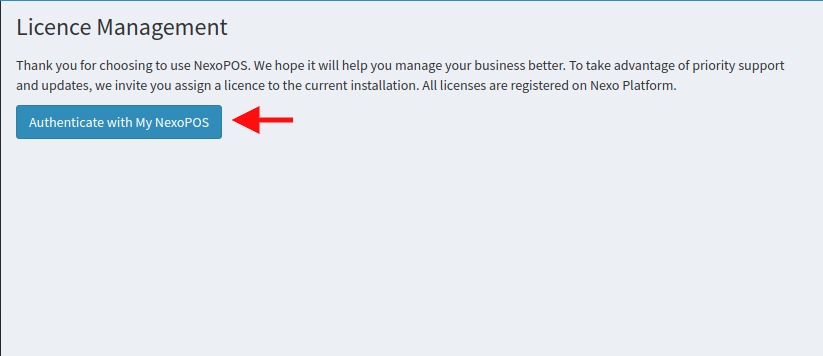
By clicking here, you'll head to My NexoPOS authentication page (if you're not logged) or to the authorization page.
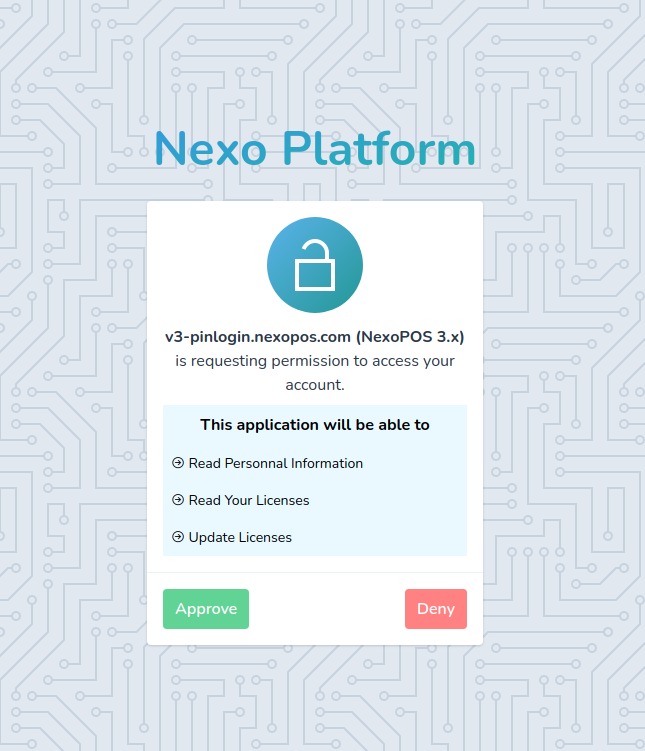
No that here is used the client we have created. Once approved, you'll be redirected to your NexoPOS Dashboard where you'll have to select the license to use on the system.
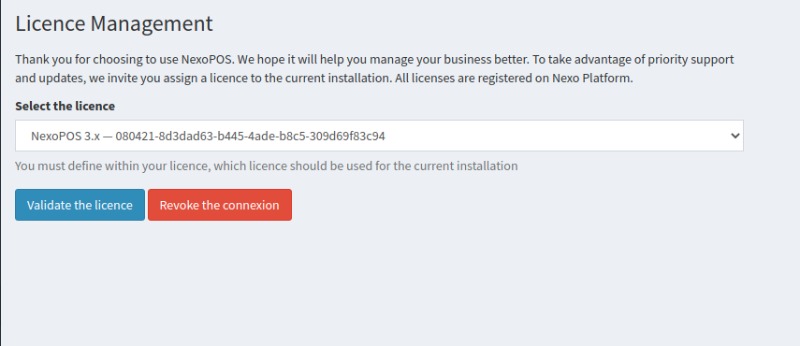
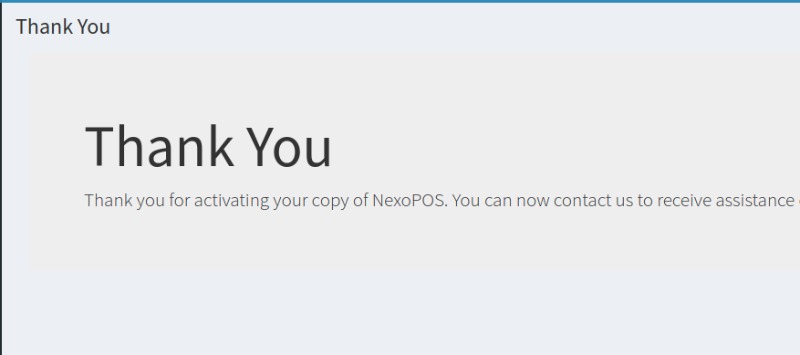
Before accepting you'll need to confirm your action. Once activated, you should see a "thank you" page.