Documentation
Everything you need to know about NexoPOS.

Orders
Processing orders are probably one of the main tasks that are performed in a store. NexoPOS 4.x offers an extended point of sale interface where orders can be managed. This page will describe everything that is needed to create and manage orders.
Point Of Sale Showcasing
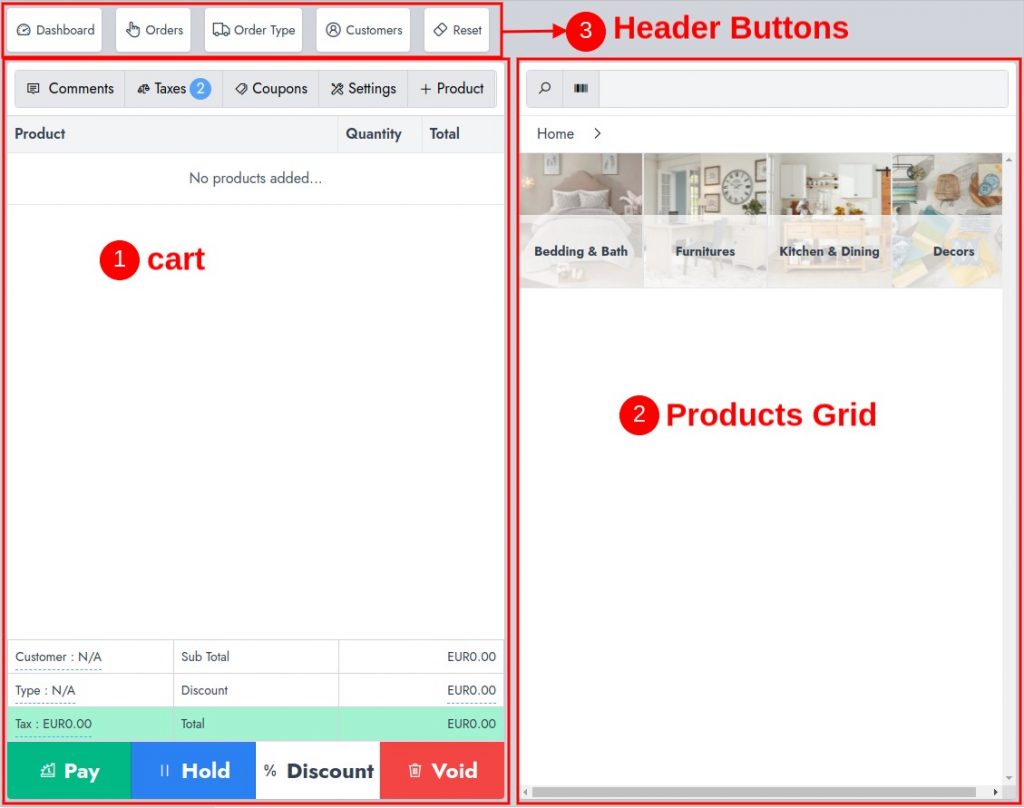
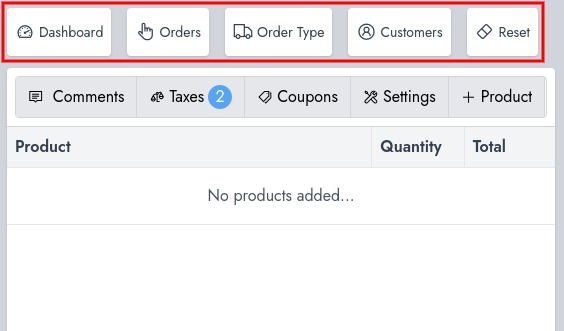
The point of sale is split into 3 sections (for the default layout). The right section is the cart and the left section is the products grid. On the top, there are shortcut buttons.
Products Grid
The products grid is the area where the products are fetched to be added to the cart. It displays the products and categories in a folder exploration tree. Categories are shown first then products. The categories can be organized as a hierarchical tree, with unlimited subcategories. However, the more subcategories you add, the harder it might be to browse through them. Every time a category is explored, a breadcrumb shows the path you've been going through.
The grid can also be used to quickly search a product using an expression or with a barcode reader. The search field on top is where the cursor should be set for using the barcode reader. For an automatic focus, you need to click on the barcode button.
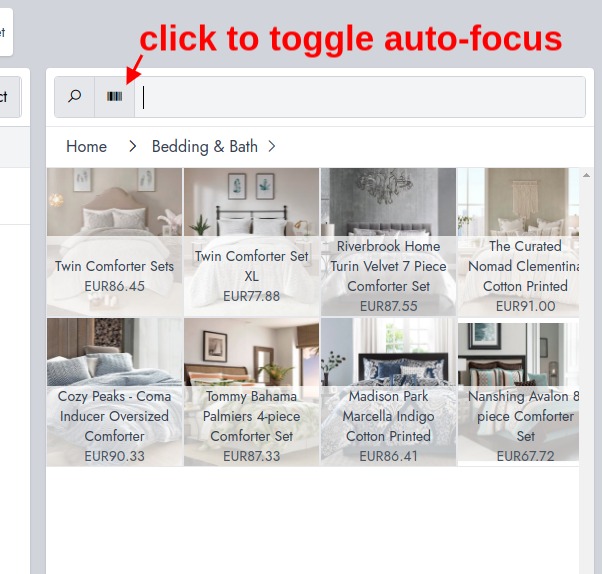
In case you would like to search for a product using an expression, you can click on the button with the magnifying glass. A popup for search will appear.
Cart
The cart is the place where products are added. You'll then be able to :
- manage these products
- assign a customer
- select tax
- choose the order type
- change the order settings
- add a quick product
- apply a discount on the cart
- add a note to an order
- manage coupons
Managing Products
Every product that is added to the cart is listed with the details of that item. You can then see the actual sale price, the quantity, and the actual price type.
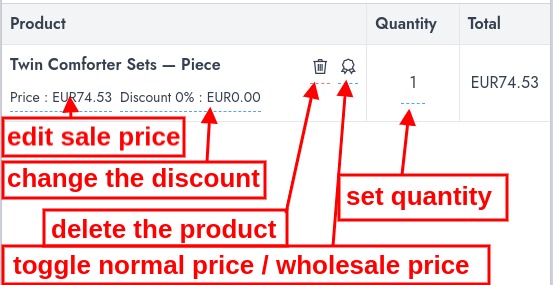
You should note that NexoPOS 4.x has a normal price and a wholesale price. To apply either a flat or percentage discount on the product, you need to click on the "Discount..." and a popup for setting the discount will appear :
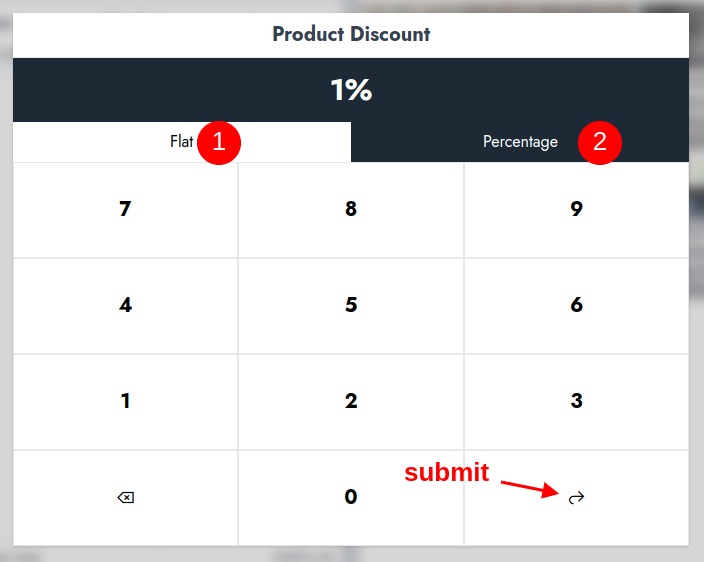
- To set a flat discount click on the "Flat" tab.
- To set a percentage discount click on the "Percentage" tab.
To submit the discount, click on the submit button.
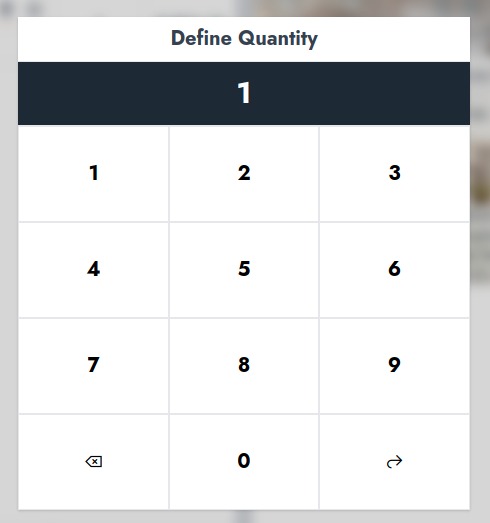
In order to change the quantity, you need to click on the quantity square and a popup will appear. From there you'll be able to set a quantity.
Assigning A Customer
In order to assign a customer to the order, you need to click on the "Customer" link at the button of the cart.
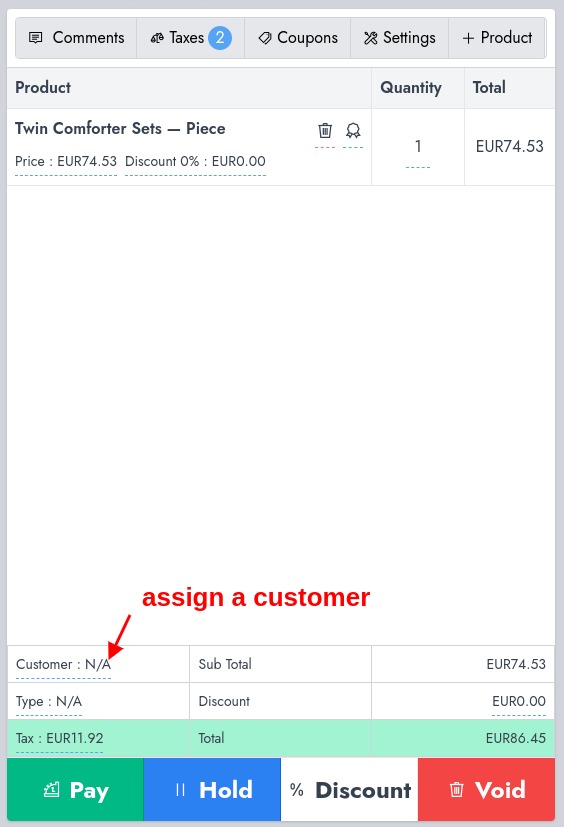
That will show a popup where you can search the customer.
You can learn more about managing customers on the POS by reading this guide.
Select Taxes
If you have assigned tax on the settings. You'll be (according to the tax type) be able to configure the taxes in 2 sections. Every time tax applies to the actual cart, you'll see the total taxes assigned to the order on top of the cart.
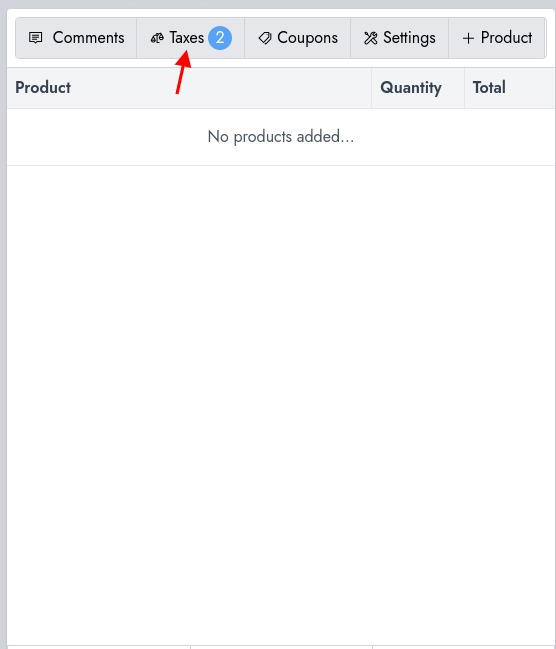
In our current example, 2 taxes apply to the cart. You can check them with their value by clicking on that button. This should display a popup where you can select the tax that applies to the cart (will be disabled if you've set a fixed tax on the POS settings).
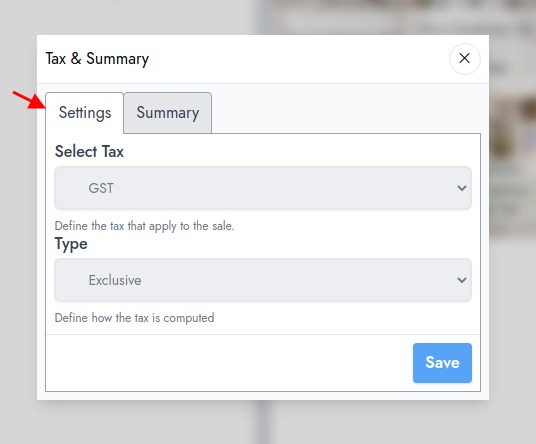
By clicking on the "Summary", you'll be able to see the tax summary.
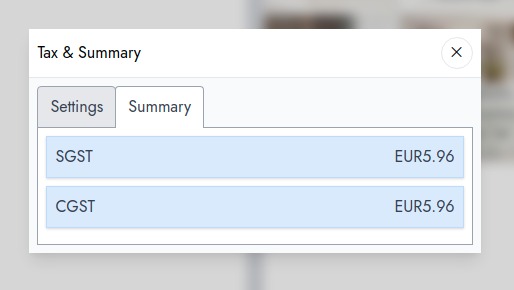
You can also access this by clicking on the "Tax" link at the bottom of the cart.
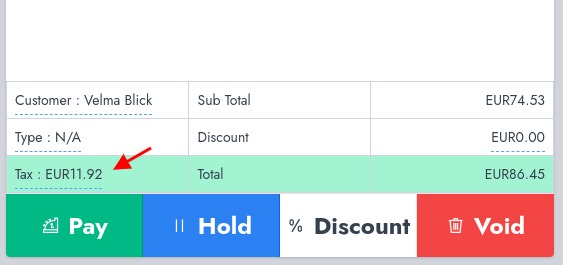
Choose the order type
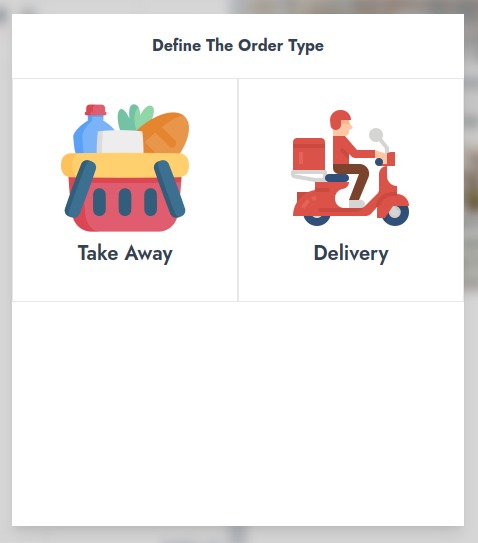
By default, NexoPOS 4.x comes with 2 different order types:
- Take Away : where the customer carries away his purchases
- Delivery : where the purchases are delivered at the customer location
You can select the order type by clicking on the "Order Type" button on the header buttons or at the bottom of the cart.
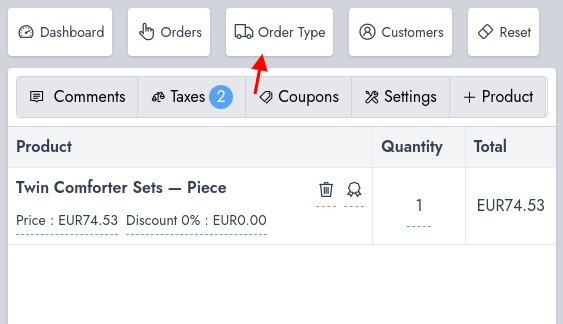
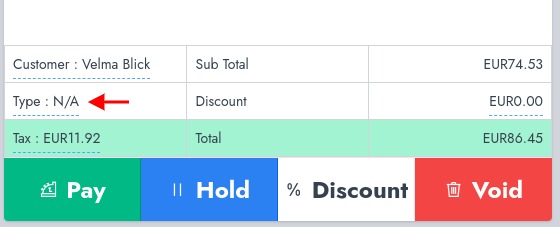
You'll be invited to choose the order type that should apply to the order. Note that order type can be changed on orders that have been saved and not billed yet.
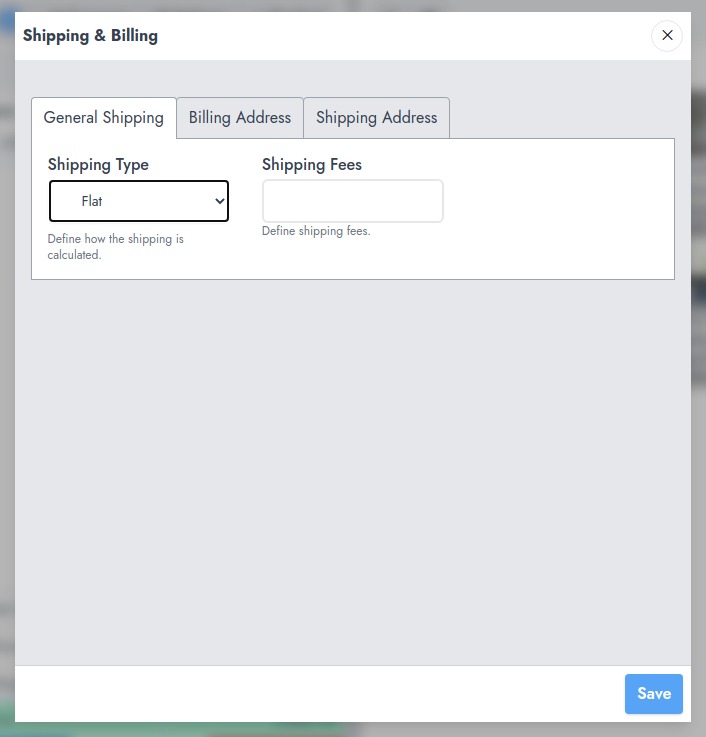
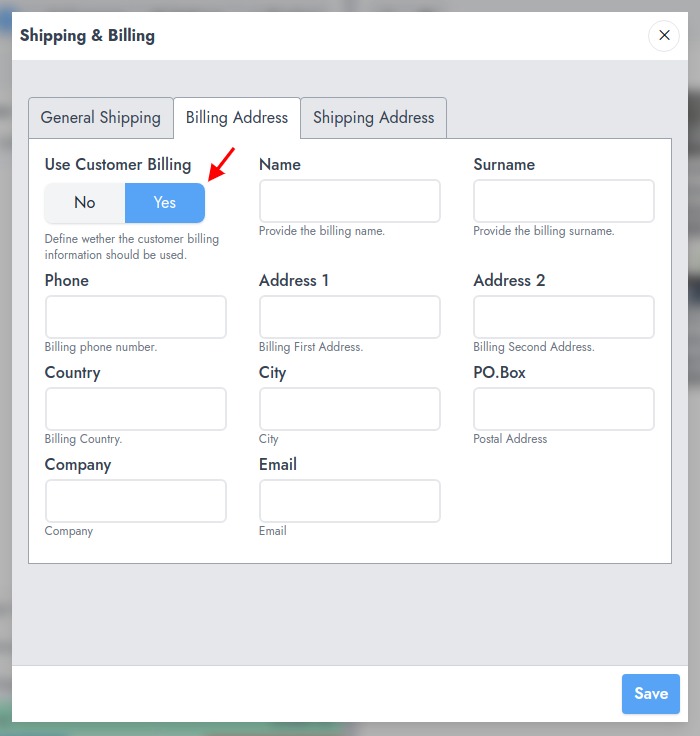
If you choose the "Delivery" type, you'll be invited to provide the delivery fees & information. If your customer already has those details, you'll be able to use the customer addresses for the order.
Change The Order Settings
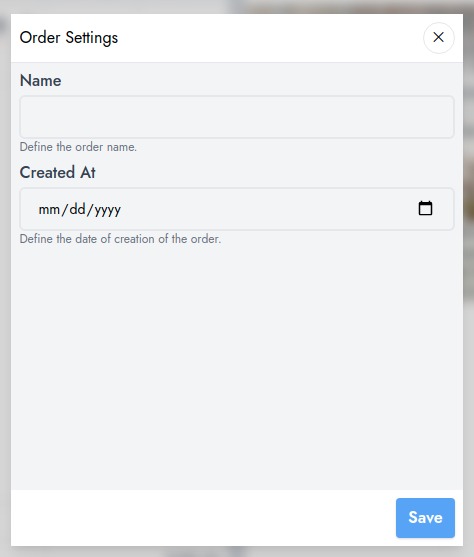
The order settings are a feature that can be restricted. It gives the capacity to change the order name and the date when it has been placed.
You can access those settings by clicking on "Settings" on the top of the cart.
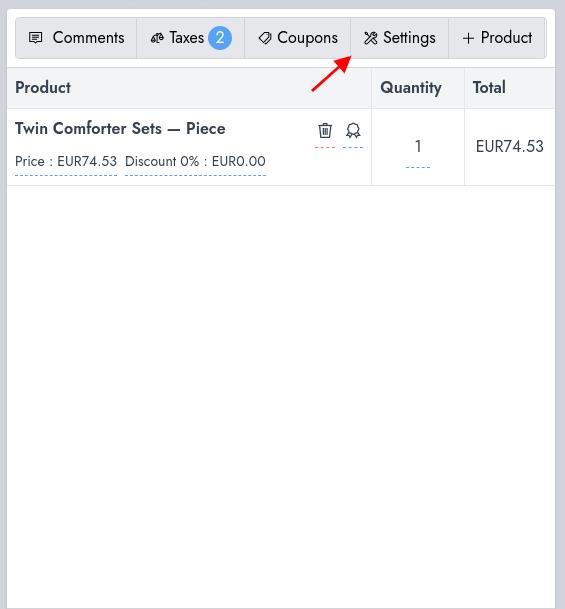
Once you're done with your changes, don't forget to Save the order settings.
Add a Quick Product/Service
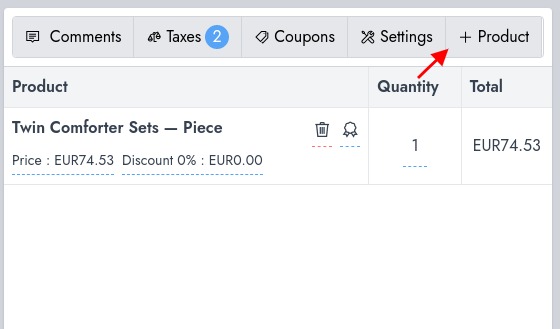
Sometimes, you might need to add an extra charge to the customer order for an item or service that is not listed as a product. In order to create a Quick Product/Service, you need to click on the button "Product" on the header of the cart.
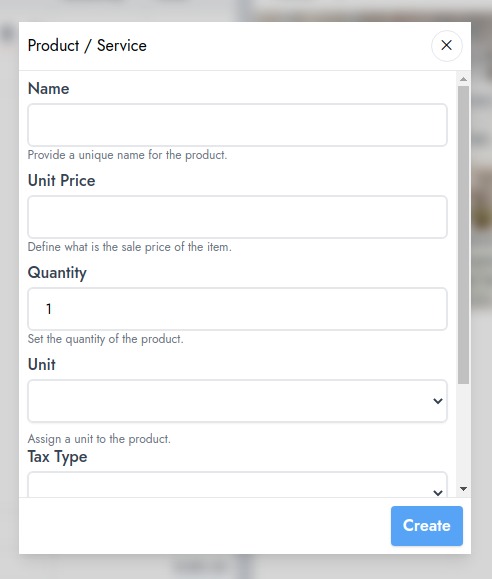
That should display a popup where you can define :
- The item name
- quantity
- unit price
- unit
- tax group
- tax type
Apply A Discount On The Cart
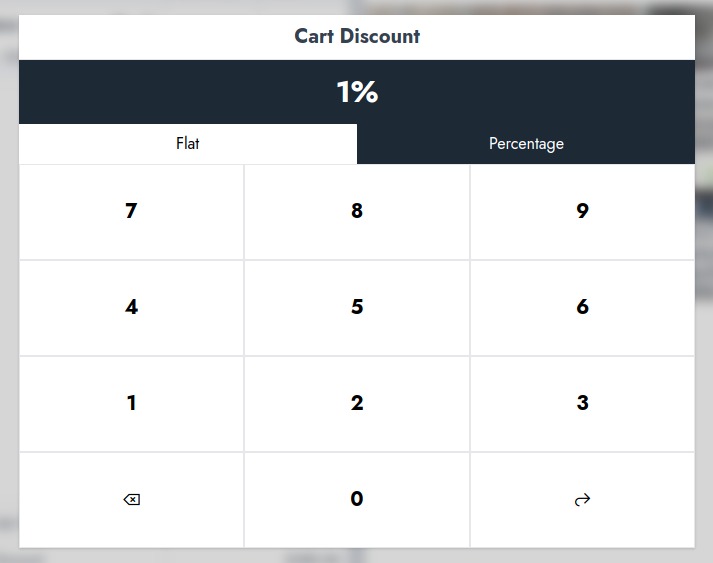
As you can apply a discount on an item, you can also apply a discount on the whole cart. You can access the discount button at the bottom of the cart, on 2 locations :
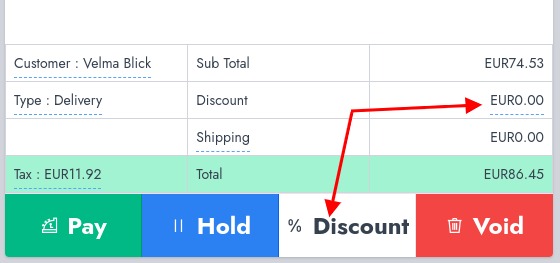
Same as on the product discount, you'll be able to choose if you want to apply a flat or percentage discount.
Add A Note To An Order
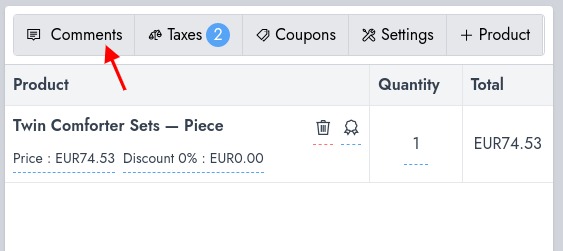
Sometimes, an order might need special attention. The note on the order is used to define the attention required by a specific order. In order to access the note, you need to click on the "Comment" button on the cart.
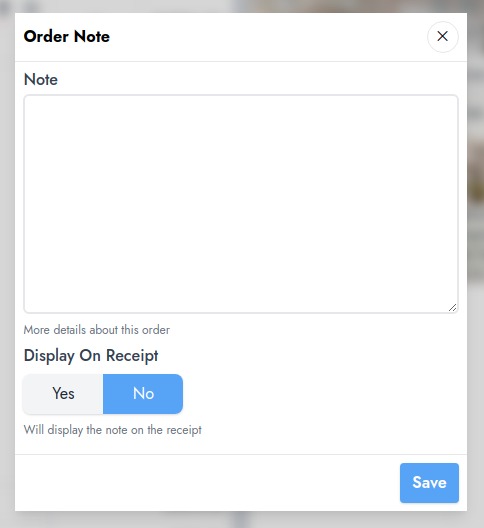
The note just consists of a simple text area. You can also decide to display that on the receipt. Make sure to save the note once you're done.
Manage Coupons
Before applying coupons to the cart, it needs to be created. Once a coupon is created, you can use the coupon code to load it.
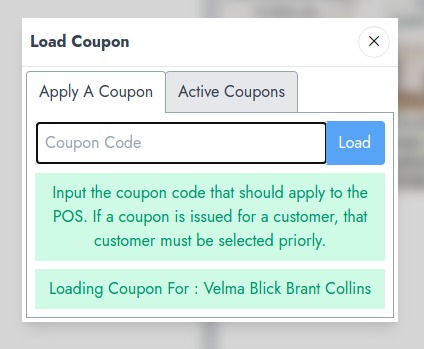
For every already applied coupon, you can click on the "Active Coupons" to see them. From there, you can also disable them.
Top Header Buttons
The top header buttons has a button that can be used to access various features.
Dashboard
This button will take you back to the dashboard.
Orders
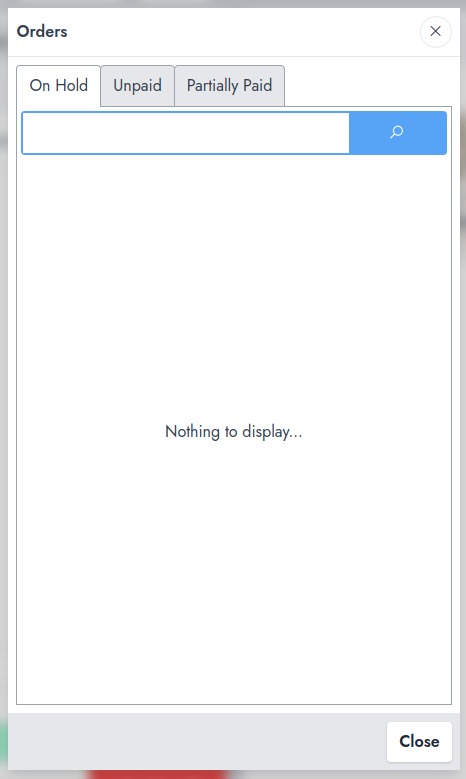
This will load a popup where you can see all orders :
- on hold
- unpaid
- partially paid
Order Type
As we've mentioned above, this button helps you defining what is the type of order.
Customers
From here, you can create new customers and see the currently selected customer account.
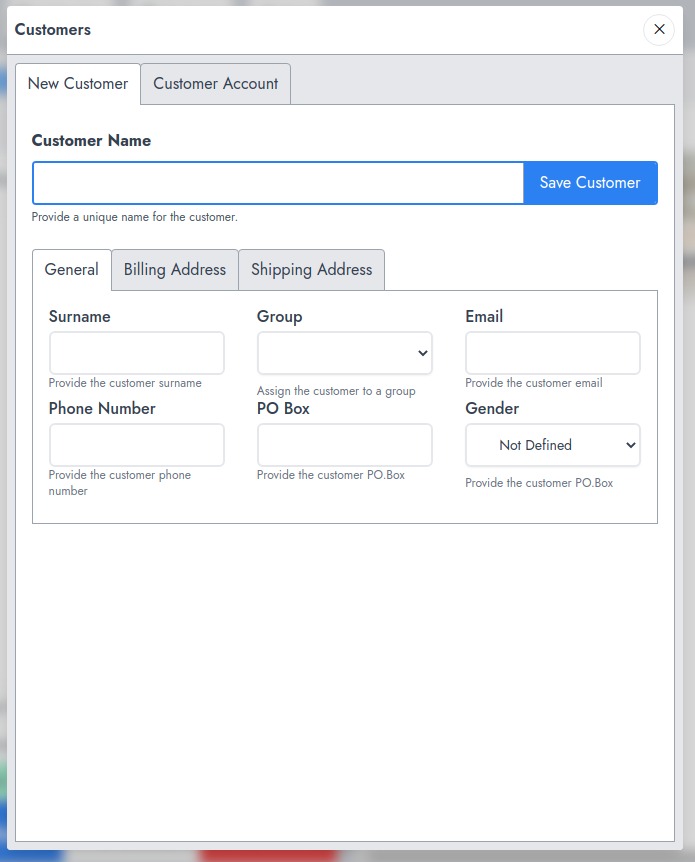
The customer account requires you to select a customer, once it's done, you'll be able to see the recent customer orders, and his coupons (those earned through a reward system).
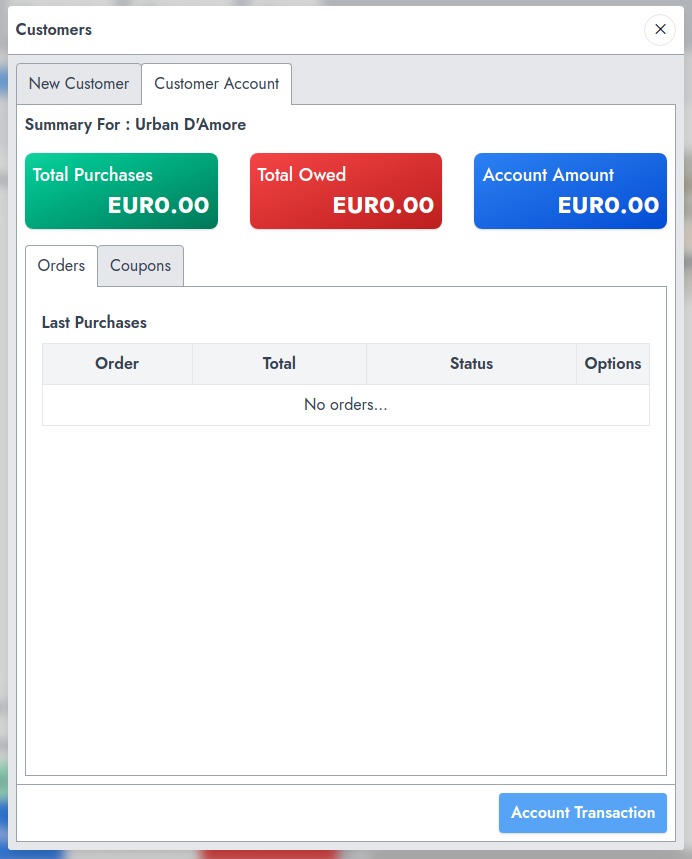
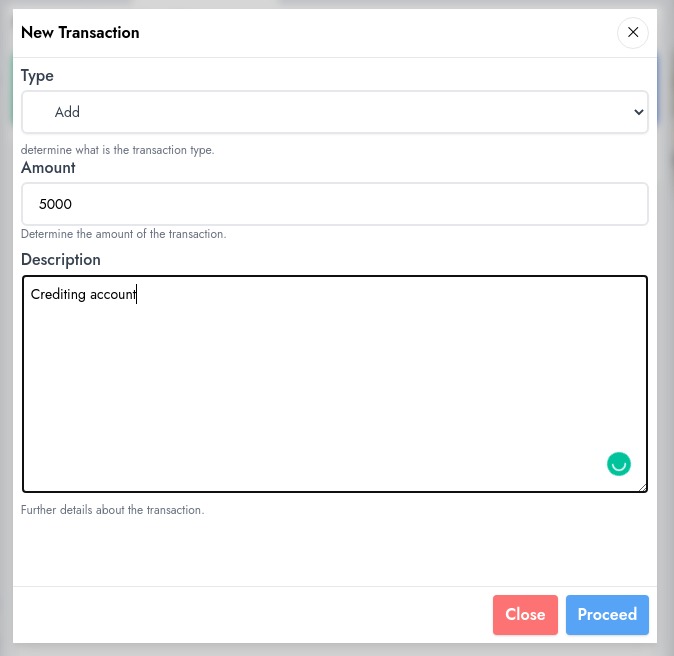
Using the button "Account Transaction", you'll be able to add or deduct funds from the customer account.
Reset
This will clear the current order process. There shouldn't be confusion with the void button which "cancel" the order.
