Mail: [email protected]
Phone: +1(424)231-4091
Documentation
Everything you need to know about NexoPOS.

Customers Group
Not all customers are equals, as some customers are more loyal than others. In certain circumstances, you might want to group your customers in order to apply specific offers or pricing to these latest. The customer group helps to organize your customers by grouping them.
Before being able to create a customer, you need to create a group to which the customer will be assigned to.
Create Customers Group
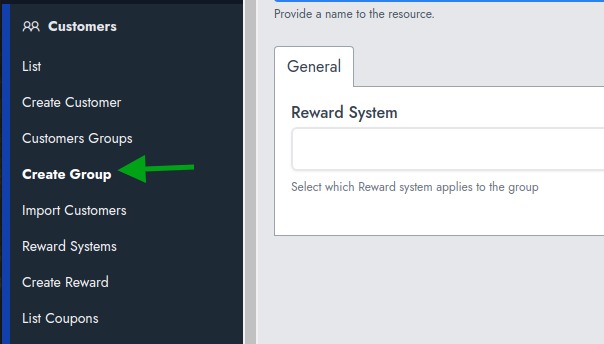
This option is part of the menu "Customers" available on the dashboard. To create a new group, head to "Customers > Create Group".

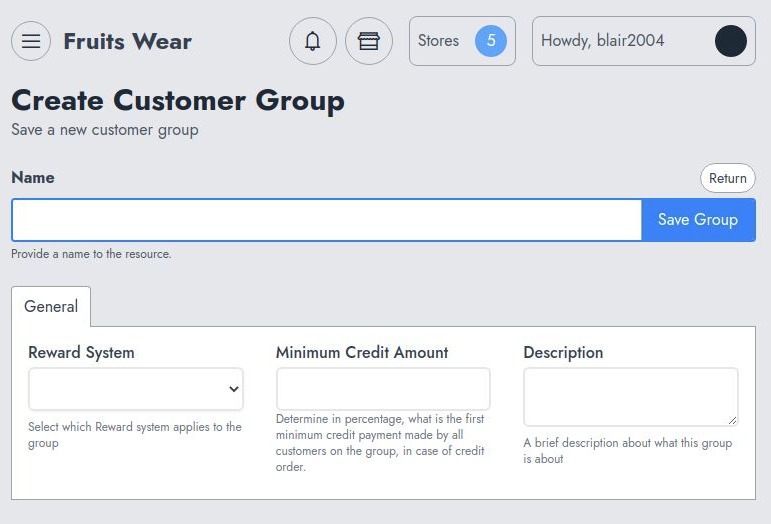
This takes you to a form where you can create your customer group. The required field is the name. However, you can also attach a specific reward system to the customer group. That reward system will then work for all customers within that group.

If you also plan to allow credit or partial orders for that group, you might consider providing the minimum payment (in percentage) the customers within the group, should pay over all the orders they place. Once you're done, click on "Save Group" to proceed.
Managing Customer Group
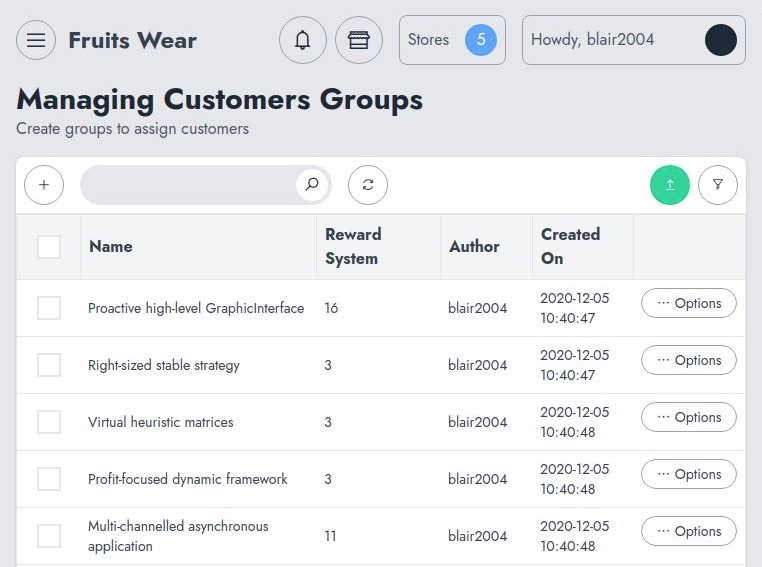
After the customer creation, you're redirected to the customer's group list, which uses an abstract table component. This table includes actions such as "Edit" and "Delete".

A special note should be shared here. When a customer group is deleted, this doesn't delete the customers attached to that group. However, these customers won't be assigned to a group and therefore might be available on the post. This behavior is likely to change in the future.
