Mail: [email protected]
Phone: +1(424)231-4091
Deploy NexoPOS in 1 minute for free. No credit card required. Deploy Now
Deploy Now
Everything you need to know about NexoPOS.
NexoPOS modules aim to provide more features to it. It's provided as a ZIP file that needs to be updated on NexoPOS. Some require installation just by uploading a zip file, others require further configuration that can only be performed from the command line. But before elaborating on the installation and update, let's see the difference between installing and updating a module.
For NexoPOS there is no difference in terms of process. Either the installation or the update is performed from the same UI. NexoPOS will be responsible for detecting if there is a similar module exists and if the version of the newly uploaded module is greater to perform an update.
At the moment, the most recommended website to download NexoPOS extensions is on the marketplace of NexoPOS.
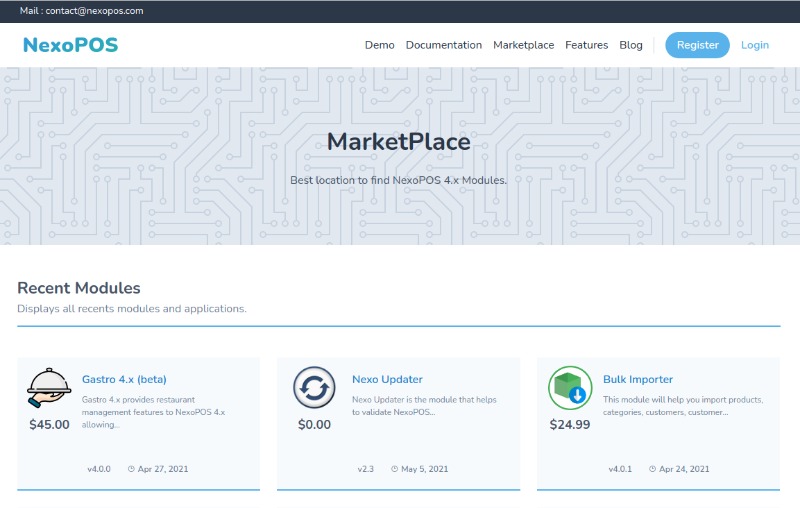
These are official and approved modules reviewed by the NexoPOS team. Some of these modules might be available for free, others after a payment.
During the installation of a module, NexoPOS creates a folder with the module namespace (identifier) within the "modules" folder. In case you would like to install a module from Github, you'll need to change the directory to the "modules" folder and then perform the git clone command.
Modules can also be dragged and dropped and extracted to that folder, but you'll need to manually create a symlink for that module. Let's assume your module identifier is "NsGastro" (for Gastro 4.x), and you copy and paste the module (for the first time). You'll need to run the following command on the CLI.
php artisan modules:symlink NsGastroDoing that will create a symbolic link to the public folder of the module.
We need to make sure the module management is not disabled on the .env file located at the root of NexoPOS (it's disabled by default). In case you receive a warning related to the module management being disabled, make sure to check if the "NS_MODULES_MANAGEMENT_DISABLED" is set to "false" or delete the key-value pair. If you can't find that key-value pair, then you can proceed.
Now, we assume you have the zip file of the module you would like to install/update. Let's now head to the modules list.
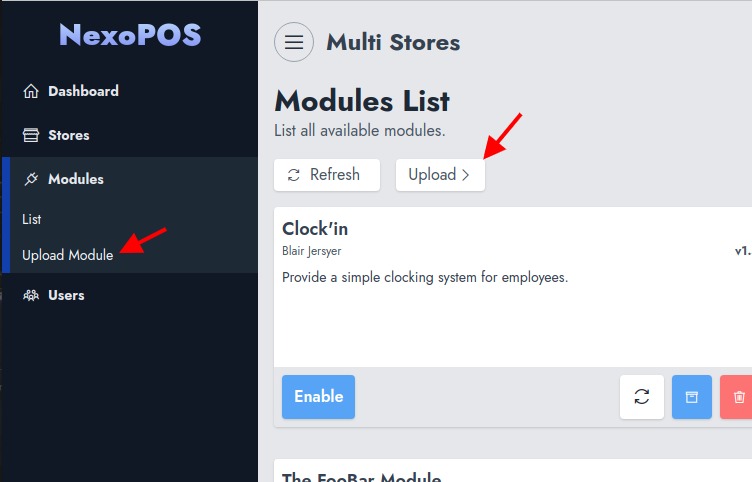
Click on "Upload" on that UI or you can click on the sub-menu "Upload Module". This should take you to a UI where you can upload your zip file.
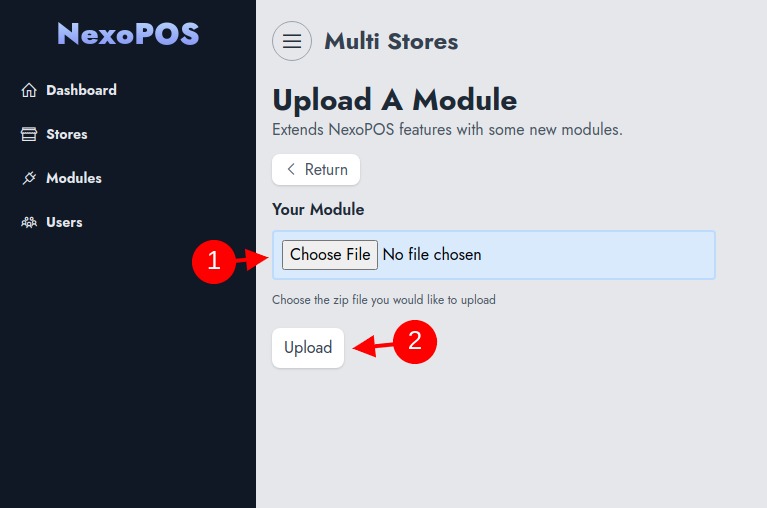
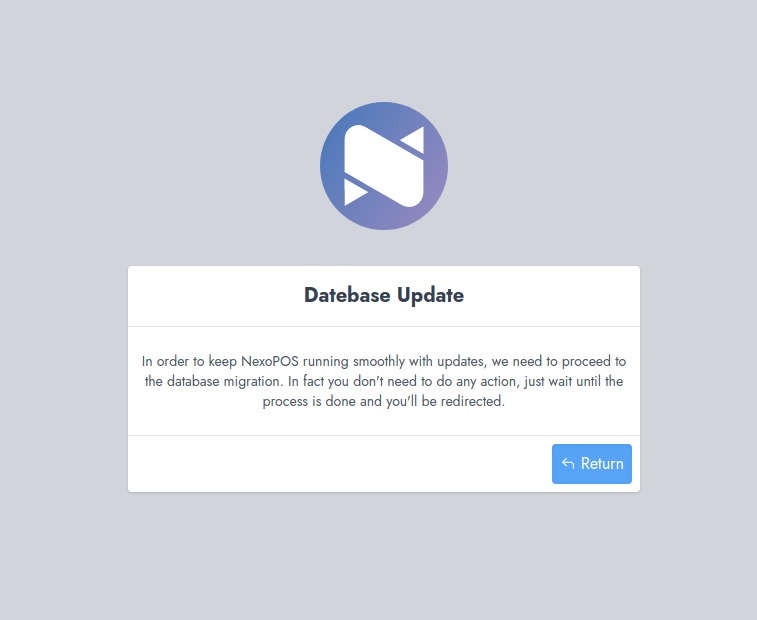
You just have to click on Upload now. If the module is recently updated and has migrations, it will run automatically. If it's an update and if that update includes new migrations, these will also run automatically.
Some modules might rely on external packages that can be installed using composer, others might need to have their frontend built or some might need both. Usually, the developer will provide instructions on what needs to be performed for a better update. Most of the time, if your module includes a composer.json file, you can run the following command :
composer installIf the module you've installed doesn't come with assets built (this should be clearly stated by the module author). You'll probably need to run :
npm installAnd other configurations that might be necessary to build the assets (should be provided by the module author).
These will help to debug the issue you might face while uploading a module.
While uploading a module to NexoPOS, you need to make sure that the folder "modules" is owned by the user that runs the php process. On Ubuntu the user is usually "www-data" on Centos it's "apache", but it might be different according to the Linux distro and hosting you're using.
Typically you'll give ownership like so :
sudo chown www-data modules -RIf the issue persists, please let us know with an appropriate screenshot.
As we have mentioned at the beginning of this guide, you need to make sure the key "NS_MODULES_MANAGEMENT_DISABLED" is either set to false or deleted from your .env file.