Mail: [email protected]
Phone: +1(424)231-4091
Deploy NexoPOS in 1 minute for free. No credit card required. Deploy Now
Deploy Now
Everything you need to know about NexoPOS.
Most websites are running behind a secured socket layer (SSL). This means that all other applications that aim to interact with these websites need to use the same protocol as well. Previously it was possible to use Nexo Print Server (NPS) with a website running behind an unsecured protocol, however, nowadays, it's no more possible.
While Nexo Print Server offers an SSL option for running the local server, enabling that won't make thing works necessarily. This guide will then explain everything you need to know before making NPS runs with a secured website.
If you're using NPS locally and have installed NexoPOS locally as well, then yes, you can use it without SSL. However, if you have installed NexoPOS either 3 or 4 remotely, you need to have it running behind an SSL and NPS running with SSL to make it work.
The reason why enabling the SSL option on NPS is not enough to make it work is simply because NPS is using a self-signed certificate. Those certificates aren't recognized by browsers and require you to approve using a server with such a certificate.
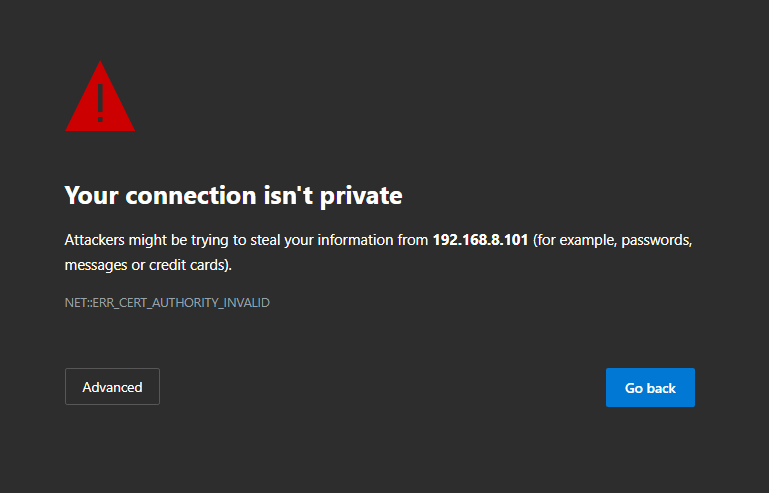
Using the advanced option to allow the request won't work permanently as the certificate will be allowed until the browser is closed.
The solution is therefore to install a self-signed certificate on your computer. This is a solution that will only work on the computer where the certificate is installed. If you're planning to use NPS on a tablet, the self-signed certificate should also be installed there. Before installing the certificate, we need to trigger the error on the previous image. For that, we need to start NPS using the SSL and to use the address displayed on the dashboard combined with a suffix :
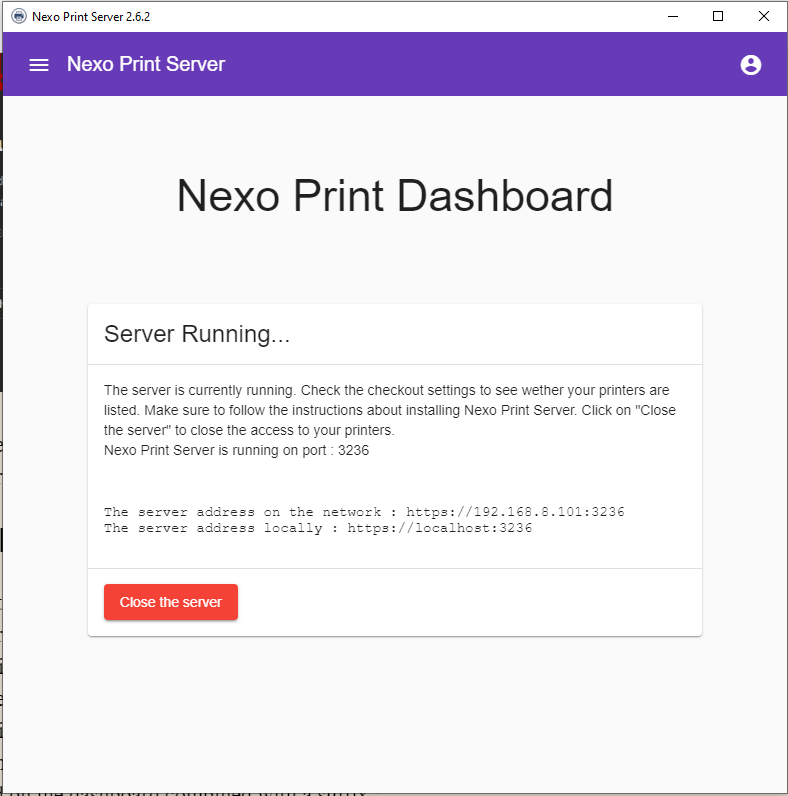
On our current installation of NPS, the network address is https://192.168.8.101:3236, so we'll use it with /api/printers so that we can make Google Chrome throw an error (Invalid Certificate).
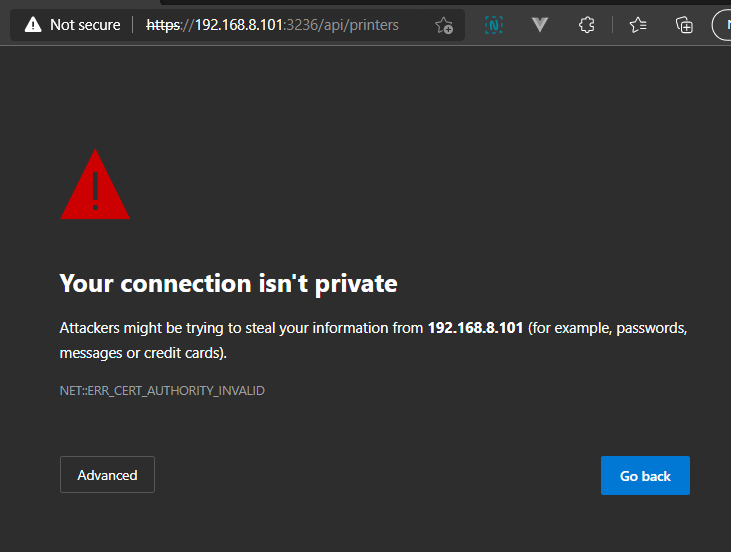
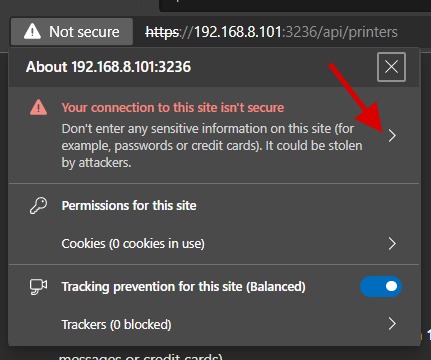
Now, we'll click on the "Not Secure" mention on top, before the address.
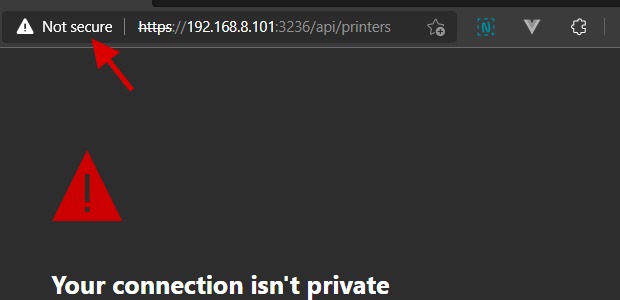
Now we'll click on the warning to show further details regarding the certificate.
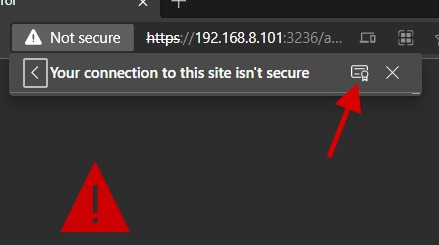
Now, we'll need to click on the certificate icon to proceed.
From now, you'll see a wizard that looks like this.
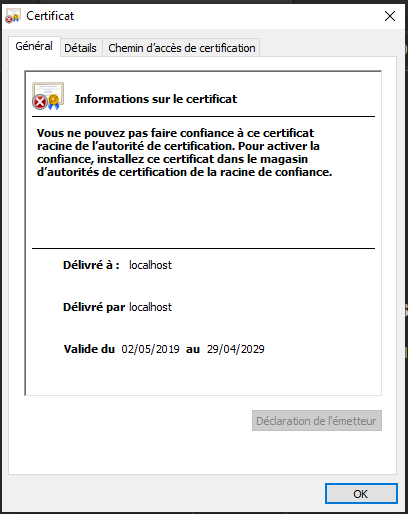
For configuring the certificate, we invite you to read the following tutorial.