Mail: [email protected]
Phone: +1(424)231-4091
Deploy NexoPOS in 1 minute for free. No credit card required. Deploy Now
Deploy Now
Everything you need to know about NexoPOS.
In rare cases on Windows, you might upload a module and see nothing being displayed on the module list. As we haven't yet spotted what might cause this behavior, we're coming here with an alternative solution.
You should note that, if you want to download modules, we recommend you download modules from the marketplace.
Once you've acquired a module, you need to head to your download and get the module you want to install.
Now, we need to extract that file on the modules folder of NexoPOS 4.x. Usually, the extracted module will have a folder having the module namespace with the version. Assuming we're downloading the Pin Login module which namespace is "NsPinLogin", along with the version of the module the folder name included on the zip file should be "NsPinLogin-4.6.0" (so for version 4.6.0).
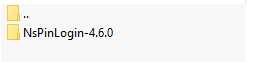
Here, we just need to rename the folder by removing the version number and the hyphen so that the folder name remains "NsPinLogin".
Now, we need to symlink the assets. That will make sure all CSS, Javascript files are available while using the module. For that, you'll need to run the following command using the terminal :
php artisan modules:symlink NsPinLogin
Once you've been through the previous steps, you now only need to enable the module from the dashboard.
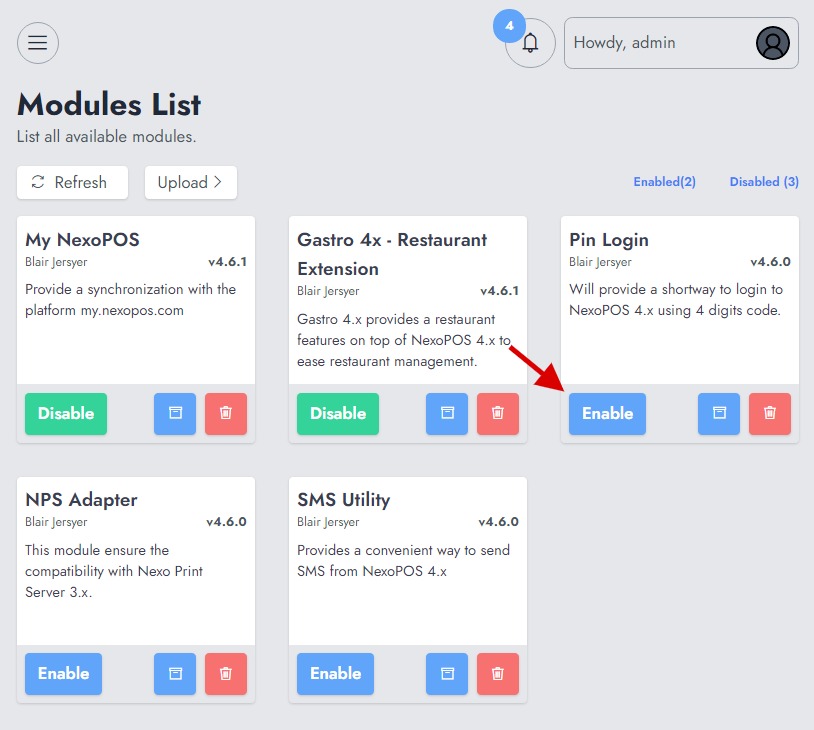
Sometime, after installing a module, it might not work properly, depending on the environment. This will help you solving the most known issues with the module installation.
When you enable the module, you notice that the design is weird, some buttons don't work and on the console, there are no found assets.
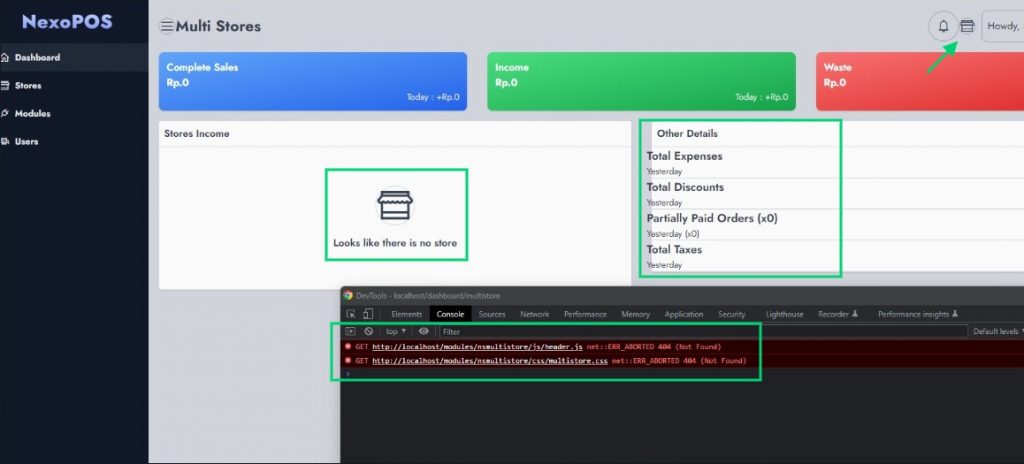
This might be caused for various reasons:
find . -type d -exec chmod 0755 {} \;Does this guide was helpful? If this can't help you, let us know so that we can help you: [email protected]