Mail: [email protected]
Phone: +1(424)231-4091
Documentation
Everything you need to know about NexoPOS.

Installing NexoPOS on Laravel Herd
Laravel Herd is a virtual server application that works on Windows and Mac. It was created by the creator of Laravel and the Founder of Beyond Code. It's a perfect fit for the local deployment of Laravel applications. As NexoPOS is a Laravel application, it works great with it.
This guide will take you through the steps of installing NexoPOS on Laravel Herd.
Downloading Laravel Herd
We need to download and install Laravel Herd. You can get a copy from their website.
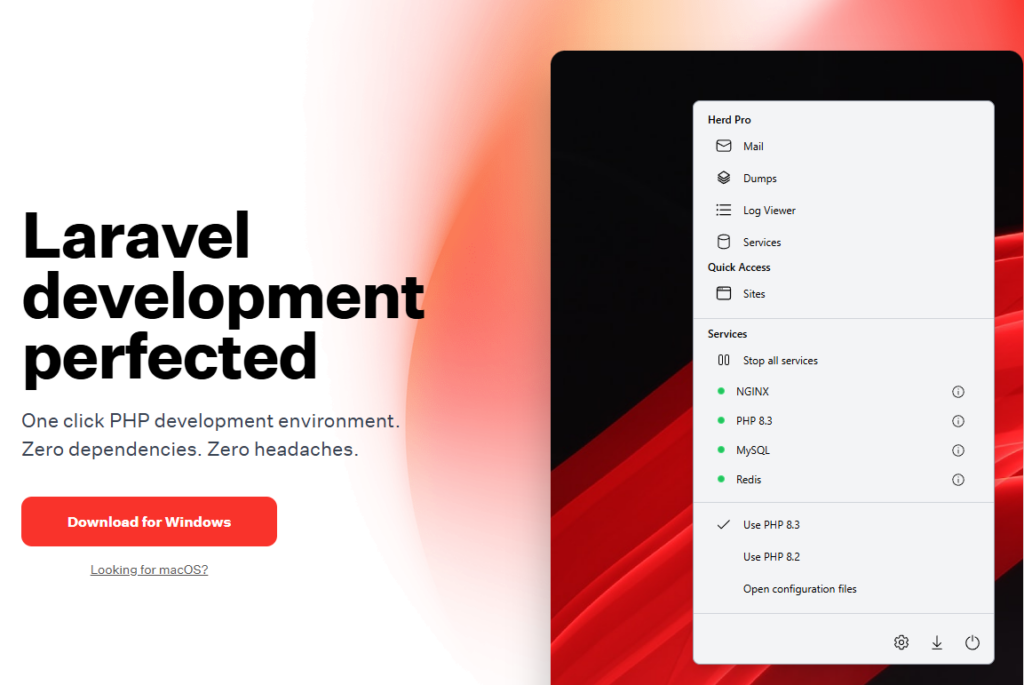
Once it's downloaded, double-click on the installer and just follow the steps.

When the installation is complete, you can start it and proceed with this guide.
Downloading NexoPOS
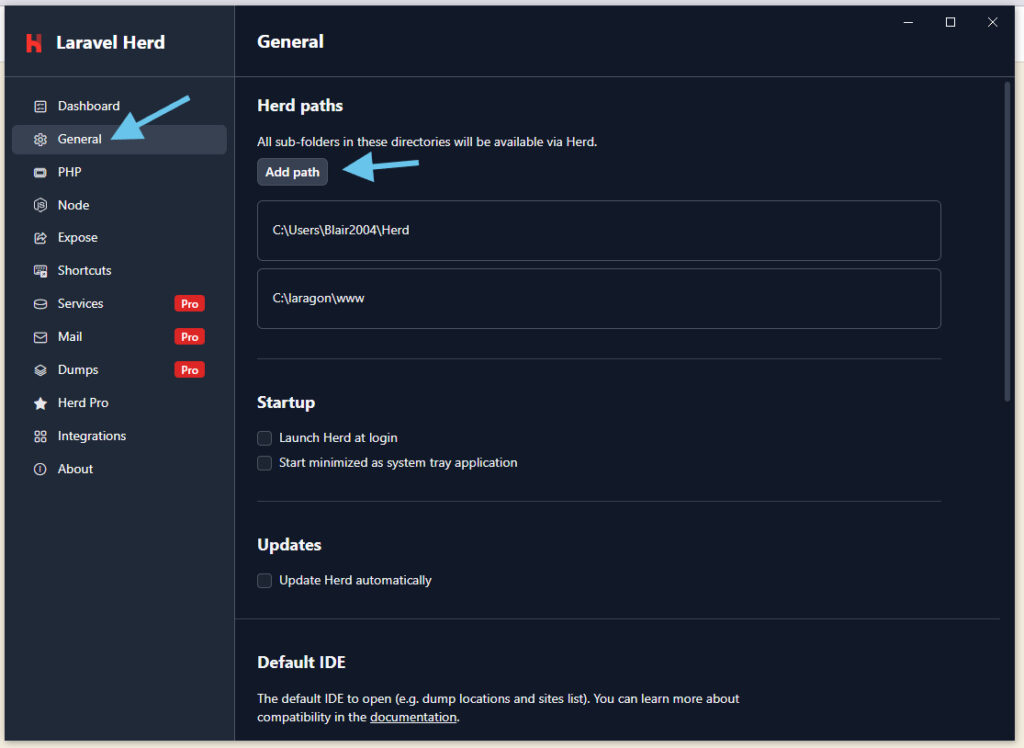
You can download NexoPOS on the Github releases page. Download it and store it somewhere on your computer. Now, we'll configure how Laravel Herd scans applications by opening it. We'll now go to "General" and add a custom path to the directories where we'll install NexoPOS.
By default, Herd scans the folder "Herd" located in the folder Users/[your name]. You can still use it if you don't want to create a custom path.
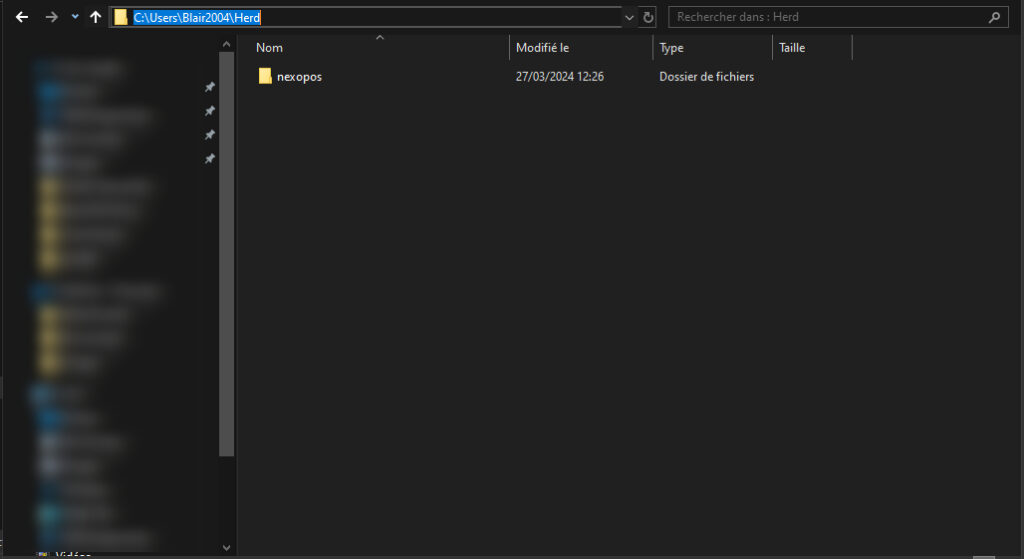
Now, on the custom path (or the default Herd path), we'll extract NexoPOS. Note that we shouldn't paste all the files within the Herd path, but instead, make sure it's all inside a folder with a name that will be used for the virtual domain.
Installing Dependencies
NexoPOS is a Laravel and, therefore, needs to have its dependencies installed. From Herd window, we'll click on "Dashboard" and then "Open sites".
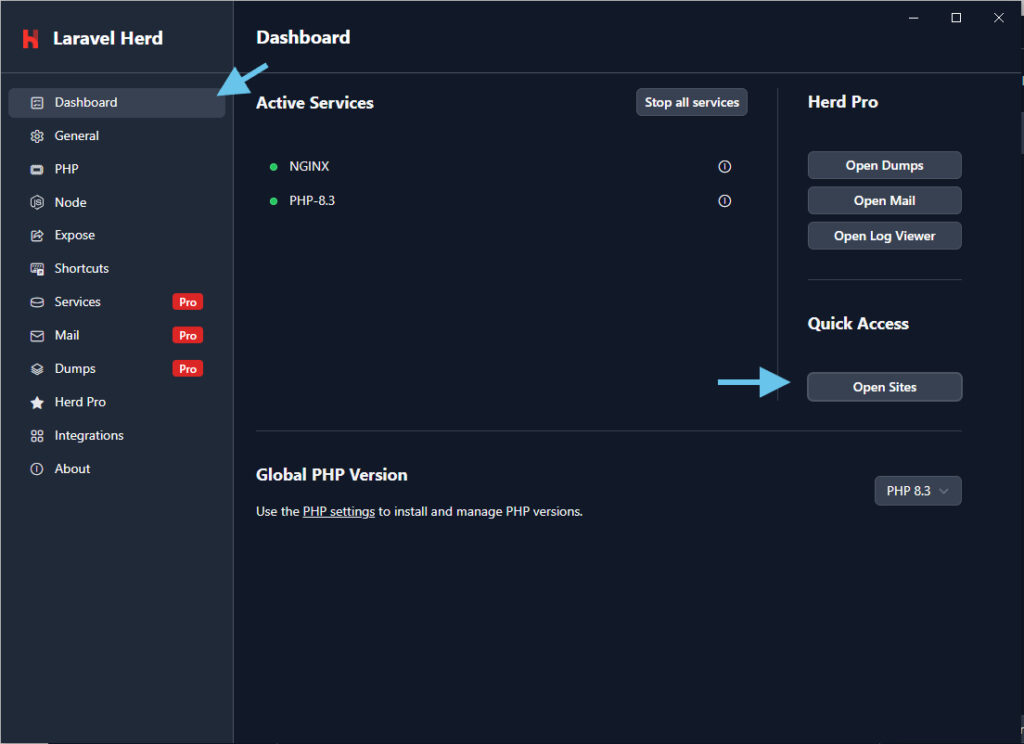
From here, we should now access the terminal to install NexoPOS dependencies.
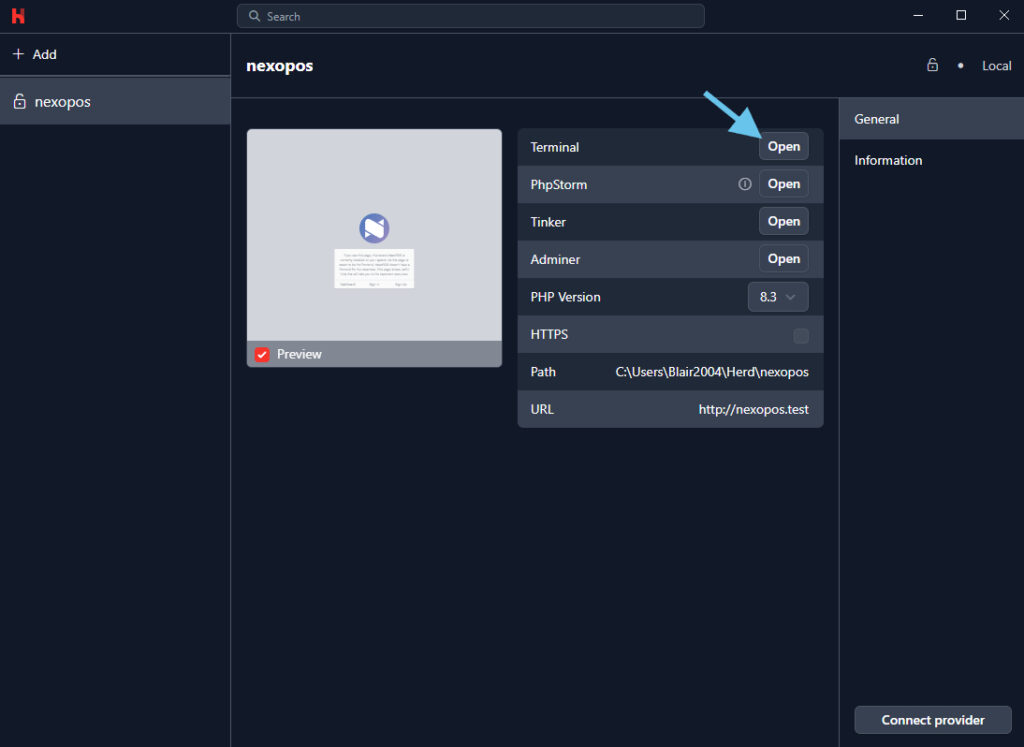
This will open the PowerShell windows and on it, you'll only type "composer install". Note that, this requires you install Composer first if it's not yet the case.

You should wait until it finishes to access the NexoPOS dashboard from the Sites windows of Herd. Now by accessing the website URL from the sites window, you should see the welcome page on NexoPOS.

