Mail: [email protected]
Phone: +1(424)231-4091
Everything you need to know about NexoPOS.
Hostinger is a popular hosting provider that is compatible with most web applications. In fact, with $2.99 you can start right away to host your application including NexoPOS.
You'll learn here how to install NexoPOS 4.x. We'll mostly cover the basics of the creation that includes:
The particularity of NexoPOS (and Laravel) is that the server shouldn't seek the "index.php" file at the root of the project but inside the "public" directory. While creating our domain (or subdomain), we need to instruct the server to use the "public" folder as the document root.
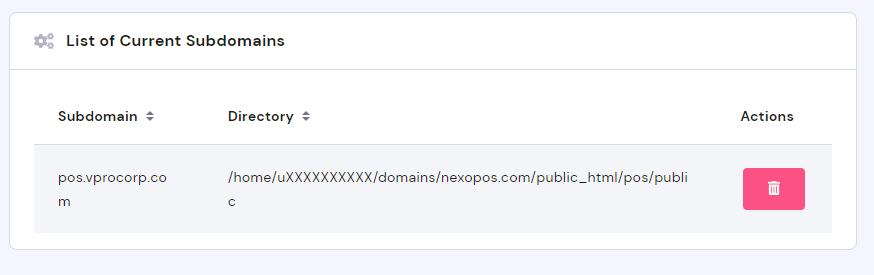
Let's take a concrete example on Hostinger. We'll assume you create a subdomain named "pos" and you have your subdomain created as follows:

In our example, the file (NexoPOS) will be dropped on "public_html/pos", but the folder "public" already included in the source code of NexoPOS will be used to fetch the "index.php" file.
You should then have an output like this:
There are two ways of doing it. You can either do it from the file manager or you can do it from the CLI (command-line interface). The CLI remains a better solution as either way, you'll need it to install composer dependencies.
You'll then go back to the dashboard then scroll down to "Advanced" where you'll click on "SSH Access".

This should take you to a page where you can copy the SSH access for your server. It should look like this:

You can either use Putty, PenguiNet or even VsCode to access the server. In my case, I'm Putty. If you don't know yet how to connect to Putty, I'll invite you to read this.
Assuming you're connected to the terminal, you'll change the directory to :
cd /home/uXXXXX/domains/nexopos.com/public_html/pos.
All the "bold" values must be replaced by your actual hosting value:
From now, we'll head to GitHub releases to download the recent version of NexoPOS.
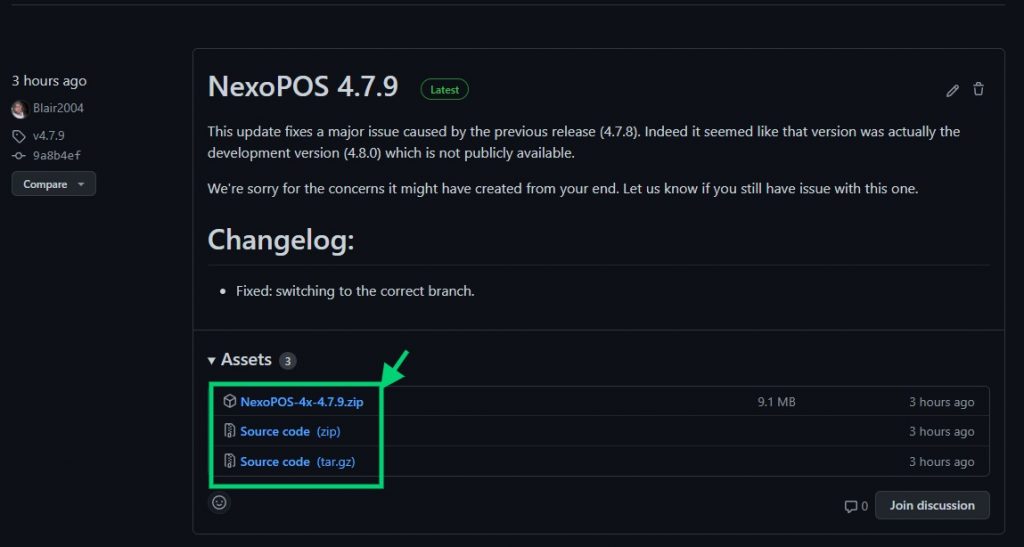
You'll either choose the compiled files (first file) or the source code in "zip". You then need to only copy the link and come to the terminal (Putty) where you'll do:
wget https://github.com/Blair2004/NexoPOS-4x/releases/download/v4.7.9/NexoPOS-4x-4.7.9.zip
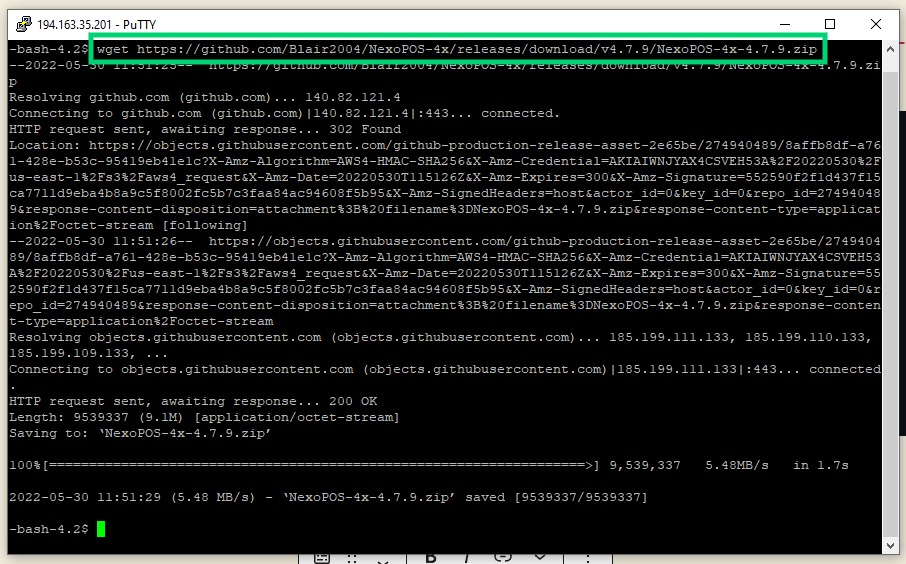
You'll then have a file named "NexoPOS-4x-4.7.9" on your directory "pos". You now only have to unzip it like this:
unzip NexoPOS-4x-4.7.9.zip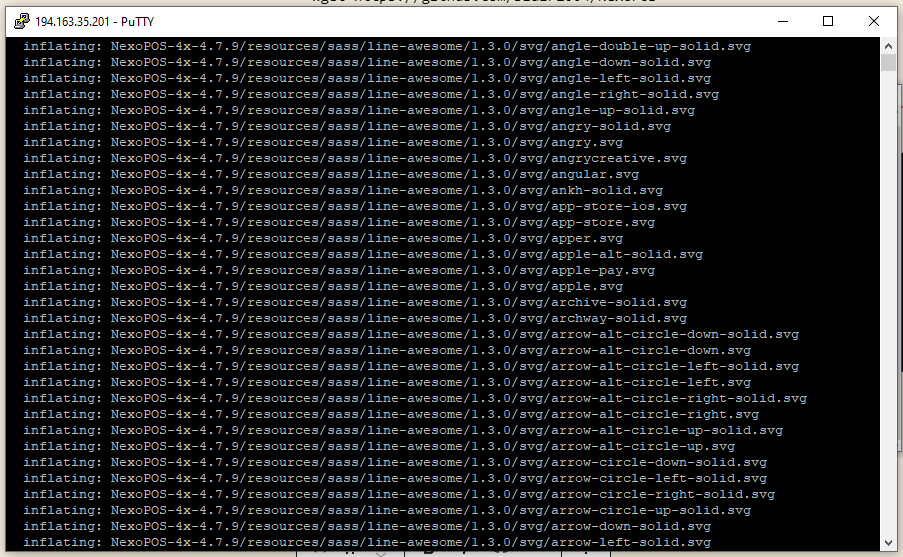
Then after that, we need to move everything inside the folder "NexoPOS-4x-4.7.9" to the folder "pos" like this:
mv NexoPOS-4x-4.7.9/* .Let's make sure we have the file ".env.example" available. If not, you can still download that from Github. If the file is missing, the installation will throw some error while downloading composer packages.
You can now safely delete the folder "NexoPOS-4x-4.7.9".
Before installing composer dependencies, we need to check if the default PHP version on the CLI is 8.1. The first step is to define the php version on the Hostinger account.
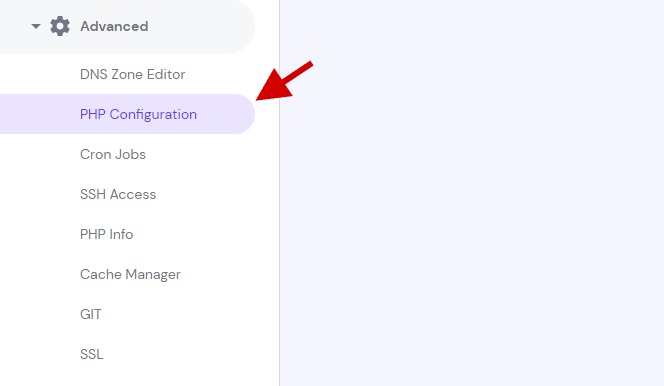
From there, we'll enable php 8.1 as the default php version.
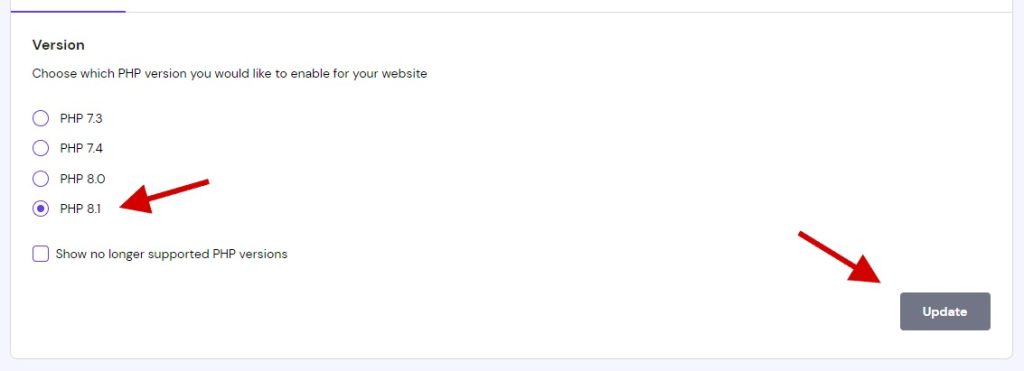
However, sometimes, changing the PHP version there doesn't affect the PHP version on the CLI, which tends to remain at the version 7.4 (at the moment or in writing). We can verify this by using the following command.
php -v
If the output mentioned PHP is at a different version than 8.1, we'll need to locate that version. But if your PHP version is at 8.1 you can jump to the next section.
For that, we'll get it on PHP info section on your Hostinger account. On that page, we should see PHP 8.1.
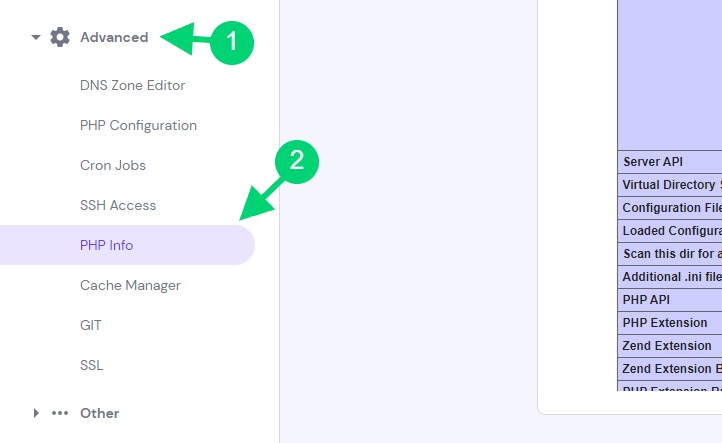
From there, we'll check the "Configure Command" section and use the value on --bindir as on this image.
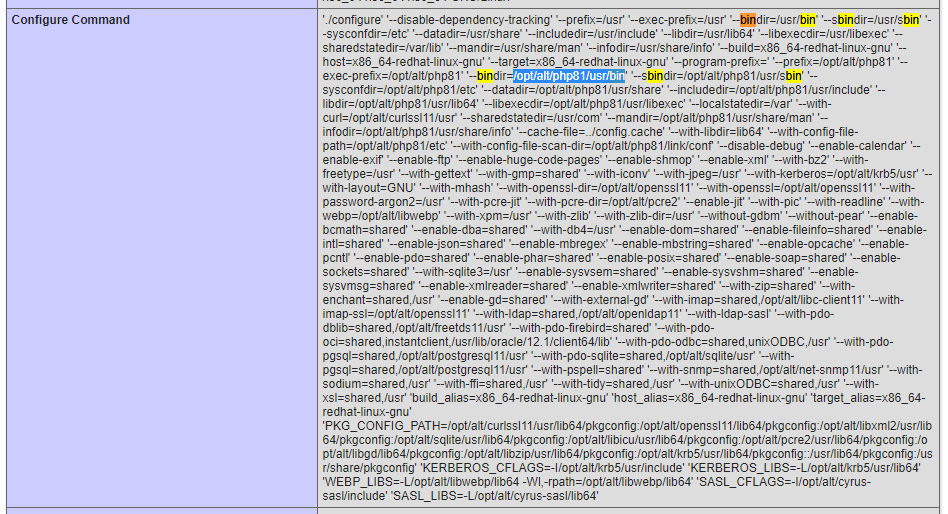
From this, we can see that the PHP Binary (executable) is located at the path /opt/alt/php81/usr/bin. When we run "ls -la" on that path, we see all file and then see that PHP is there.
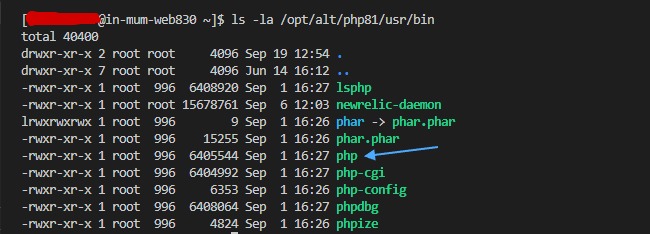
The full path for accessing PHP 8.1 is then:
/opt/alt/php81/usr/bin/phpWe'll use this for subsequent commands that start with "php" and remplace that with "/opt/alt/php81/usr/bin/php". For example let's assume we want to execute an artisan command instead of using:
php artisan listWe'll use this:
/opt/alt/php81/usr/bin/php artisan listNow we'll proceed by downloading Composer Dependencies. This will be made using the following command:
composer2 installNote that here we're using "composer2" as that's how to access composer 2 which is required for NexoPOS.
if using "php -v" php was at a different version than 8.1, we'll use the above commands that execute php 8.1 like so:
/opt/alt/php81/usr/bin/php composer2 install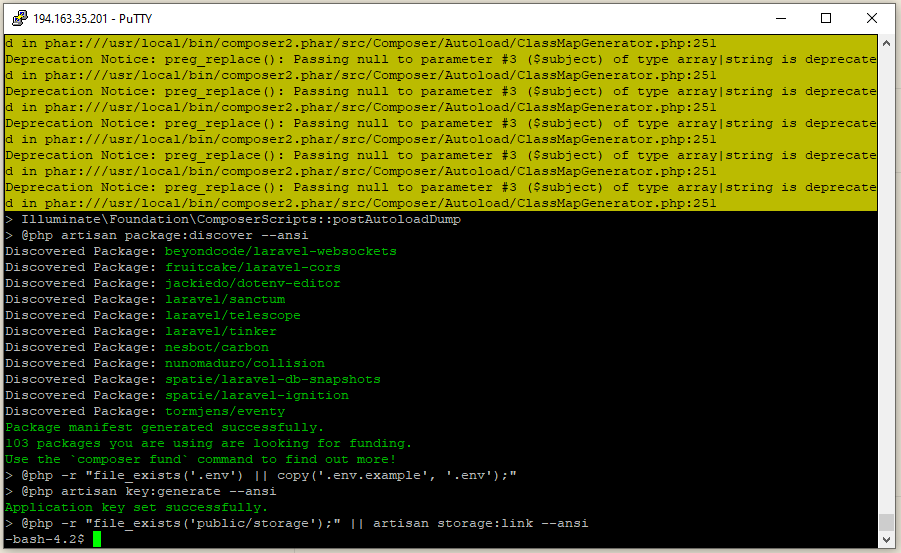
Right after that, you'll need to run:
php artisan key:generate
php artisan storage:link
Right now, when you access your system online, you should be able to see the welcome page.

We need to create a database to be able to use NexoPOS 4.x. Let's head to the databases and click on the icon "MySQL Databases".

You'll then be invited to create the database name and the database user with the password.
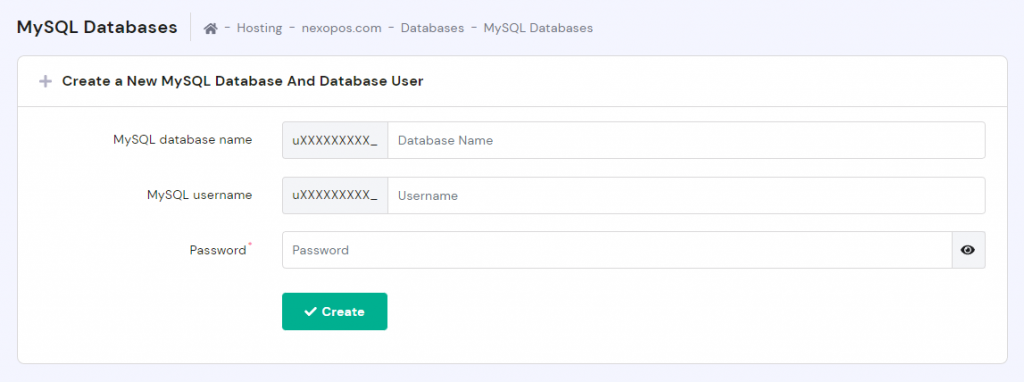
Once you're done with that, you can come back to the installation wizard of NexoPOS to proceed with the installation.
We'll now proceed with the installation wizard. From there, we'll fill all the database details we get while creating a database and a user on hostinger.
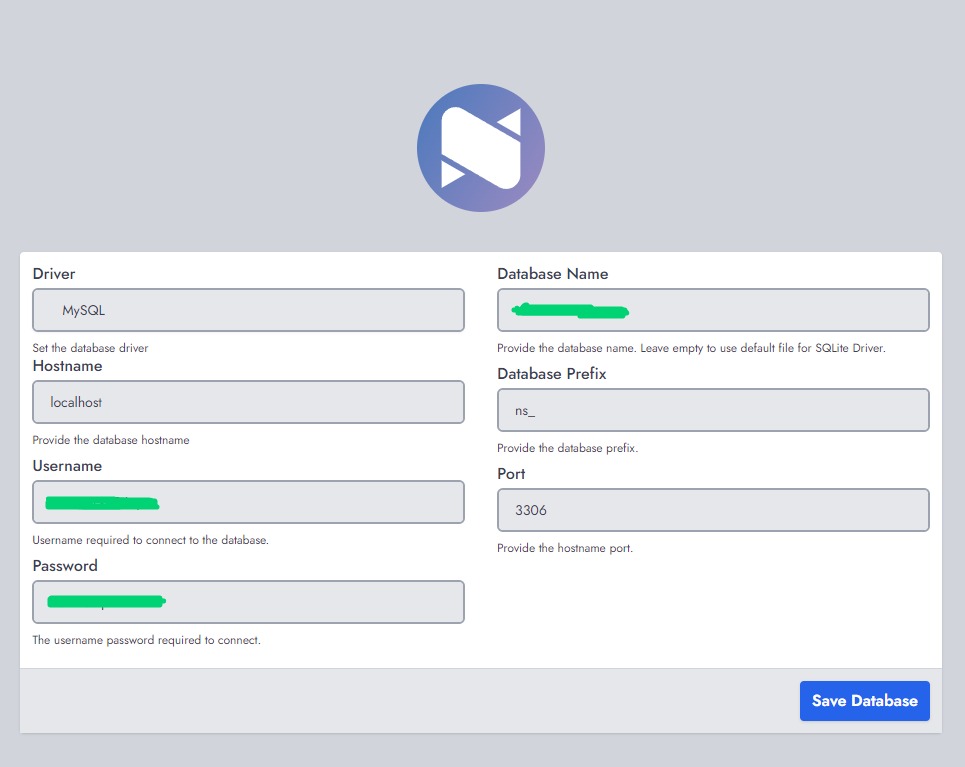
If all the information we filled is correct, we'll be redirected to the application configuration.
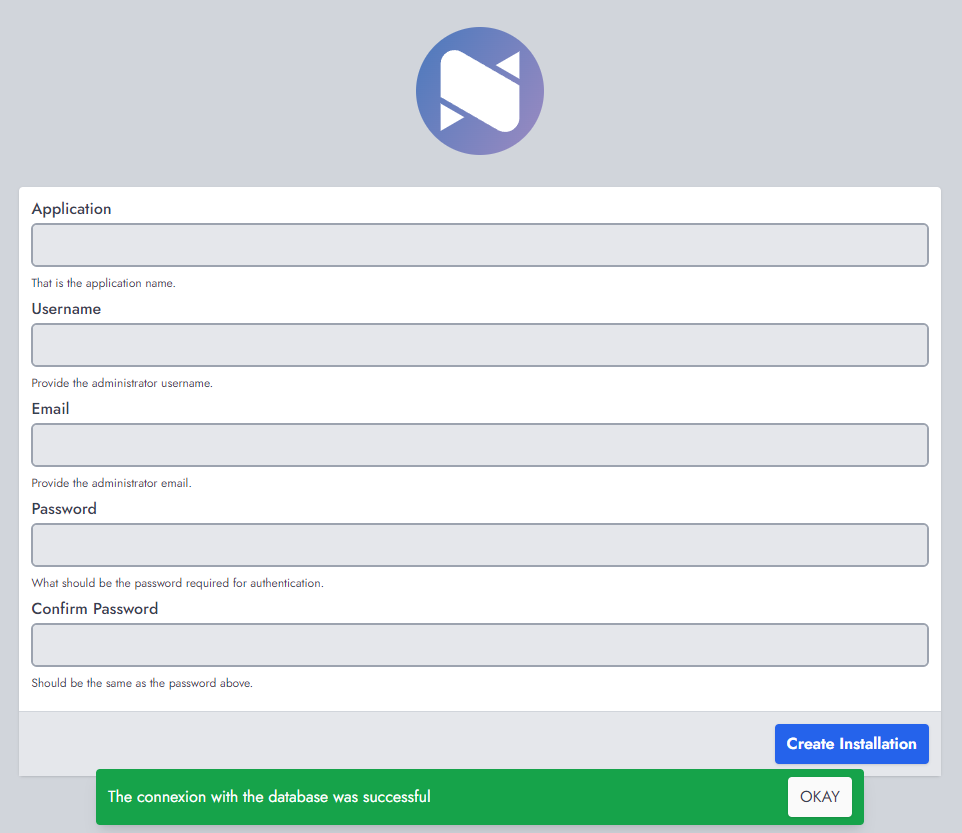
Here, we just have to provide :
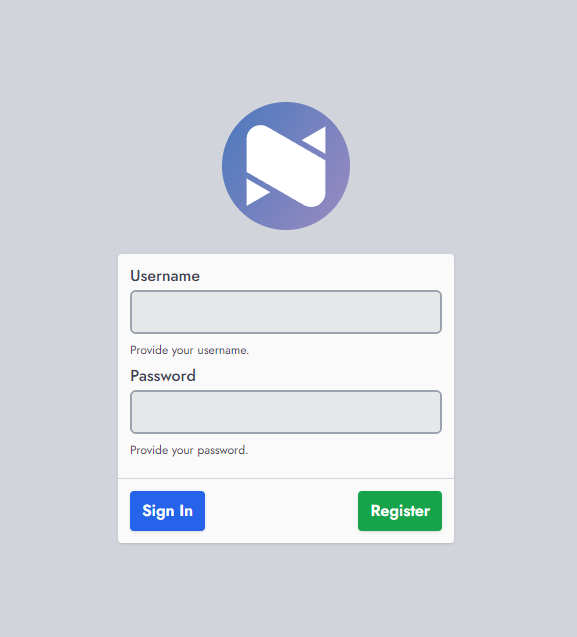
If everything is correct, you should land on the login page. And from there, that means you've successfully installed NexoPOS 4.x on Hostinger.
Sometimes, by downloading the ZIP and extracting that, the .env file will be missing for some reason. We'll then need to create a file on the root with the following name ".env" and the content of that file should be taken from here.
Was this helpful? If it wasn't and you still need help, let us know at [email protected].