Mail: [email protected]
Phone: +1(424)231-4091
Deploy NexoPOS in 1 minute for free. No credit card required. Deploy Now
Deploy Now
Everything you need to know about NexoPOS.
Let's supposed you started by installing NexoPOS locally using Laragon, but now you're planning to go live by installing that online. You're probably wondering, what do I need to do to move it to production. This guide will explain everything you need.
We'll now prepare your files and your database for the migration.
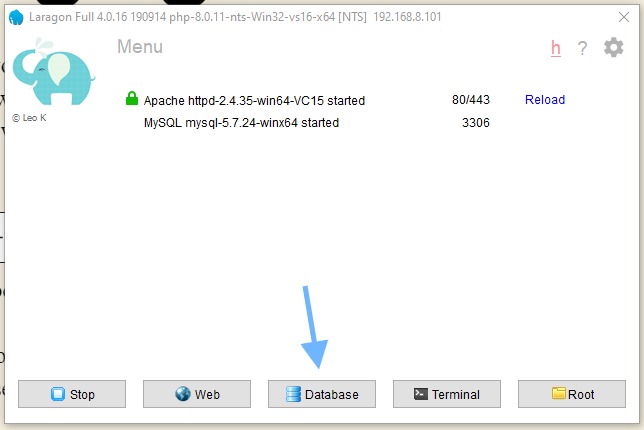
Let's first talk about the database. You might probably want to upload your database as it is with the products you have created. If that's the case, you need to backup your database. If you're using Laragon, just open the database.
Then open the session and select your database where you've installed NexoPOS and make sure first to wipe the two following tables :
Note that these table names are usually prefixed with your table prefix. By default, it's '_ns'.

These tables are just kept for debugging purposes your information isn't saved within.
You might easily perform this by using PhpMyAdmin instead of HeidiSQL. If by default heidiSQL is enabled, here is how you can install phpMyAdmin.
Alternatively, you can run a command on the CLI to clear those tables:
php artisan telescope:prune --hours=0Now you can backup your entire database, by exporting that.
Preparing the files implies downloading a saving all your files, but there is some folder that shouldn't be downloaded:
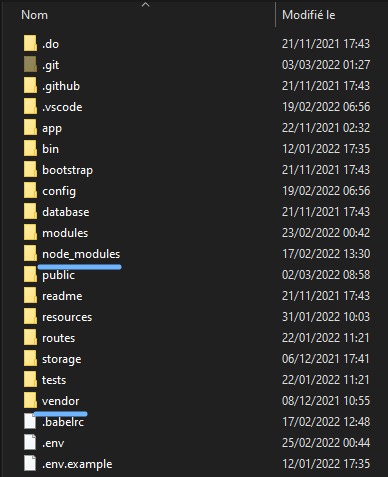
You can also omit all folders starting with a dot, like ".vscode", ".git" if it's available on your setup.
The reason why we don't want to backup "node_modules" and "vendor" it's mainly because these are usually heavy folders (might weigh sometimes more than 500mo) and these can and should be installed using the CLI.
In case you have those folders on your system, make sure to skip them while creating a backup of your installation. To avoid downloading the cache as well, you can run the following command :
php artisan cache:clear
php artisan clear
Now upload your files and database to your remote installation.
Obviously, if you change your environment, all the information on the .env file won't be applicable. Let's break down the values that need to be updated:
After you have updated your .env file, you might be facing a known issue CSRF mismatch (in case a configuration hasn't been made correctly).
Does this wasn't helpful for you? Let us know.