Mail: [email protected]
Phone: +1(424)231-4091
Documentation
Everything you need to know about NexoPOS.

Register Dashboard Menus
Using the Menu API, you'll be able to add new menus to the NexoPOS 4.x dashboard, but also to edit those menus. NexoPOS 4.x menus accept children (which can't, at their turn, support sub-children). Only children at a level 1 below are supported. Before elaborating on how to create a menu, let's talk about the requirements.
Menu Working Principles
NexoPOS 4.x uses internal hooks that allow you to inject or modify existing arrays of menus. Yes, you can also use this technique to edit an existing menu or to hide them. NexoPOS 4.x menus are stored as a key-value pair that ensure it can be quickly identified, but also fetched and modified by a developer. Here is how a key-value pair of a menu looks like :
[
    'label'  =>  __( 'FooBar Menu' ),
    'href'   =>  '#',
    'childrens' => [
        [
            'label'   => __( 'Sub menu' ),
            'href'    => url( '/dashboard/foobar/submenu' )
        ]
    ]
]
How To Register Filter Hook
Right from the main file which is the PHP file located at the root and having as a name the module namespace + the "Module" keyboard. In our example, the main file is "FooBarModule.php" as our module namespace is "FooBar". From that file, we'll use a filter on the identifier "ns-dashboard-menus" like so :
Note that here, we have created a plain menu without children. If we want to create children for that menu, we need to provide the "childrens" index which is an array of menus (that can't have "childrens" index).
When you proceed like this, your menu will be added at the very bottom of the menus.
The Hook System uses the same principle as the WordPress hook system. This means you can change the priority of the execution of your callback. By default, all functions have a priority of 10. The more the priority is greater, the more the function will execute at the very end and will have better overwrite capabilities.
Insert Menu At A Specific Position
Now if you want to add the menu at a specific position, you first need to identify the menu close to which you would like to add that menu. Note that you can insert a menu before or after the reference menu, using the functions "array_insert_before" and "array_insert_after".
Before doing so, you need to identify what is the menu you want to use as a reference. For that, you'll need to open the dev tools on the menu and see the HTML Markup.
Every menu has an id that starts with "menu-" then with the identifier of the menu. For example, the "Dashboard" menu has for identifier "menu-dashboard" so the identifier of the dashboard menu is "dashboard". While creating your menu, try to make sure to use a unique "identifier" to avoid collision with existing menus.
So to inject a menu right after the dashboard menu, we'll use the function "array_insert_after" like so :
You can also check if a menu exists before inserting your menu using the "array_key_exists" function on an "if-else" statement.
Defining an Icon for a menu
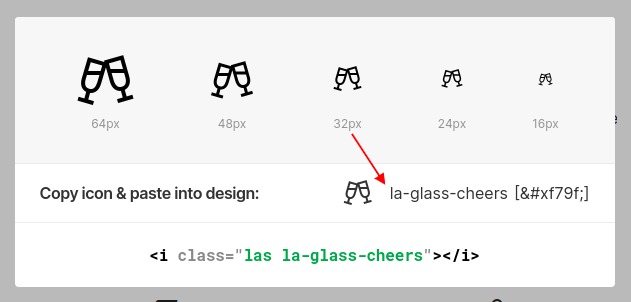
Icons only work for the parent menu. If you would like to define an icon, you'll need to add a new attribute "icon" to your menu. Compatible icons can be found on Line Awesome website. Only the name of the icon is needed.

Typically your menu should looks like this (on the code).
[
    'label'  => __( 'Your Menu' ),
    'icon'   => 'la-glass-cheers',
    ...
]
Hide/Show Menu As Per Privileges (Permission)
It's common to display the right menu to the right person. In order to achieve that, you'll need to define a set of permissions required on an array to see the menu. For that, you'll need a new attribute "permissions" that accept an array where you can pass all the permissions required (it might be only one permission or more).
[
    'label'   => __( 'Your Menu' ),
    'permissions' => [ 'can.fly', 'can.run-fast' ],
    ...
]
Before this, you'll probably need to create some permissions.
