Documentation
Everything you need to know about NexoPOS.

Cash Registers
Cash Registers are devices used to record and handle customers transactions. Typically, it consists of a computer, cash drawer, and printer. On NexoPOS 4.x the cash register help to track the sale made by a terminal and see monitor every transaction (cash-in and disbursement made). This guide will therefore explain everything you need to know about Cash Register.
When Do You Need A Cash Register?
Not every store needs to use the cash registers feature. If your store only has one terminal where the money gets in the store, you probably don't need to create a single cash register for that. In fact, every time the cash needs to be received from more than one cashier at the same moment, then you need a cash register.
Let's now see how to create a cash register on NexoPOS 4.x
Creating A Cash Register
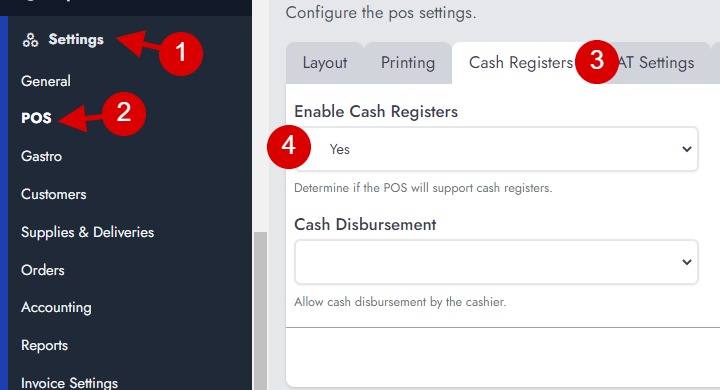
Before creating a cash register, we need to make sure the feature is enabled. You'll then head to the Settings > POS and then "Cash Registers" tab.
Once the cash registers are enabled, we'll need to create at least one cash register. Now the POS menu has sub-menus where we can either access the POS and create and manage cash registers.
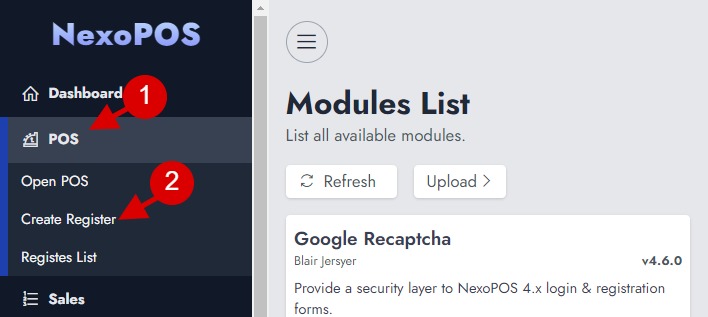
Once you click on "Create Register", you'll land on a new section where you can create the register. It looks like this.
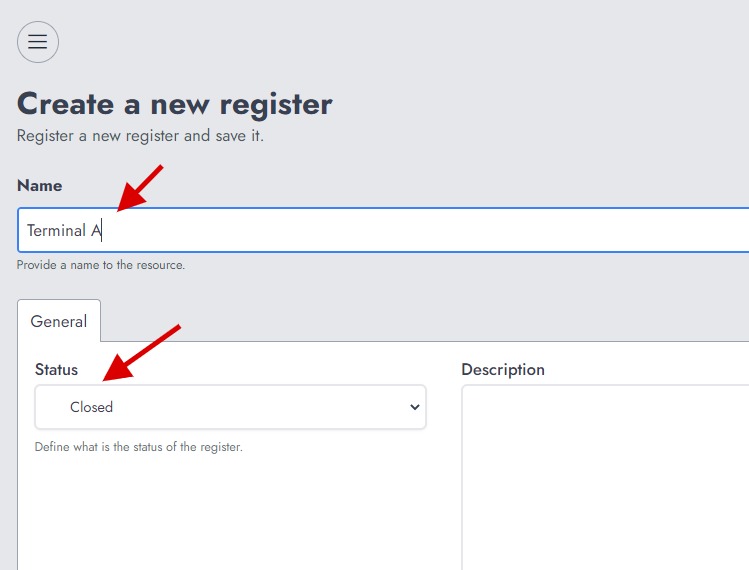
You must at least provide the name and the status which should be "Closed" so that the register can be opened. The "Disabled" status means the register cannot be used. Once you're done, don't forget to click on "Save".
Opening Cash Register
Now we'll go to the "Open POS" and open the register we've just created. Once you land there, you'll be invited to open a register. At the moment we only have one and it's closed.
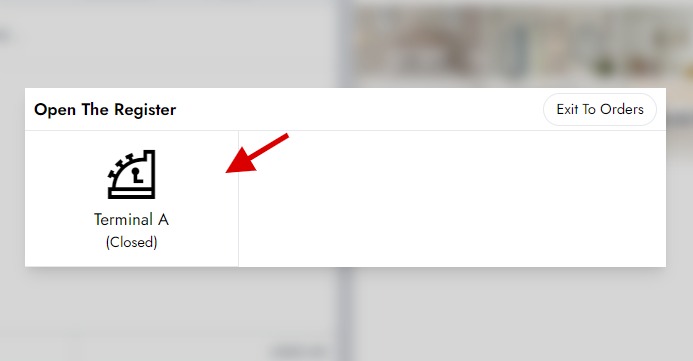
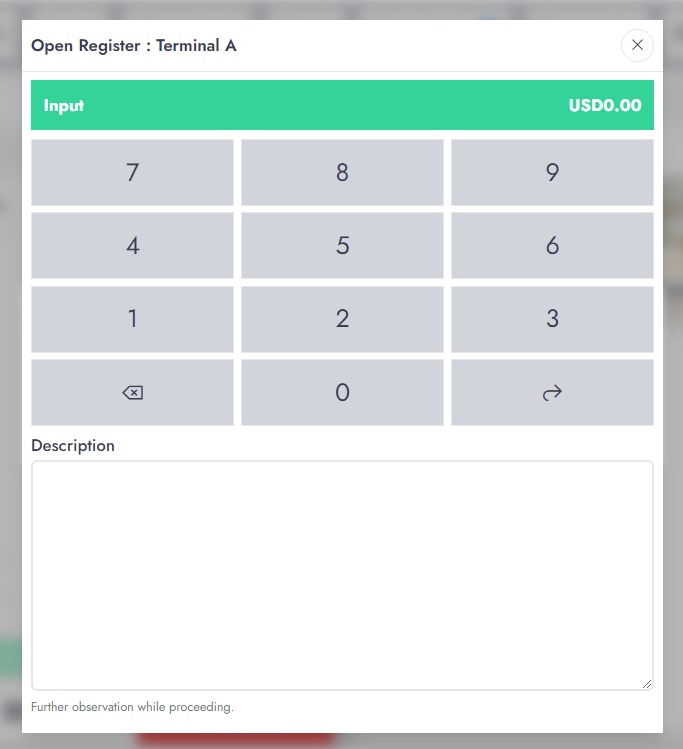
After clicking there, you'll be asked to provide the opening balance. And if there is any observation that is required, it can be provided on the description field.
How To Disburse Or Cash-in On The Register
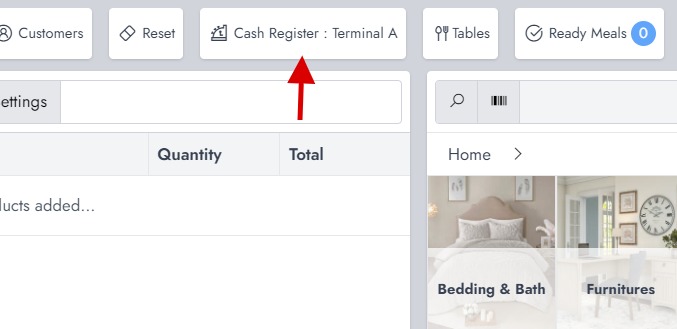
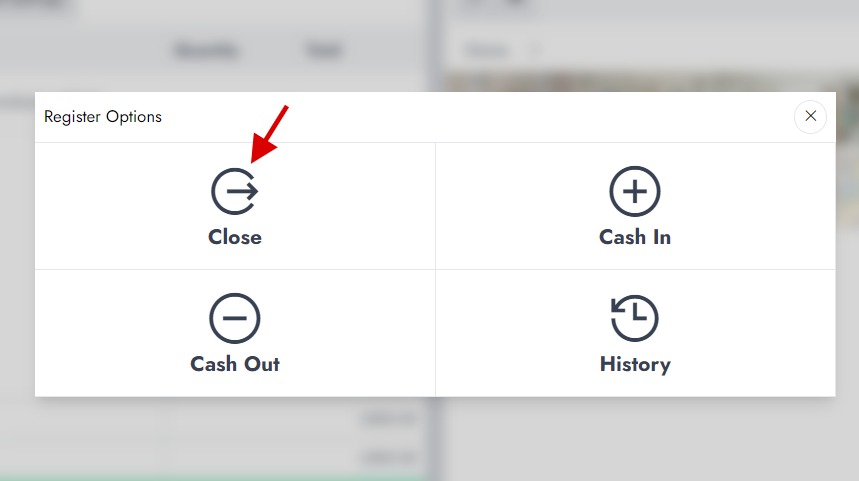
It might happen that cash is added or removed on the cash register. Both operations are supported on NexoPOS. From the POS (once the register is opened), you'll see a button at the top with the register name. By Clicking on that, you'll access to the register options.
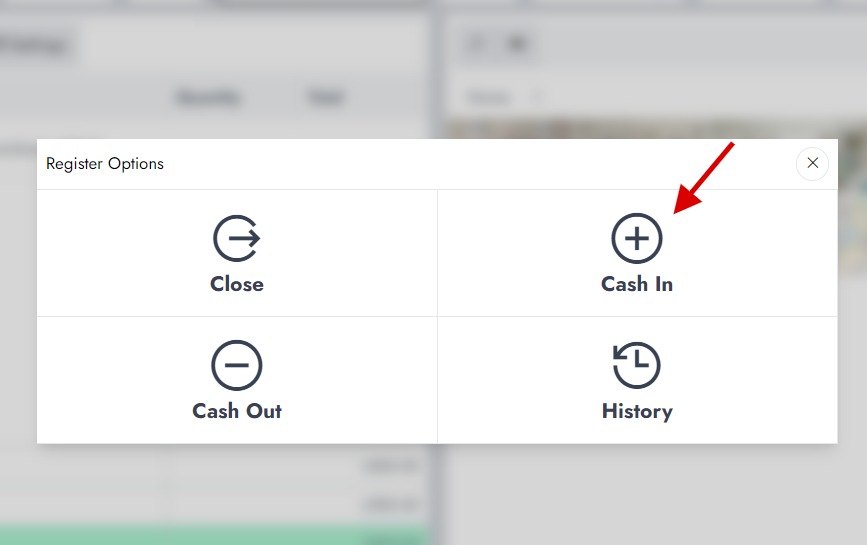
Among the available options you can :
- Close the register
- "Cash-In" the register
- "Cash-out" the register
- See The history
In our case, we want for example to "Cash-in" which means adding funds to the register. We'll then click on "Cash-in".
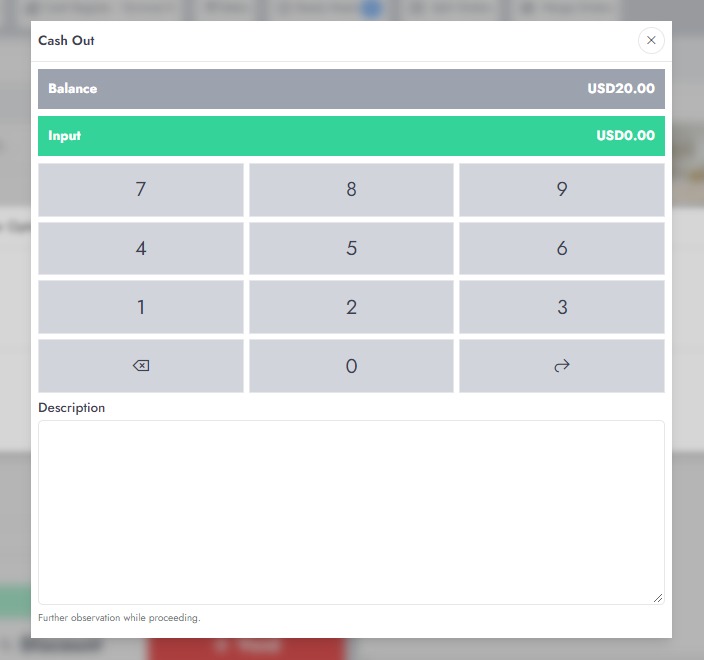
This will display a new popup where you need to input the amount received.
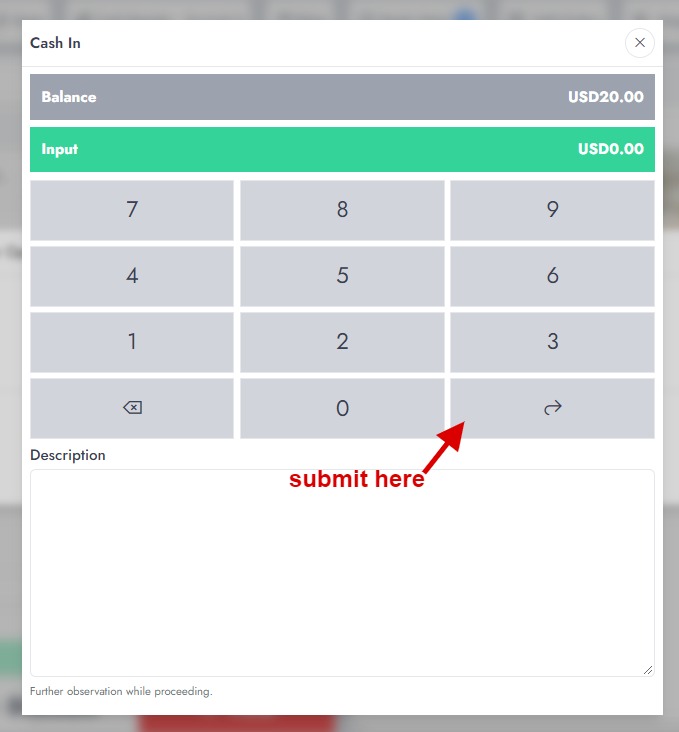
From there you can see the "balance" and the amount you're about to submit.
The process is the same for disbursing cash from the register. The only difference it's the effect it will have on the register balance.
Closing The Cash Register
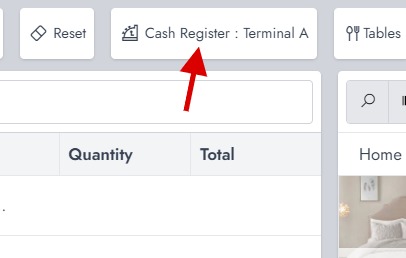
At the end of the working session for a cashier, they usually need to close the cash register. This can be performed from the "Register" option located at the top buttons.
When the register options shows up, you should click on "Close".
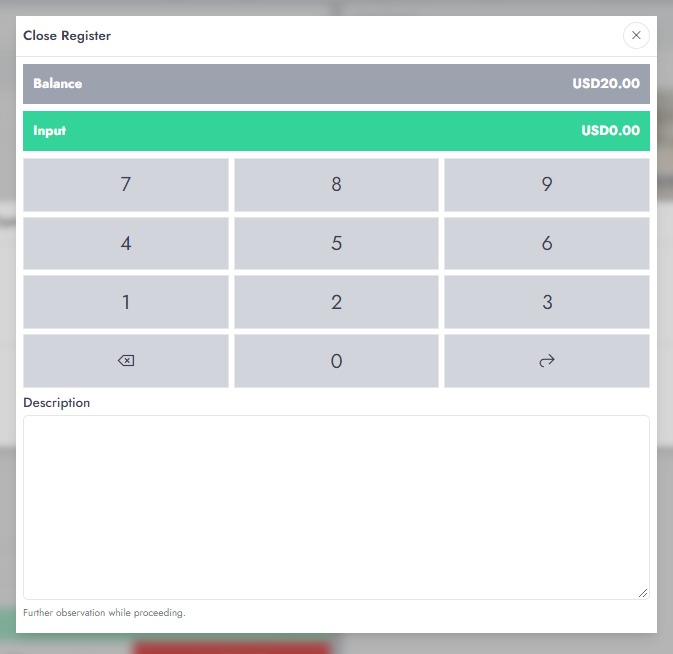
You'll be asked to provide the closing balance, just as when you cash in or disburse the cash register.
That's all, does this guide was useful ? Let us know at [email protected].
