
A customer has paid, the sale is saved, and the receipt printer stays silent. Before replacing the printer or reinstalling your POS, identify where the print job stops. The fault may be paper, power, a loose cable, a Windows queue, or the connection between your POS and its printing service.
This guide explains how to fix a POS printer not printing, starting with checks that apply to most receipt printers. It then applies that process to NexoPOS, including Nexo Print Server and NexoPOS for Windows.
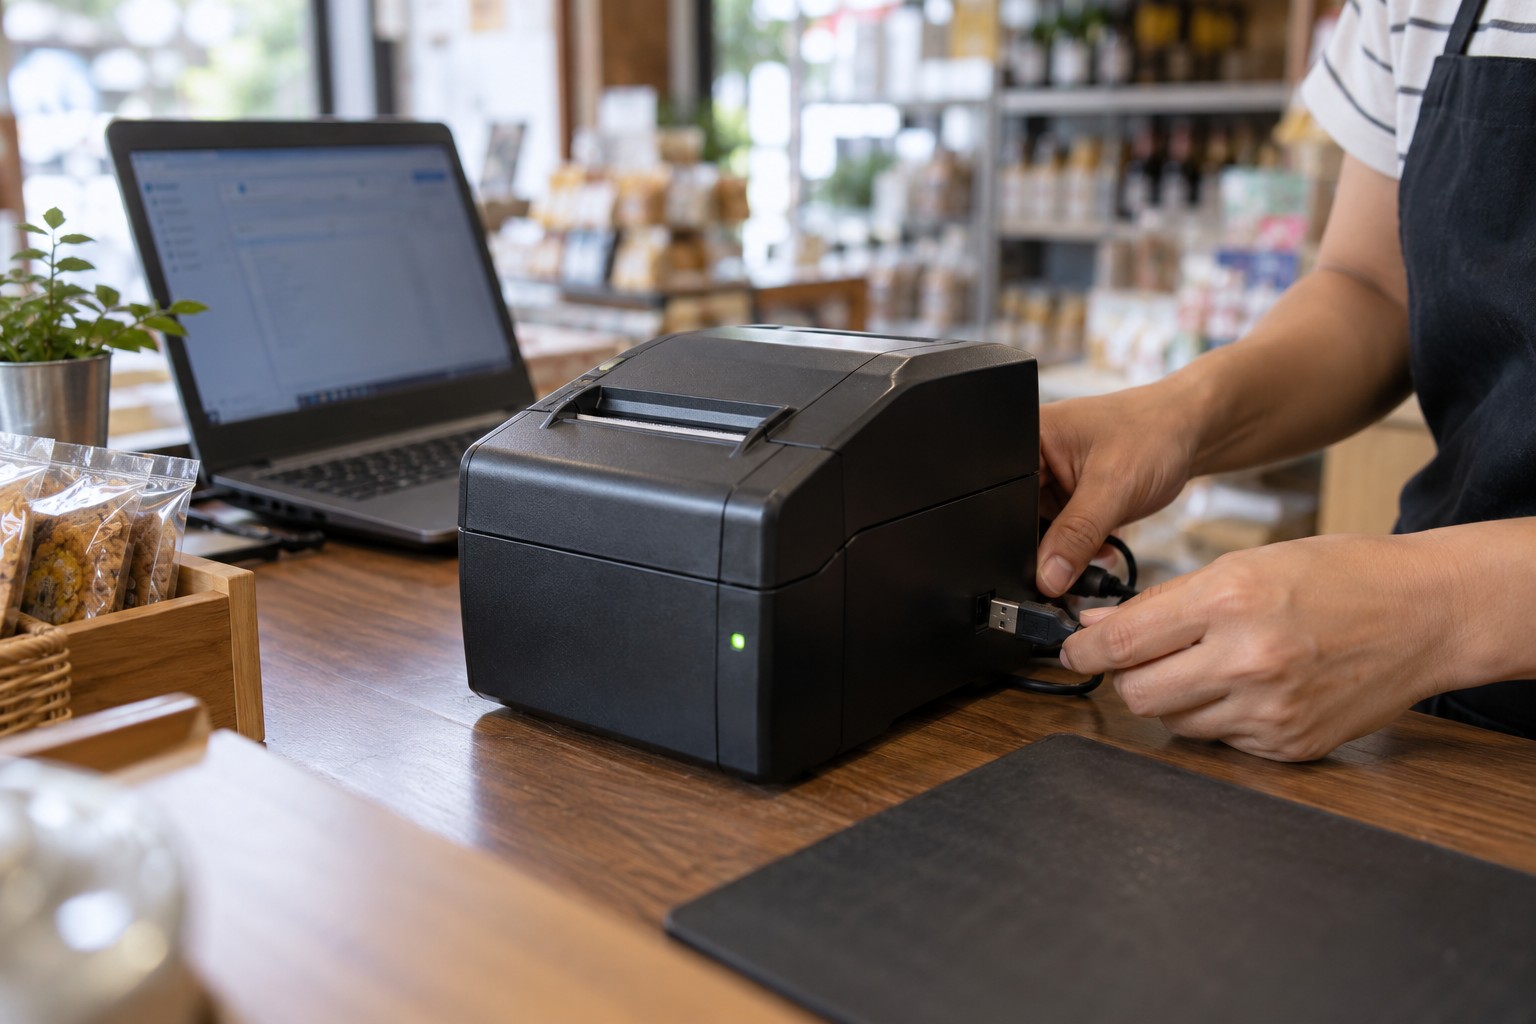
Checking the connection at a retail receipt printer. AI-generated illustration.
Quick checks when your POS printer is not printing
First confirm whether the sale actually completed. A missing receipt does not prove that payment failed. Check the order and payment status before charging the customer again. Use a receipt reprint or a dedicated printer test while troubleshooting, rather than repeatedly creating sales.
- Check that the printer has power and note any error lights or beeps.
- Reload the correct paper and close the cover fully.
- Check the USB, Ethernet, or other connection at both ends.
- Run the printer's own self-test using the manufacturer's instructions.
- If you use a Windows printer queue, print a Windows test page.
- Once these tests work, test printing from your POS and check its selected printer.
Change one thing at a time and repeat the same test. This makes it much easier to know which change solved the problem.
Find the failing stage before changing settings
There are several stages between clicking Print and receiving a receipt. The application must generate a job, the printing service must receive it, and the correct printer must accept and execute it. A successful test at one stage does not prove that every other stage works.
| Symptom | Where to start |
|---|---|
| No power light and no response to Feed | Outlet, power adapter, power switch, and printer hardware |
| Paper feeds but stays blank | Paper type, roll orientation, and thermal printing mechanism |
| Printer self-test fails | Printer condition and model-specific error instructions |
| Self-test works but Windows test page fails | Windows driver, connection, selected port, and queue |
| Windows test works but POS test fails | Printing service, adapter configuration, and printer selection |
| POS test works but a sale receipt fails | Receipt workflow, automatic printing settings, and destination |
| Only one checkout cannot print | That checkout's connection, browser permissions, and settings |
1. Check power, paper, and the printer cover
Start with the hardware even if the problem appeared after a software update. Confirm the outlet works, the power adapter is the correct one for the printer, and the connector is firmly seated. A power light alone does not prove that the printer is ready: a separate paper, cover, or cutter error may block printing.
Use the printer manual to interpret flashing lights and beeps. If the printer is overheating after heavy use, allow it to cool according to the manufacturer's guidance. Do not keep sending jobs while a hardware error remains active.
Paper feeds but nothing is printed
Direct thermal receipt printers require thermal paper of the correct width. Ordinary paper can feed normally without producing text. Thermal paper also has a printable side; loading the roll the wrong way can produce blank receipts. Reload the roll using the diagram inside the cover or the manufacturer's manual, then close the cover until it latches.
If your printer uses a ribbon, check its ribbon and paper requirements instead. Not every POS printer is a direct thermal model, particularly in kitchens. If the correct supplies still produce blank or faded output on the printer's own self-test, investigate the printing mechanism before changing NexoPOS settings.
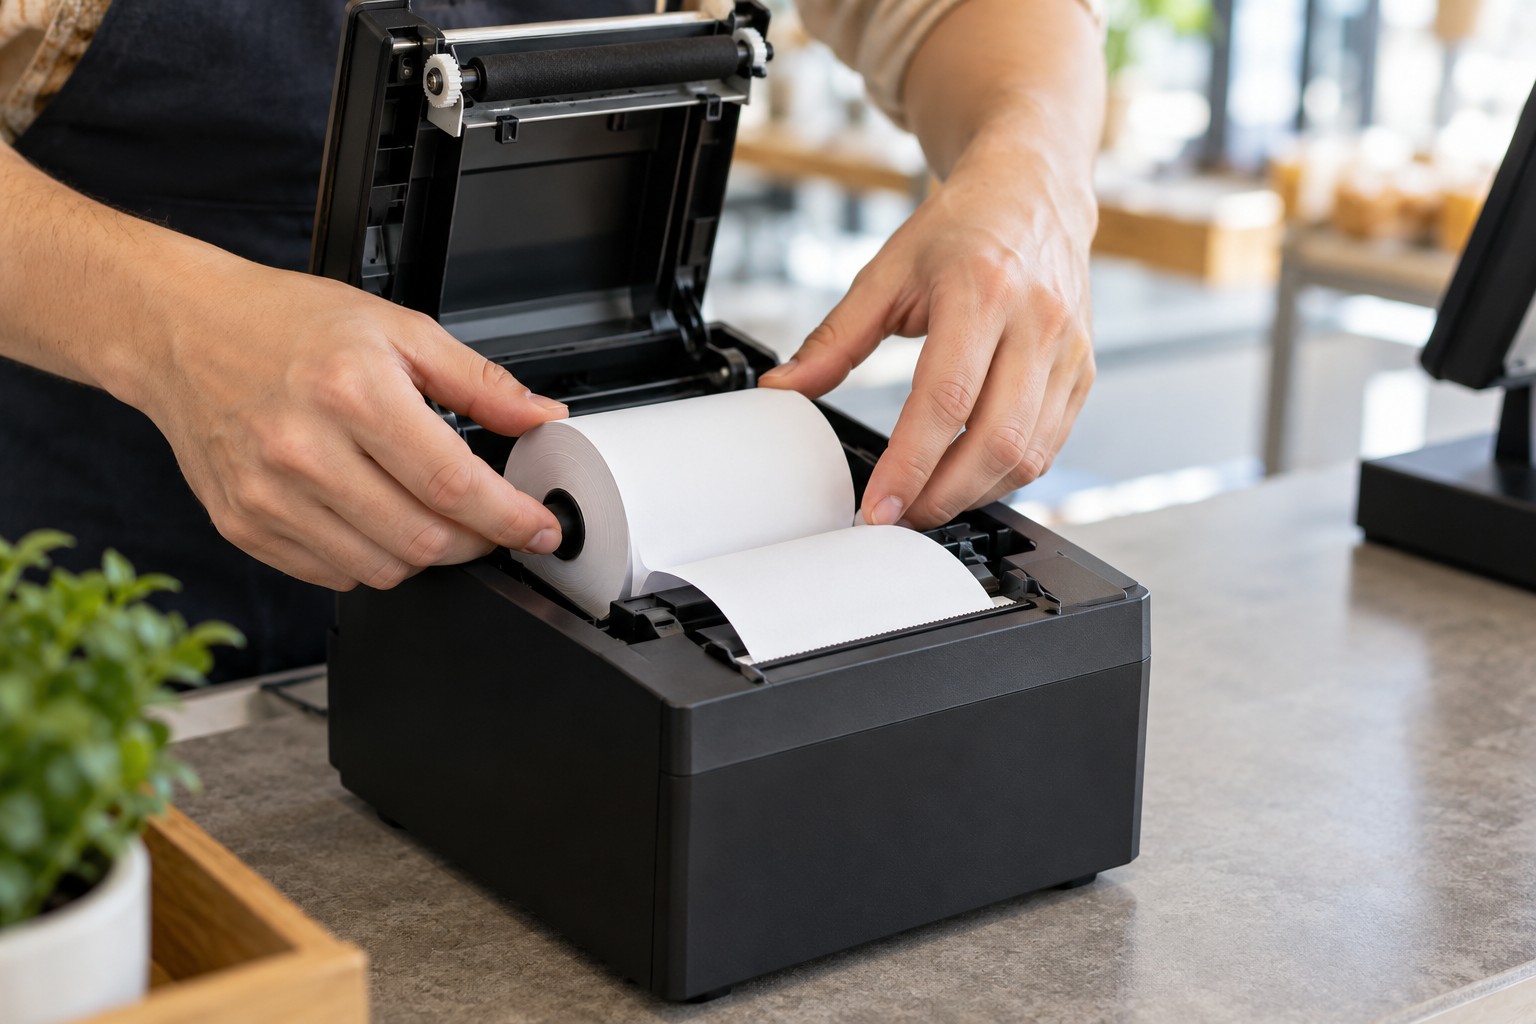
Checking the paper roll in a thermal receipt printer. AI-generated illustration.
Paper jams, cutter errors, and faded receipts
Power down the printer before clearing a jam, and follow the manufacturer's procedure for releasing a stuck cutter. Do not force the blade or pull paper through a locked mechanism. Let the thermal head cool before cleaning it and use only the cleaning method specified for that model. Epson's TM-T88V technical guide, for example, provides model-specific thermal-head cleaning instructions; another printer may require a different procedure.
2. Run the printer's built-in self-test
A self-test prints without relying on NexoPOS, Windows, or your browser. Many receipt printers use a Feed-button sequence while powering on, but the exact sequence differs. Check the model's manual instead of assuming that one button combination applies to all printers.
If the self-test fails, concentrate on the printer, supplies, and displayed hardware errors. If it succeeds, keep the printout: it may show the model, interface, network address, or other information useful for the next checks. A successful self-test shows that the printer can produce output; it does not confirm that the computer can reach it.
3. Check the printer connection
USB printers
Reconnect the cable at both ends and test a known-good cable if available. Try a direct USB port on the Windows computer instead of an unreliable hub. Be careful when moving cables: a cash drawer socket can resemble a network connector, but it is not an Ethernet port.
After reconnecting, check that Windows still identifies the intended printer. A driver installation or port change can leave multiple printer entries, including an old entry that no longer reaches the hardware. Give active printers clear names such as Front Counter and Kitchen so staff can select the right destination.
Ethernet and Wi-Fi printers
Compare the printer's current IP address with the address configured in its driver or printing setup. If a router assigned a new address after a restart, the software may still send jobs to the previous address. Ask your network administrator about reserving an address once the connection is restored.
Check that the checkout and printer can communicate across the network. Guest Wi-Fi, wireless client isolation, different network segments, or access rules can prevent this even when both devices have internet access. A successful ping, where supported, is only an initial reachability check; it does not prove that the required printing service is available.
Bluetooth and serial printers
For Bluetooth, check pairing with the correct device, range, and whether another terminal already holds the connection. For serial printers, confirm the configured communication parameters against the printer's settings. Only use an interface supported by your printer and chosen printing software; a connector's presence does not guarantee compatibility.
4. Fix Windows printer and queue problems
When your setup sends jobs through a Windows printer queue, test that queue before investigating the POS. In Windows 11, open Settings → Bluetooth & devices → Printers & scanners, choose the receipt printer, open its printer properties, and print a test page. Menu labels can vary by Windows release and driver.
If that fails, inspect the queue for stuck jobs and resolve any paused or offline state. Cancel only the failed jobs you intend to discard. If the queue remains stuck, open Services, locate Print Spooler, and restart it. This can interrupt printing on other Windows queues, so coordinate with other staff first. Microsoft's stuck print-job guide explains the recovery steps.
Check the printer's configured port and use the manufacturer's driver for the exact model and supported Windows version. A duplicate queue, wrong USB port, or outdated network address can make a printer appear installed while jobs go nowhere. Download drivers from the manufacturer rather than an unknown driver-download site.
If Windows works but output contains symbols or layout errors, investigate the printer's command-language compatibility and selected driver. A Windows test page validates the Windows path only; raw ESC/POS printing may use a different path. Avoid reinstalling everything until you know which path your setup actually uses.
5. Identify how NexoPOS is sending receipts
Before adjusting NexoPOS, establish which printing route you use. A browser print dialog follows the browser and operating-system printer selection. A print-server integration adds a service between NexoPOS and the printer. Troubleshooting the wrong route can lead you to change settings that have no effect on the failed job.
For example, changing the Windows default printer does not necessarily update an explicitly selected printer in a POS integration. Similarly, a successful browser printout does not prove that a local print-server connection works. Run the test for the route you intend to use.
6. Troubleshoot Nexo Print Server
Nexo Print Server connects NexoPOS to compatible ESC/POS printers through Nexo Print Adapter. Its documented setup supports local and cloud printing. Check your installed versions against the official installation instructions; menus and setup details can differ between releases.
Local printing checks
- Open Nexo Print Server and confirm the server is started.
- Check the adapter's local-printing URL, protocol, and port against the running server.
- Refresh the printer list and select the intended printer.
- Run Test Printing and inspect the server's Log for that attempt.
Cloud printing checks
- Confirm authentication and the cloud connection are active.
- Select the same Printer Setup in NexoPOS and Nexo Print Server.
- Sync local printers to the account, then load them in NexoPOS.
- Test the exact destination printer and inspect the job log.
For either mode, first establish whether the job reaches the service. No matching log entry suggests investigating the connection or configuration; a received job with no output shifts attention toward the printer destination and hardware path.
Understand localhost, HTTPS, and browser access
These are general networking checks that matter whenever a web application talks to a local printing service. localhost refers to the device making the request. A tablet visiting a localhost address contacts the tablet itself, not the Windows checkout computer. A URL that works on the printer computer may therefore fail on a second device.
For local printing, verify the intended address from the device that initiates the connection. Check whether a firewall rule or browser permission is blocking the required access. Restrict any allowed network access to the intended trusted devices and follow the product's supported setup for your installed version.
HTTPS pages can also encounter mixed-content restrictions or certificate errors when contacting another service. Inspect the actual browser error and use the supported certificate and protocol configuration. A custom hostname alone does not make an untrusted certificate valid. Do not disable browser security or the firewall as a permanent fix.
7. Troubleshoot NexoPOS for Windows
NexoPOS for Windows bundles NexoPOS, its local server environment, Nexo Print Server, and Nexo Print Adapter. This reduces installation work, but the printer still needs working hardware, a supported connection, and the correct destination settings.
- Run the printer's self-test and, where applicable, a Windows test page.
- Open NexoPOS for Windows and confirm the POS itself loads. If it does not, resolve the application's startup problem before testing receipts.
- Check that its printing components are running using the controls provided by your installed version.
- Verify the selected physical printer. After a driver replacement or printer rename, reselect the current destination if necessary.
- Run one dedicated print test, then reprint one existing receipt to confirm the complete workflow.
If Windows printing works but the application's test fails, record the error and inspect the printing component's logs. If the application test works but sale receipts do not, check the receipt workflow and automatic-printing configuration. Those results narrow the investigation far more effectively than repeating the installation.
The product documentation notes a receipt watermark in the free version and removal in the paid version. A watermark is an output limitation, not evidence of a broken printer connection. If paper is printing with a watermark, troubleshoot any separate formatting issue without treating the printer as completely offline.
Before reinstalling or resetting an application that stores business data locally, make a verified backup using its supported process. Preserve orders, stock records, configuration, and any information your support team needs to investigate the failure.
8. Fix receipts that print incorrectly
Garbled characters or missing accents
Check that the printer supports the command language your printing route sends. Then review the character-set or encoding settings supported by the printer and integration. Test a short receipt containing the exact affected characters. Changing fonts alone may not fix an encoding mismatch, and support can vary between printer models.
Clipped text, long blank receipts, or wrong paper width
Match the receipt layout and driver settings to the installed roll width, such as 58 mm or 80 mm where supported. Check margins, scaling, logo dimensions, and feed settings. A layout designed for one paper width can wrap badly on another. Compare a minimal text receipt with the normal template to isolate whether a logo or formatting choice causes the issue.
Duplicate receipts or unexpected late printing
Check whether more than one printing route or automatic-print action is active. Repeated clicks can also queue several copies while the printer is unavailable. Once communication returns, old jobs may print together. Check the queue and logs before retrying, and distinguish receipt duplicates from duplicate orders or payments.
The test receipt prints, but the kitchen ticket does not
Test each destination separately. A working counter printer does not validate the kitchen printer's connection or order-routing rules. If your installed modules support kitchen printing, review their destination and workflow settings and test with an order that should actually trigger that route.
What to collect before contacting support
A useful support request explains the last stage that worked and the first stage that failed. Include the printer model, connection type, Windows version, NexoPOS version, adapter and print-server versions where relevant, and whether you use local or cloud printing.
- Did the printer self-test work?
- Did a Windows test page work, if that route applies?
- Did the POS printer test work?
- Did the printing service record the job?
- Does the issue affect one checkout, one printer, or every device?
- What changed immediately before the failure: driver, network, cable, update, or printer settings?
Attach a screenshot of the exact error and relevant logs with timestamps. Redact customer details, account tokens, passwords, and client credential files. Do not share a complete database or authentication file in a public support discussion.
Frequently asked questions
Why is my POS printer connected but not printing?
Being plugged in or listed in Windows does not confirm the whole printing path. The printer may have a paper error, the queue may point to an old port, or the POS may target a different printer. Work through the self-test, Windows test where applicable, and POS test in that order.
Does a thermal receipt printer need ink?
A direct thermal printer uses heat-sensitive paper rather than an ink cartridge. Blank output commonly warrants checking the paper and loading direction. Ribbon-based POS printers have different supplies, so identify your model before buying replacements.
Does Nexo Print Server require internet access for every print job?
Its local and cloud modes follow different routes. Local jobs travel directly between NexoPOS and the print server; cloud printing depends on the cloud connection. Authentication, installation, and other account functions can have their own connectivity requirements. Identify your active mode before blaming an internet outage.
Should I reinstall NexoPOS if the receipt printer stops working?
Begin with the independent tests. If the printer cannot print its own self-test, reinstalling the POS will not address that hardware problem. If Windows printing works, investigate the service and POS configuration next. Back up local business data before any reinstall or reset.
Restore printing and prevent the next interruption
Once printing works, reprint one existing receipt and check its text, width, destination, and cut behavior. Confirm that no old jobs remain queued. Record the working printer name, connection details, and chosen printing route so another staff member can check them later.
Keep spare paper and a known-good cable at the checkout. Include a receipt test in your opening routine and review printer settings after network or driver changes. For NexoPOS deployments, use the setup guidance for Nexo Print Server or the bundled environment in NexoPOS for Windows to keep the software path consistent with the hardware you actually use.