Mail: [email protected]
Phone: +1(424)231-4091
Racks Manager
If you already have purchased the product, you can download it from your account downloads.
Version v5.2.0
Download 66
Last Update Apr 30, 2024
The Racks Manager (or shelf manager) is an advanced tool for a warehouse that helps to manage rack storage and organize the procured product. This module act as a layout that catches all procurement product and keeps them on a storage which in that case is the store storage (or warehouse). This guide will explain how this module works and how you can use it.
Installing Racks Manager
The Racks Manager is a NexoPOS 4.x module, that needs to be installed using the dashboard UI. There is a detailed tutorial that shows you how to install a module on NexoPOS 4.x. Once installed, make sure to enable the module before proceeding.
You need to know that this module requires the Multi-Store module. You should then make sure the module is installed and enabled as well.
How To Create Racks Area
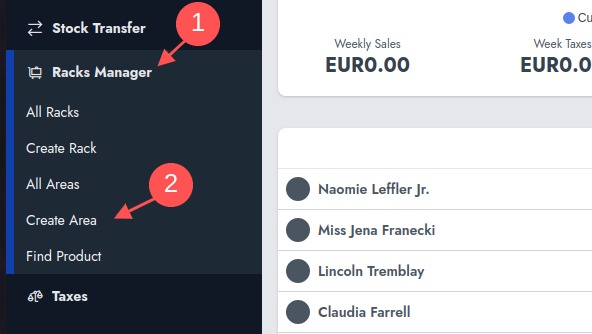
If your warehouse has Racks Area, this feature can be used to organize racks. If you don't have a rack area, you'll still need to use it to define a single rack area that will apply to every rack. Once enabled, head to "Racks Manager" > "Create Area".
You'll head to a simple form that include name and description fields.
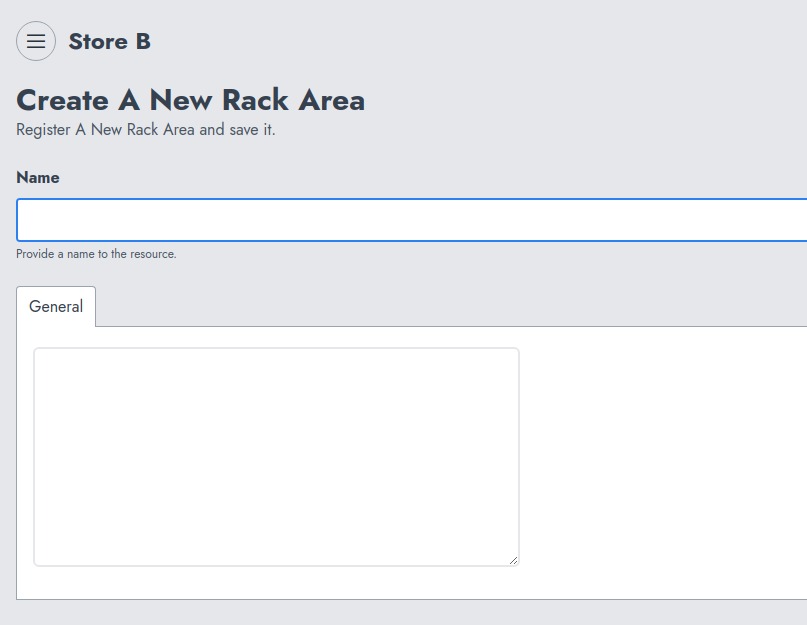
Once you're done editing, click on the "Save" button, to store the rack area. You'll be redirected to an abstract table component.
How To Create Racks
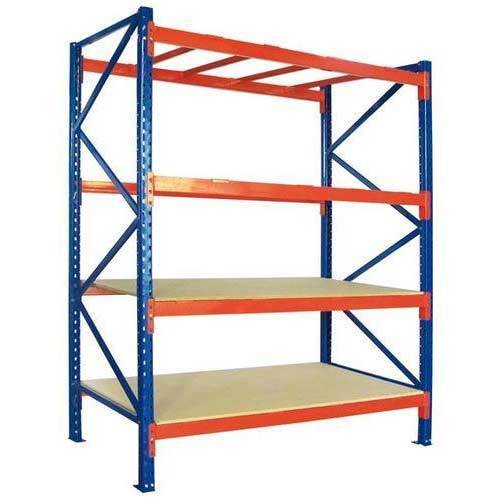
Rack storage is a structure where goods are stored and organized. They usually look like this.
In order to create a Rack, you need to head to "Racks Manager" > "Create Rack".
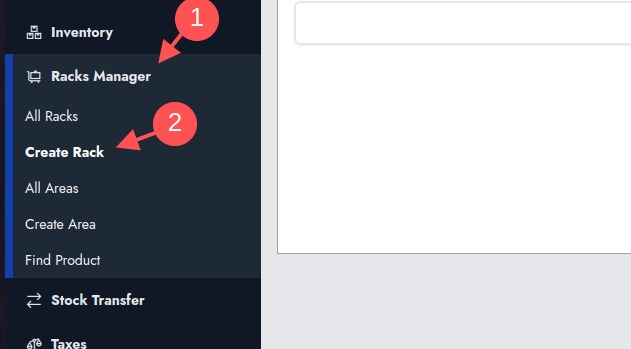
There you'll be invited to provide a name, assign to an area and optionally provide a description.
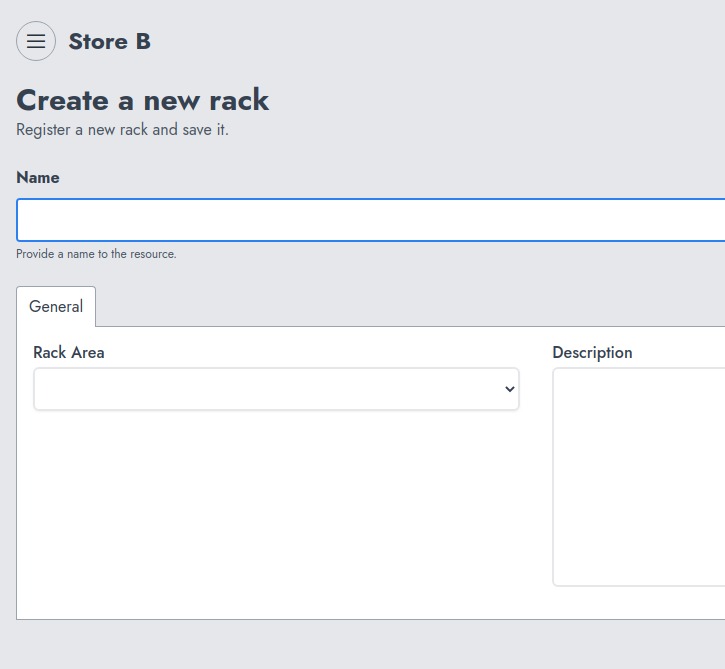
Once you're done you can click on save to head back to the list of racks created so far on an abstract table component.
How To Assign Product To Racks During Procurement
The Racks Manager extends the procurement UI by adding a new control that can be used while procuring products on the system. Concretely, you'll be invited to select the Rack where the product should be stored.
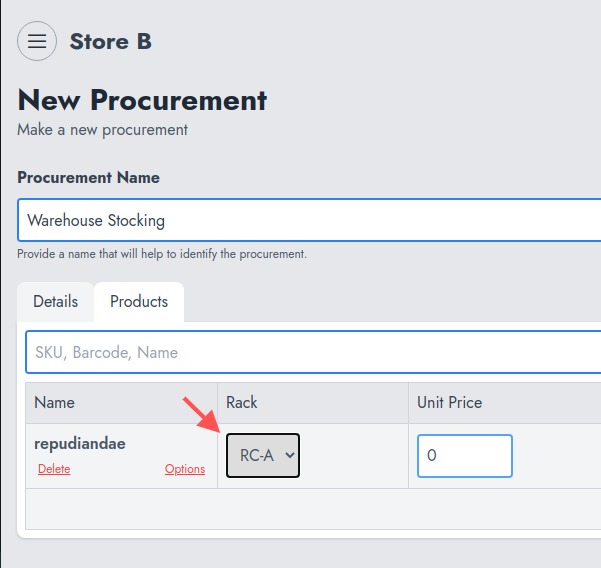
Once again, after each procurement, products are stored on the Rack Storage and not available for sale. In order to be able to make these products available on the POS, you need to move them to the store inventory (or active stock).
How To Transfer Stock From Racks To Store
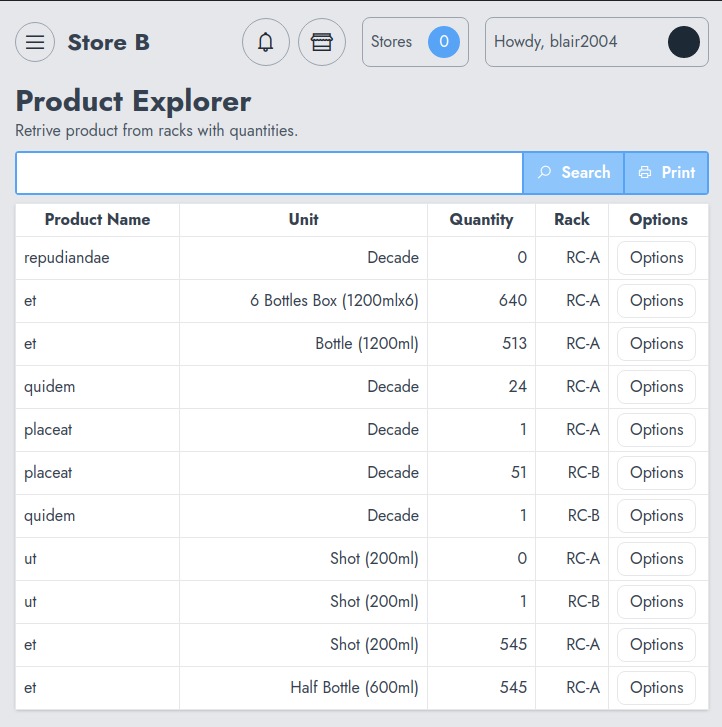
In order to do so, you need to reach the Products Explorer from the Racks manager menu.
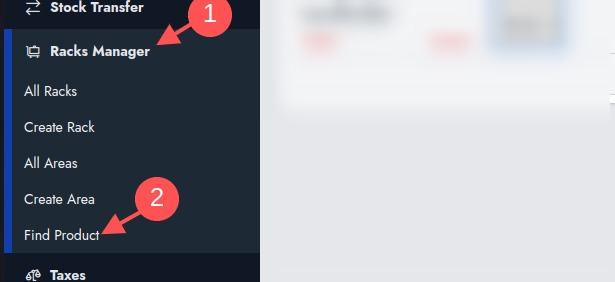
This will takes you to a page where you'll be able to search for products you would like to move using their name, barcode, or SKU. You should note that from that same page you can move products from one Rack to another or from a Rack to the livestock.
How To Move From Shelf To Rack Shelf
Once on the products explorer, you need to enter a term (product name for example). You'll have a list of results that has an option at the end of the row.
By clicking on the option button, you'll see a popup that has 2 options : Change Rack and Transfer Inventory.
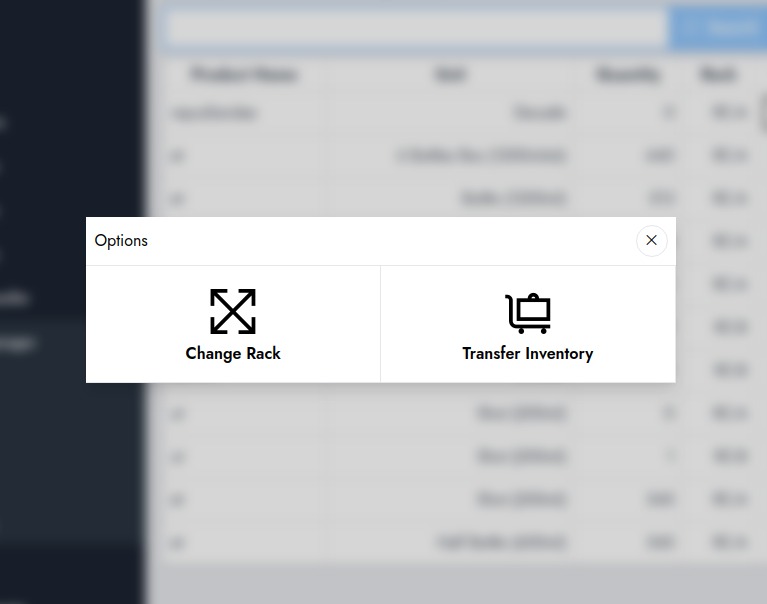
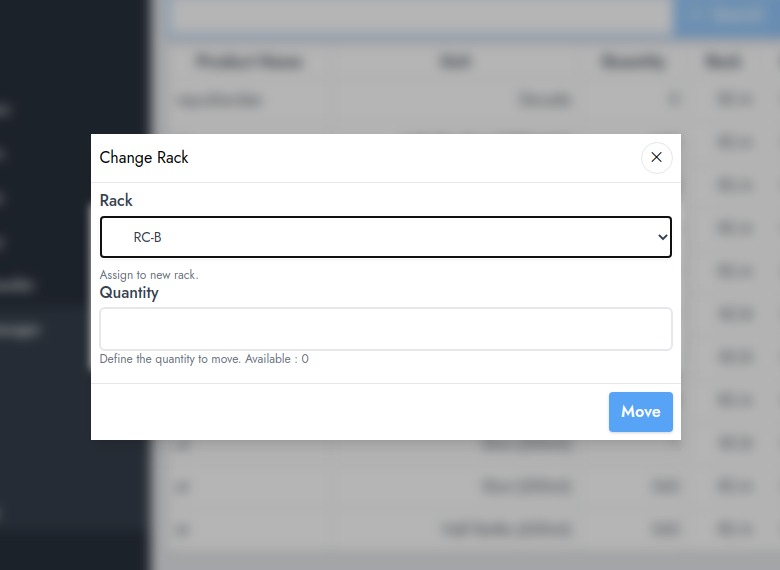
Change Rack: allow you to move a product from one shelf to another. Here, you'll just be asked to define the new rack and the quantity to be transferred.
Transfer Inventory: this is the operation that will move the products from one shelf to store inventory (livestock). After that action, the product should immediately be available for sale, transfer, and adjustment.
How To Explore Rack Products
You might need to have an overview of the products that are available on a rack. For that, you'll need to head to the rack list where all created racks/shelves are available. From there, you need to click on the row actions. That should display a menu popup where you can see a "Stock Quantities".
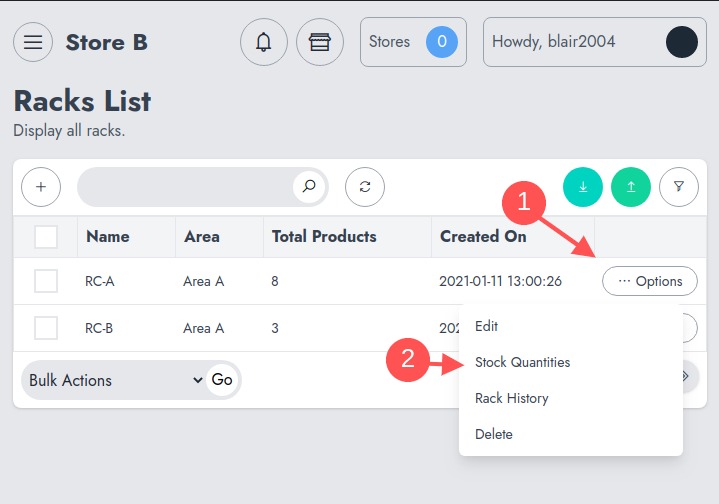
This should take you to another table where you can have an overview of the product available, their unit, and their quatity.
How To Transfer Product From Inventory To Racks
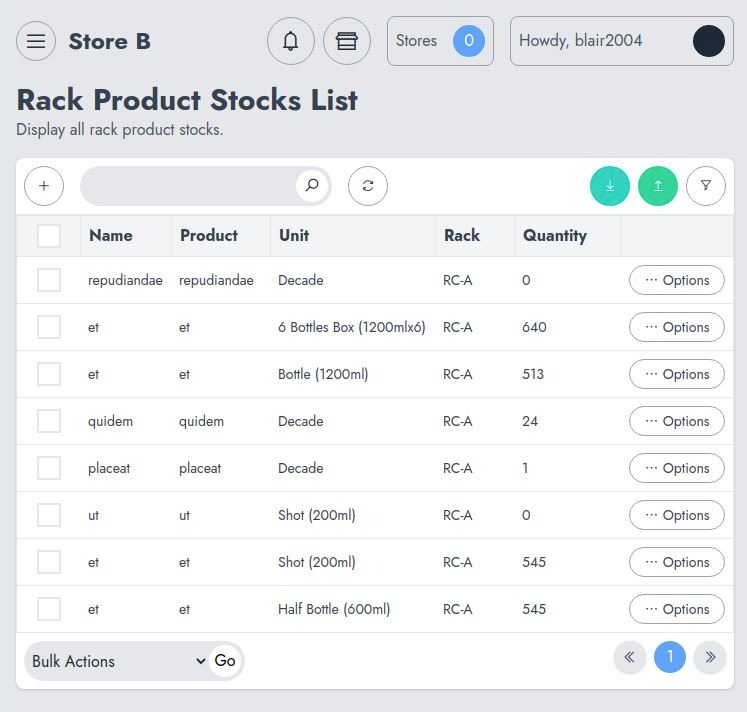
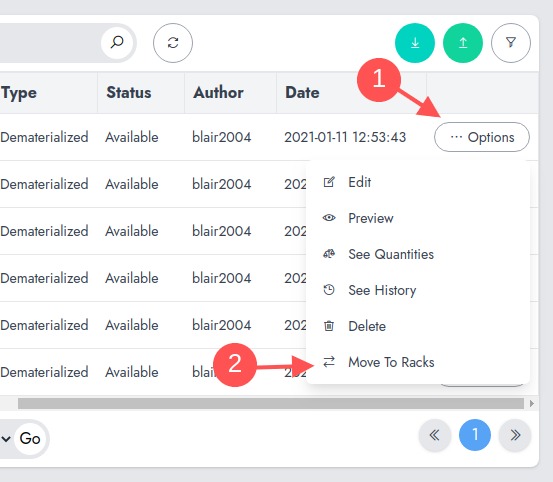
Once a product has been transferred to the product's inventory, it can still be moved back to the warehouse shelves. In order to do that, you need to head to the "Products" list that has a new option named "Move To Racks".
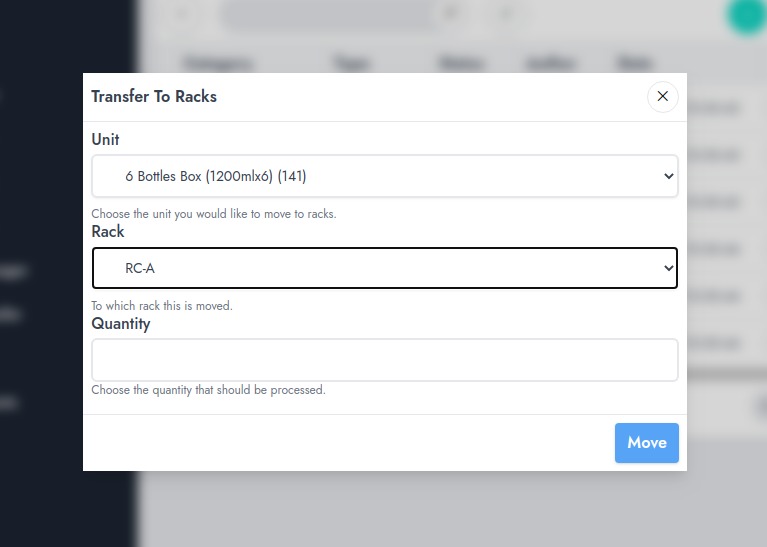
That will display a popup where you can select the unit, the rack, and the quantity you would like to move to the shelves.
Once the product is moved, the product history will be updated accordingly to reflect the transaction that has just happened.
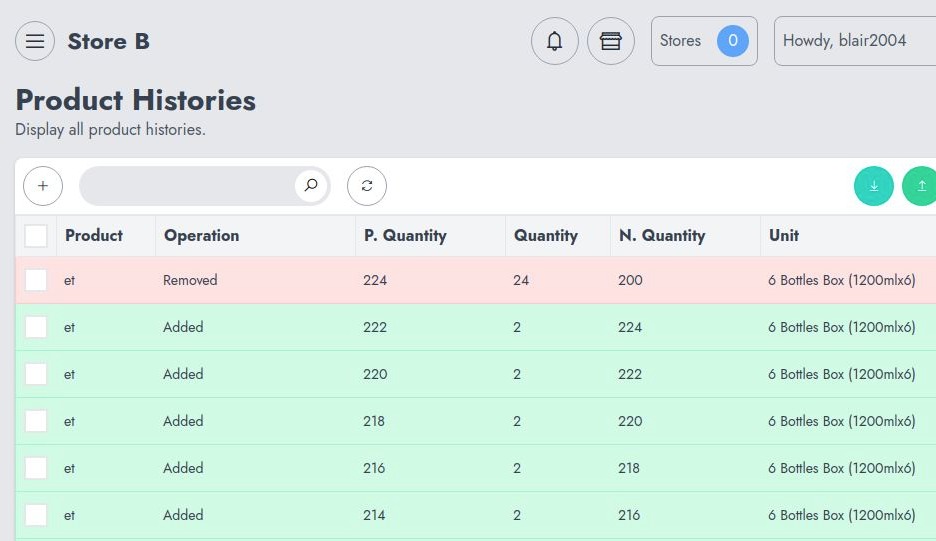
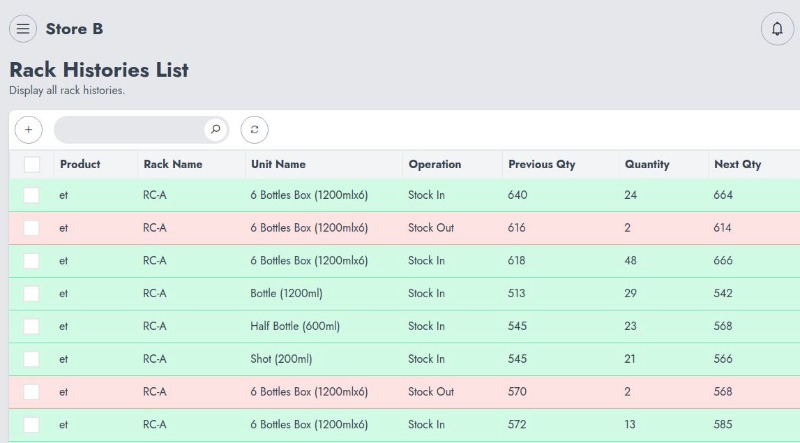
You can also use Rack history to see all transaction that has occurred on a specific rack and a clear flow of how the quantity has moved.
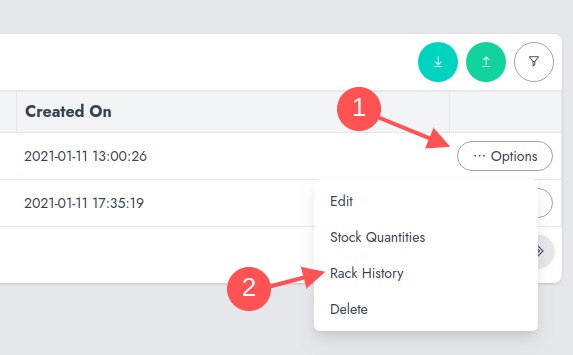
The rack history looks the same as the regular product history, with quantity, old and new quantities, and new columns that are "rack id".
If you already have purchased the product, you can download it from your account downloads.