Mail: [email protected]
Phone: +1(424)231-4091
Documentation
Everything you need to know about NexoPOS.
- Getting Started
- 0. Requirements
- 1. The Environment
- 2. Download And Build
- 3. Installation Wizard
- Components
- Accounting: Incomes & Expenses
- Cash Registers
- Customers
- Customers Group
- Expense History
- Expenses
- Expenses Categories
- Media
- Modules
- Numpad
- Order Types
- Orders
- Payment Types
- Procurements
- Product Categories
- Products
- Providers
- Reward System
- Stock Adjustment
- Table
- Taxes
- Taxes Groups
- Unit Groups
- Units Of Measure
- Base API
- Dashboard Widgets
- Hook System
- Role & Permissions
- NsMultiStore Api
- Make Jobs MultiStore Compatible
- Register Web & API Routes For MultiStore
- Updating Migrations
- Filters
- {namespace}-bulk
- {namespace}-catch-action
- {namespace}-crud-actions
- ns-crud-resource
- ns-dashboard-menus
- ns-dashboard-widgets
- ns-footer-signature
- ns-page-title
- ns-products-crud-form
- ns-products-history-operation
- ns-products-type
- ns-table-name
- ns-views:pages.sign-in
- ns-views:pages.sign-up
- ns-web-receipt-template
- ns.forms
- How To's
- Changing Domain
- Checkout Popup
- Database Configuration
- Email Configuration
- Enable Low Stock Notification
- Installing And Updating A Module
- Installing NexoPOS 4.x On Laragon
- Installing NexoPOS 4.x On Plesk
- Installing NexoPOS 4.x Using The cPanel
- Installing NexoPOS On Hostinger
- Link Nexo Print Server To NexoPOS 4.x
- Local Network Configuration
- Manage Customers On The POS
- Manage Sales Refunds
- Manual Module Installation
- Orders With Instalments
- Rebranding NexoPOS 4.x
- Translating NexoPOS
- Updating NexoPOS 4.x
- Using The Sales Filter
- Javascript API
- nsHttpClient
- nsNotice
- nsSnackBar
- Actions
- ns-crud-footer
- ns-dashboard-footer
- ns-dashboard-pos-footer
- ns-dashboard-settings-footer
- My NexoPOS
- Assign Print Jobs
- Cloud Print Setups
- Creating My NexoPOS Clients
- Deactivating Nexo Print Server 2.6 License
- Linking My NexoPOS To Envato
- Nexo Print Server 2.6.x License Validation
- NexoPOS 3.x License Validation
- Developpers Guides
- Add Create Button On <search-select/>
- Add Crud Entry Custom Action
- Add Crud Header Buttons
- Cart Custom Buttons
- Creating A Sample Hello World Page
- Creating Crud Components
- Creating Custom Pages
- Creating Custom Print Handler
- Creating Settings Page
- Dashboard Theming
- Database Migration
- Generating Modules
- Handle Crud Actions Using JavaScript
- Injecting Vue Component
- Model's Dependency
- Module's config.xml File
- Module's Routing
- Register Dashboard Menus
- Render Field As Vue Component
- Reset User Password With Tinker
- Service Provider
- Troubleshooting
- Broken Media Images
- Common Database Issues
- Conflicting Dashboard
- CSRF Token Mismatch On NexoPOS 4.x
- Disabling Modules Manually
- Environment Misconfiguration
- Gastro Empty Receipts
- Images Not Loading
- No Dashboard
- No Default Customer
- Products Not Appearing For Sale
- Products Not Showing On The POS
- Queues Jobs Are Disabled
- Using Nexo Print Server With SSL
- Gastro Guides
- Managing Modifiers
- Crud API
- Add Crud Entry Custom Action
- Creating Crud Components
- Declare Custom Crud Export Columns
- Handle Crud Actions Using JavaScript
- Header Buttons
- Method: beforeRenderForm
- Method: getView
- Nexo Print Server
- Configuration
- Javascript Actions
- ns-before-mount
- ns-pos-pending-orders-refreshed
- ns-settings-change-tab
- ns-settings-loaded
- Events
- CrudHookEvent
- SettingsSavedEvent
2. Download And Build
There are many ways to download and install NexoPOS either locally or remotely. Each solution has its own pros and cons. No matter the solution you'll choose, Composer is a permanent requirement.
Download On CodeCanyon
The full version of NexoPOS 4.x is available on CodeCanyon. By purchasing on CodeCanyon you also get :
- $40 in credit for every purchase in our marketplace
- Dedicated Support
- Installation Service
- Eligibility for customization
The free version doesn't have these benefits. Therefore, no refund can't be granted if later on, a user discovered the free and limited version.
Once you've purchased NexoPOS 4.x, you need to head to your downloads and get the installation file.
Download From Github
You can download the free version of NexoPOS on Github, it can be downloaded from there as a zipped project and extracted locally.
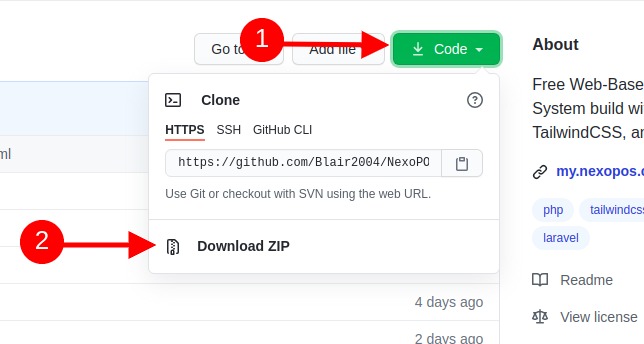
The file you download doesn't include any vendor or any javascript assets We, therefore, need to make sure Node.js and composer are available. Once downloaded, extract the content of the zip file on the directory where you want to install NexoPOS 4.x. Typically, that will either be "htdocs" or "www" on WAMP, XAMPP, etc. If the zip file include as main file a folder, it's the content of that folder that needs to be accessed after the extraction.
Installing NexoPOS 4.x
After having downloaded, the content of the folder should looks like this.

We now need to install PHP vendors and node modules in order to build NexoPOS 4.x. The step will look a little bit similar to the next step however, the command is a bit different. For instance, you'll need to use the following command to install PHP vendors :
composer install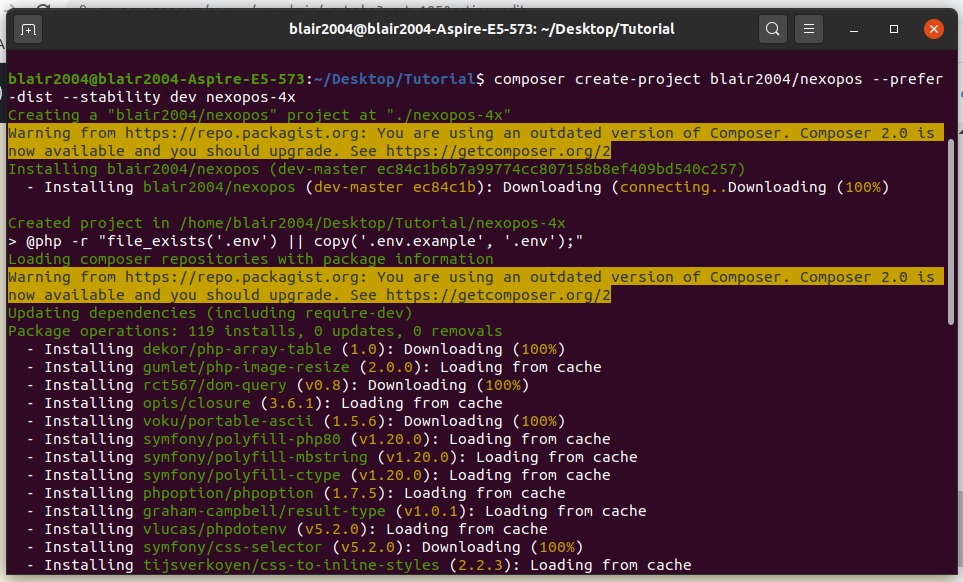
The installation might take some time, but once it's set, you should normally have your .env file setup. Now you need to see how to install the node modules.
Download From Packagist
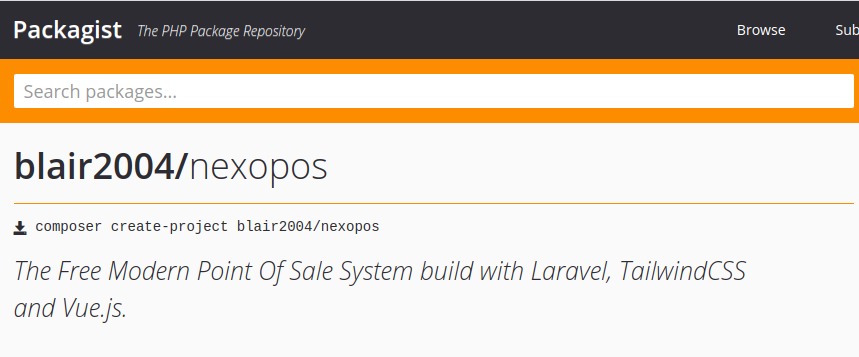
NexoPOS 4.x is also available on packagist, which is a repository of PHP packages. If Composer is correctly installed. you can create a project of NexoPOS 4.x by typing the following command on your CLI.
composer create-project blair2004/nexopos --prefer-dist --stability dev nexopos-4xOn the previous command will install NexoPOS 4.x with the stability "dev" on the folder "nexopos-4x" (you can rename it differently). By doing that, Composer will download and install at once all PHP packages and even set up the environment file.
From there, if everything is correctly setup (the environment), the download should be made without any problem. However, sometimes the .env file might not be created generating an error at the end of the installation. If that's the case, create a copy of the ".env.example" into ".env", and then run on the CLI :
composer dump-autoloadHow To Install Node Modules And Build The Assets
If you're using NexoPOS 4.5 or greater, you can skip this section as the asset already comes included on NexoPOS.
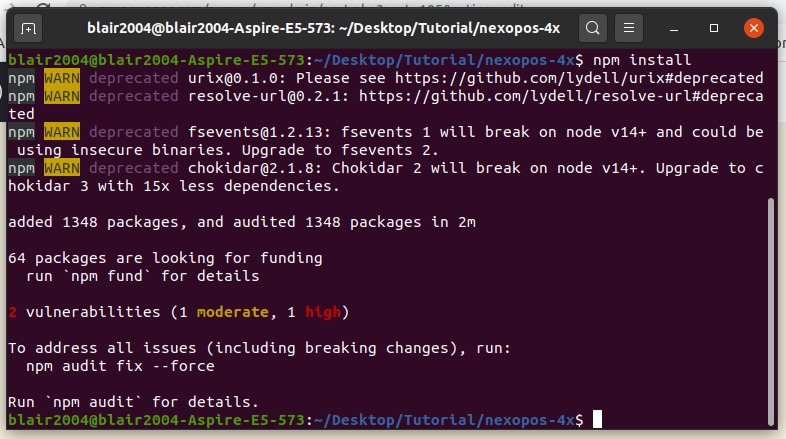
However, if you've performed some changes to the source code (.vue, .ts files), then you need to install node modules in order to build the asset. In order to download node modules, you need to run (on the same directory where the .env.example file is located) :
npm installSame as "composer install", this might take some time to download on the necessary modules. As NexoPOS 4.x uses TailwindCSS 2.0, you'll need to have Node.js 14.x at least, otherwise, the installation might fail.
Now node modules are installed. Let's build the assets by running the following command :
npm run prodThis command will build the CSS and the Javascript files using the webpack.mix.js file.
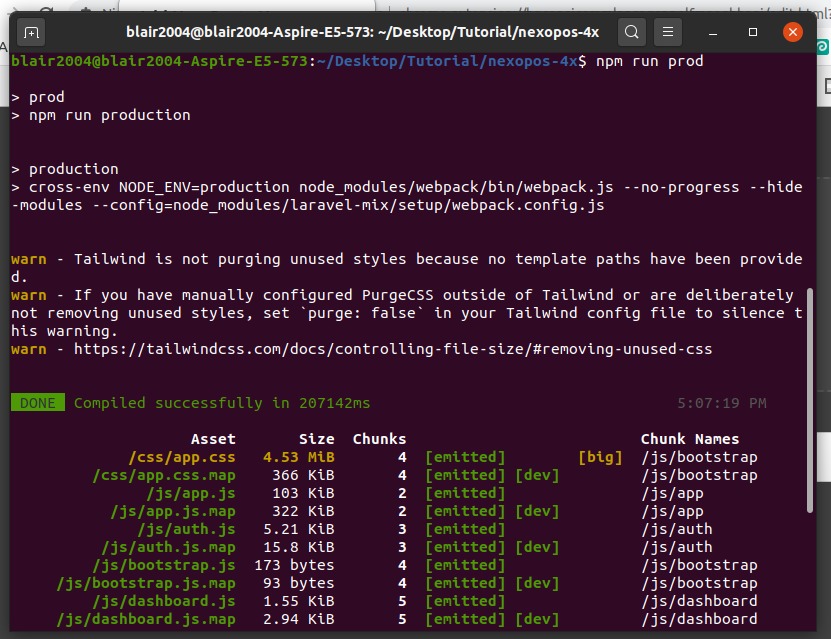
If you're able to see a similar output, you've successfully downloaded and build NexoPOS.
Defining Environment Variable
One the environment variable that needs to be defined is "SESSION_DOMAIN". In fact, NexoPOS needs to be aware of the domain where the application will be installed right before accessing the system on the browser. You, therefore, need to open the .env file located at the root of your project to define the environment variable.
SESSION_DOMAIN=yourwebsite.com
APP_URL=yourwebsite.com
If the APP_URL variable is not defined, you must define that as well. Note that "yourwebsite.com" should be the value of your actual domain. If you're installing locally, that might be: "localhost:8888", "127.0.0.1:8000". Either way, you need to define that variable before proceeding.
Next: Installation Wizard.