
WhatsApp Notification
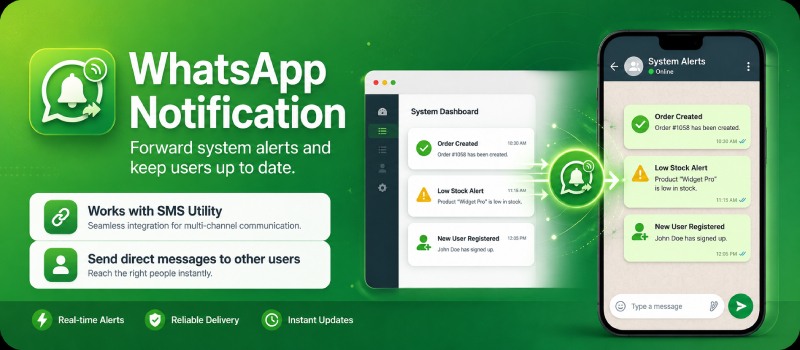
The WhatsApp Notification module allows NexoPOS to forward system notifications through WhatsApp and also send direct WhatsApp messages to users. This module currently uses Odin Cloud WhatsApp as the default provider.
Important notice: Odin Cloud WhatsApp is not an official WhatsApp provider. It relies on a WhatsApp connection linked through Odin. Use it carefully. Avoid spam, bulk abuse, or sending unwanted messages, as this may put the WhatsApp number connected to the service at risk.
1. Configure the WhatsApp Provider in NexoPOS
Open your NexoPOS dashboard and go to:
WhatsApp Notification > Settings
You should see the WhatsApp Notification Settings page.
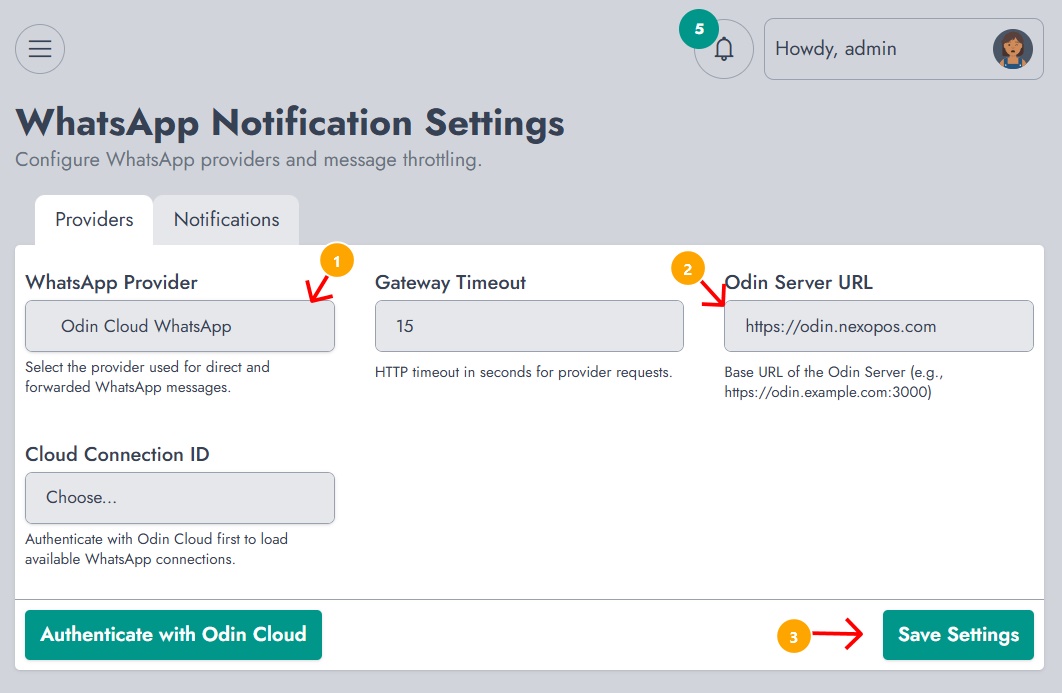
On this page, configure the following fields:
WhatsApp Provider
Select: Odin Cloud WhatsApp
This is the default provider used to send direct and forwarded WhatsApp messages.
Gateway Timeout
Set the HTTP timeout in seconds.
Example: 15
This value defines how long NexoPOS should wait when communicating with the Odin provider before considering the request as failed.
Odin Server URL
Enter the Odin server base URL.
Use: https://odin.nexopos.com
This URL is used by NexoPOS to communicate with Odin Cloud.
After configuring these fields, click:
Save Settings
2. Authenticate NexoPOS with Odin Cloud
After saving the settings, click: Authenticate with Odin Cloud
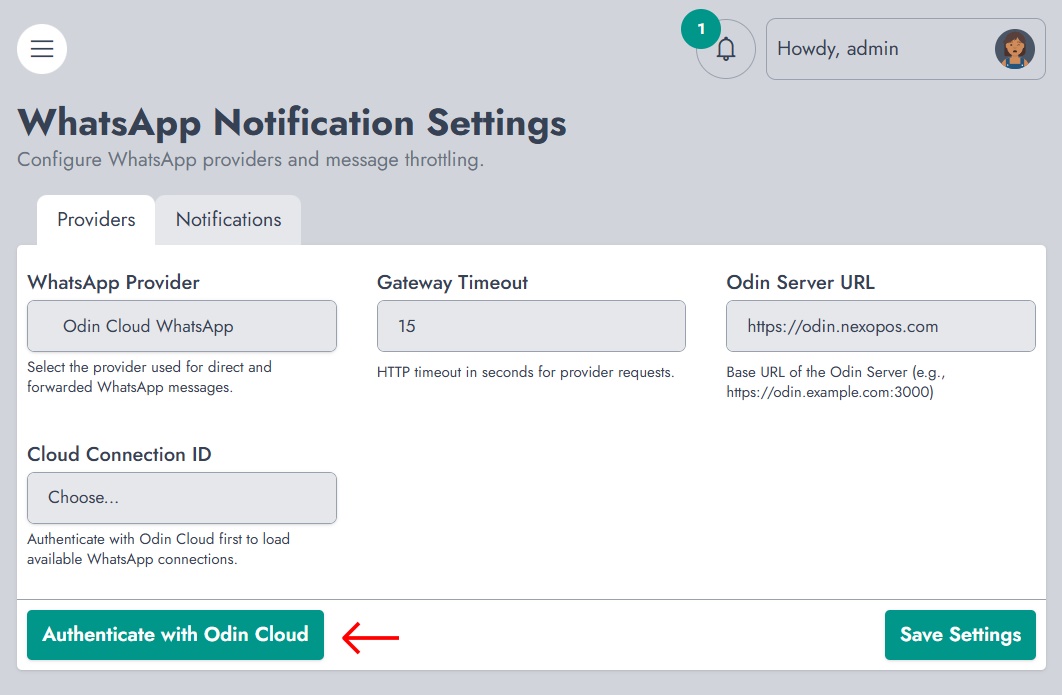
You must have an account on: my.nexopos.com
When you click Authenticate with Odin Cloud, a popup window will open and redirect you to my.nexopos.com.
If you are not already logged in, you will need to log in first.
3. Approve Access to Your NexoPOS Account
The first authorization request gives Odin permission to access your account on my.nexopos.com.
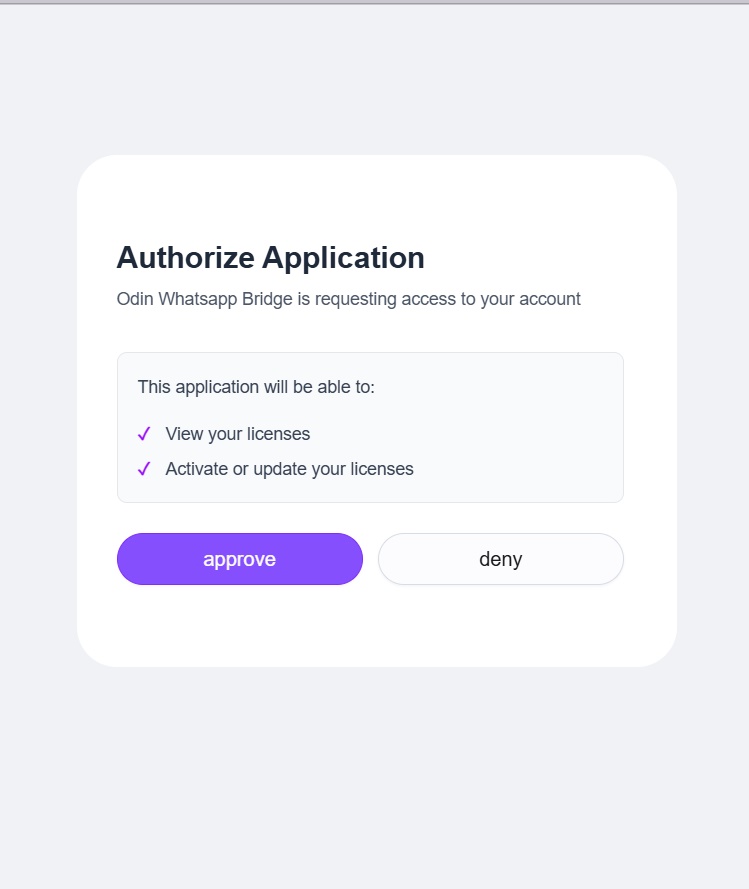
You will see an authorization screen asking you to approve the application.
Click: Approve
This allows Odin to validate your account and access the required license/account information.
4. Approve Access to Your Odin WhatsApp Connections
After the first approval, you may see another authorization request.
This second request allows NexoPOS to access the WhatsApp connections stored on Odin.
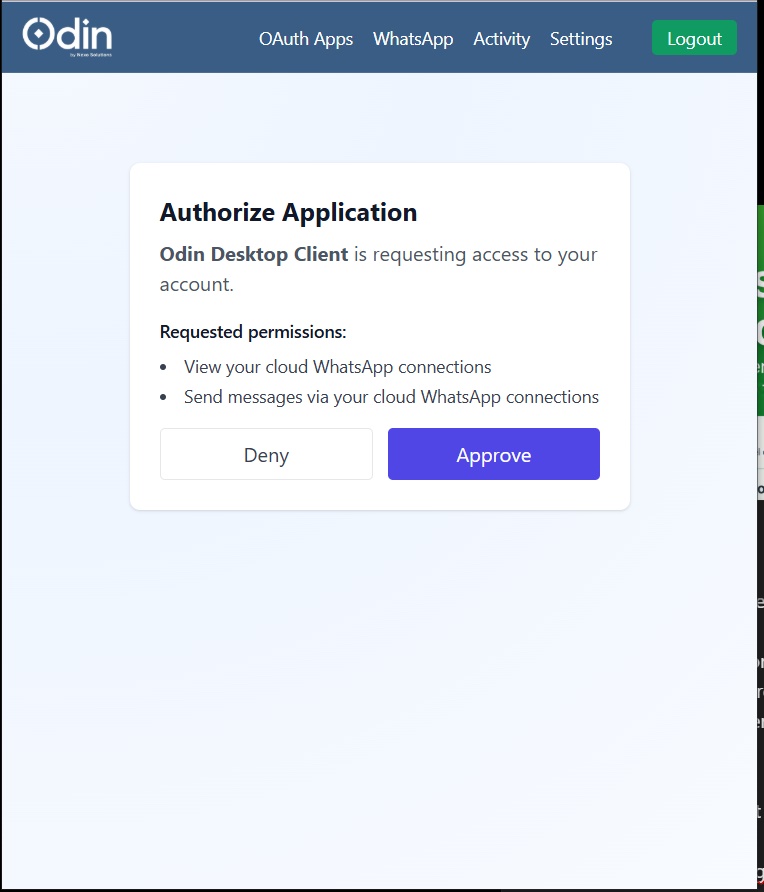
This authorization is required so NexoPOS can list and use your Odin WhatsApp connections.
Click: Approve
The requested permissions may include:
View your cloud WhatsApp connections. Send messages via your cloud WhatsApp connections
5. Confirm Odin Cloud Connection in NexoPOS
Once authentication is successful, return to the NexoPOS WhatsApp Notification settings page.
The Authenticate with Odin Cloud button should now become red and display:
Disconnect From Odin Cloud
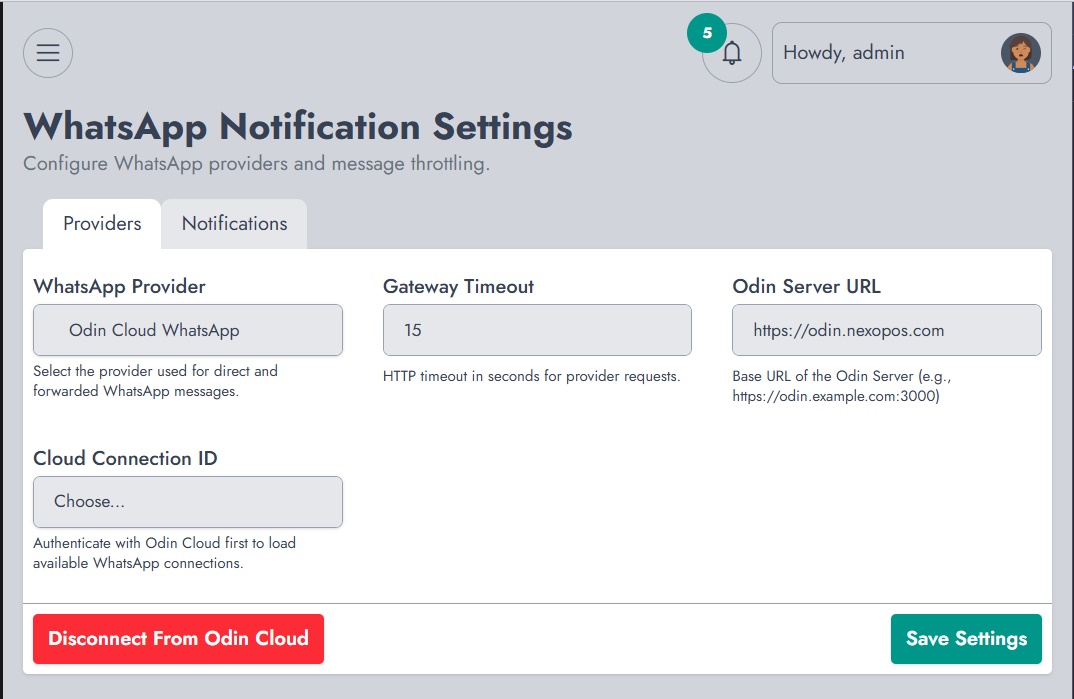
This means NexoPOS is now connected to Odin Cloud.
At this point, you still need to connect the WhatsApp account you want to use. As you have not yet created a Cloud connection, the "Cloud Connection Id" will be empty.
6. Open Odin Cloud
Go to: https://odin.nexopos.com
If you are not already logged in, Odin will ask you to log in. The login process uses your my.nexopos.com account to validate your identity.
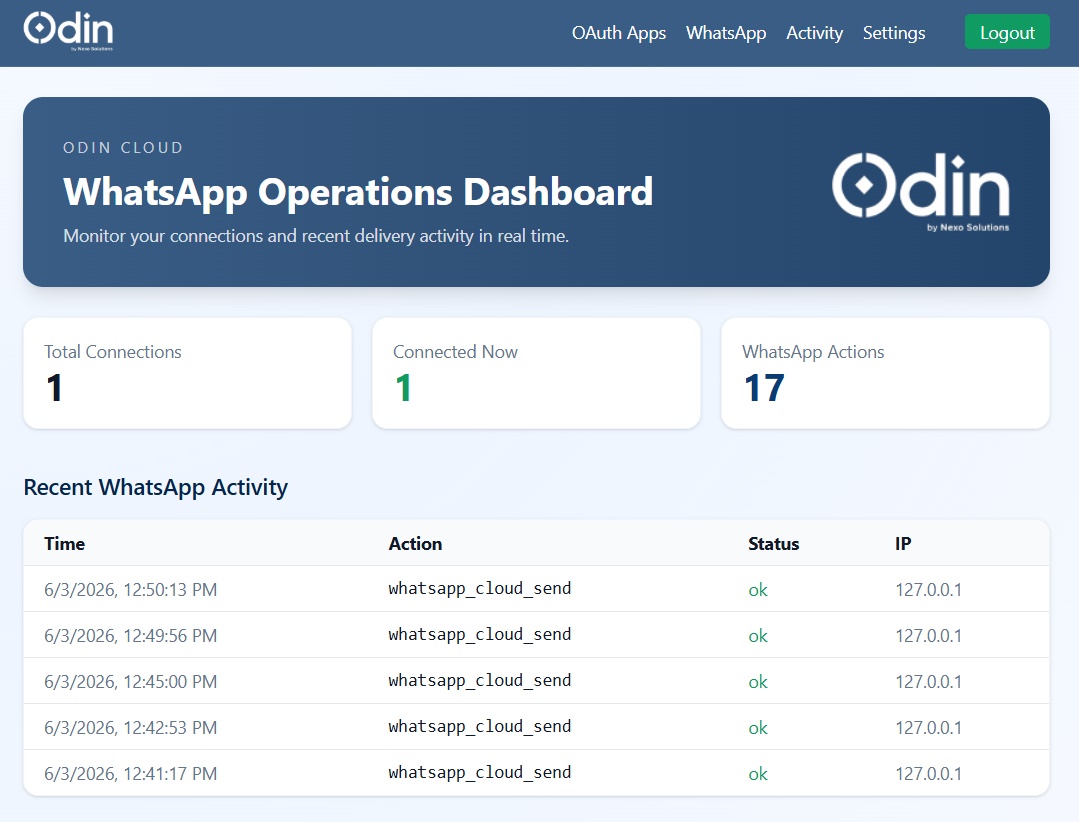
Once logged in, you should see the Odin Cloud dashboard.
7. Open the WhatsApp Section
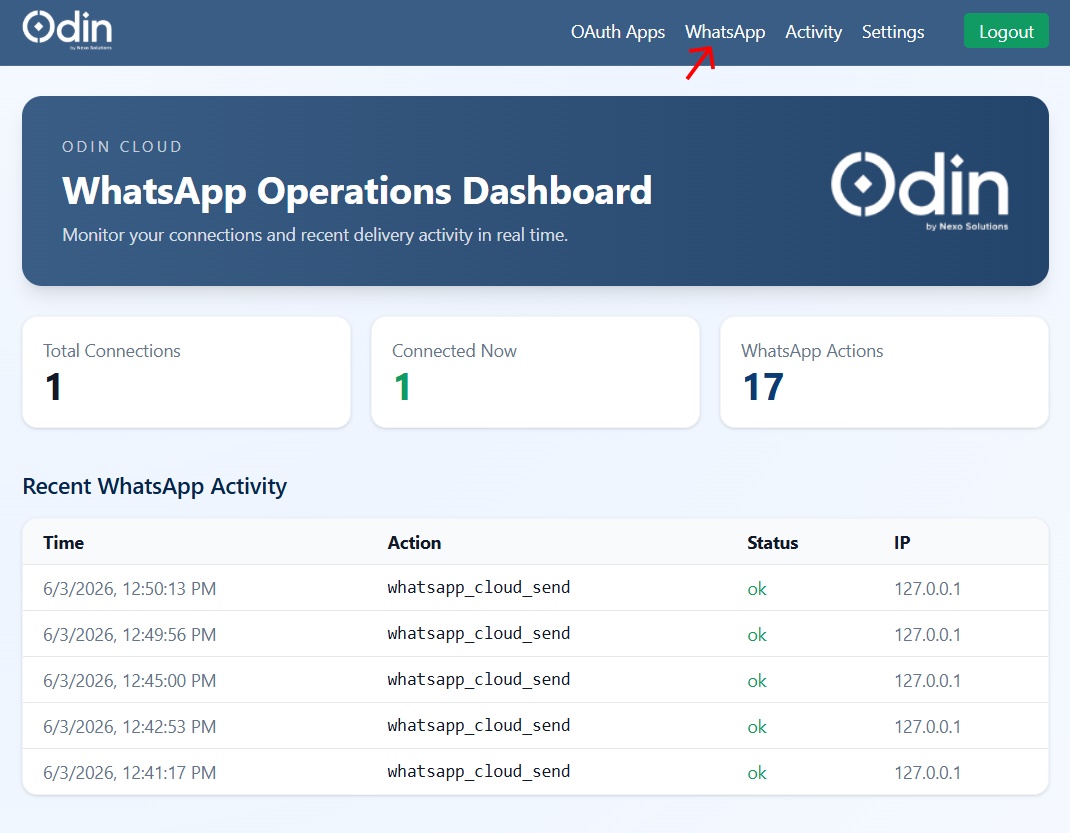
From the Odin Cloud top menu, click: WhatsApp
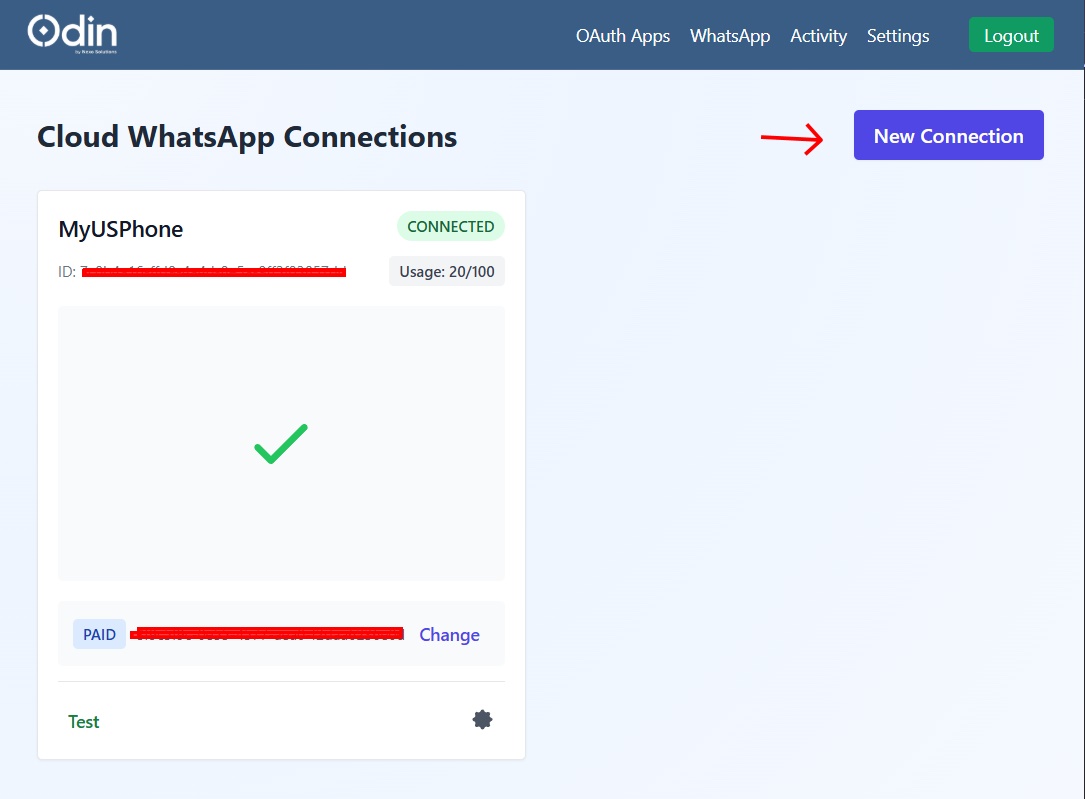
This page shows your cloud WhatsApp connections.
8. Create a New WhatsApp Connection
On the WhatsApp connections page, click: New Connection
A popup will appear asking for a connection name.
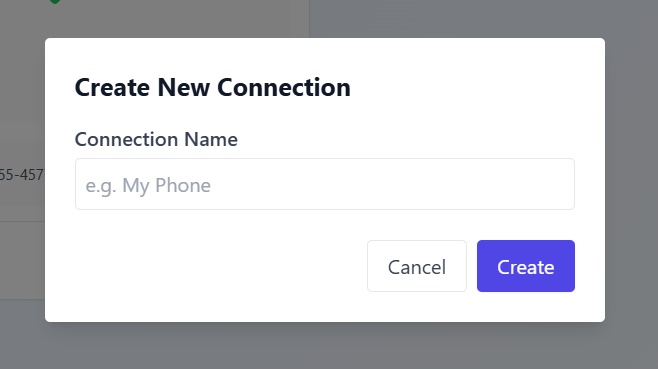
Enter a clear name that helps you identify the WhatsApp account.
Example: Shop WhatsApp or Main Business Phone
Avoid using vague names like Test if this is a production account.
Click: Create
9. Scan the QR Code with WhatsApp
After creating the connection, Odin will display a QR code.
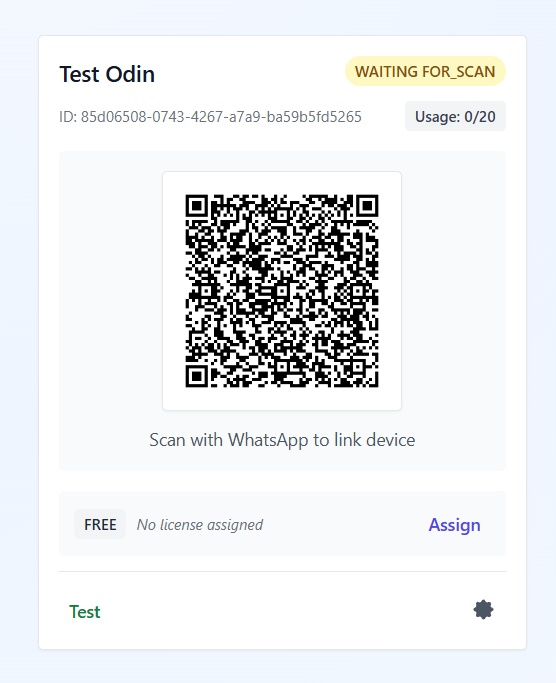
Open WhatsApp on the phone you want to connect to, then scan the QR code.
The phone should preferably be a business or dedicated WhatsApp account.
It is not recommended to connect a personal WhatsApp account, especially if the number is important to you.
Once the connection succeeds, Odin will show a green check icon.
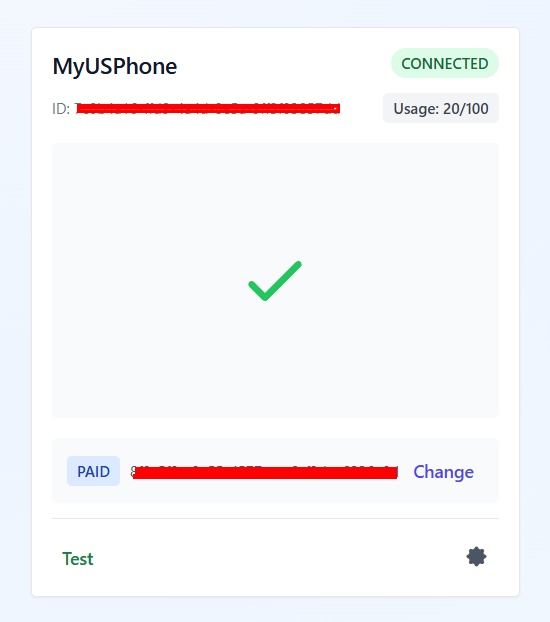
This confirms that the WhatsApp account is connected and ready.
10. Understand Free and Paid Usage Limits
Odin provides both a free and paid tier.
Free Tier
The free tier allows you to send up to:
10 messages per day
This is useful for testing the service or sending a small number of messages.
Paid Tier
The paid tier allows up to:
100 messages per day
This limit can be adjusted on demand depending on your needs.
To unlock the paid usage limit, you need to assign your WhatsApp Notification license to the Odin connection.
11. Assign Your WhatsApp Notification License
On the WhatsApp connection card, click:
Assign
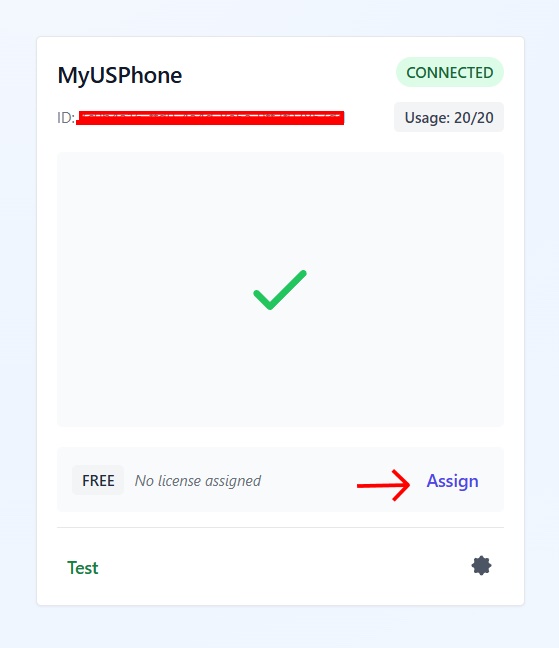
A popup will appear with the available licenses.
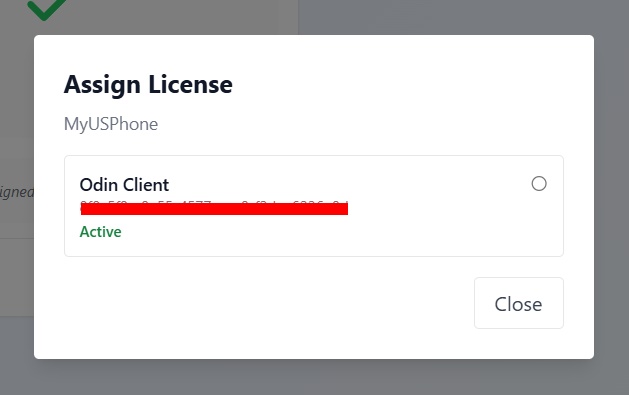
Select the appropriate WhatsApp Notification license.
After assigning the license, the connection will use the paid tier limit.
You should now see the connection marked as licensed.
12. Return to NexoPOS Settings
Go back to your NexoPOS dashboard.
Open: WhatsApp Notification > Settings
The Odin connection should now be available in the Cloud Connection ID field.
Select the WhatsApp connection you want NexoPOS to use.
Then click: Save Settings
This tells NexoPOS which Odin WhatsApp connection should be used for sending notifications and messages.
13. Send a Test Message
To test the service, open:
WhatsApp Notification > Send Message
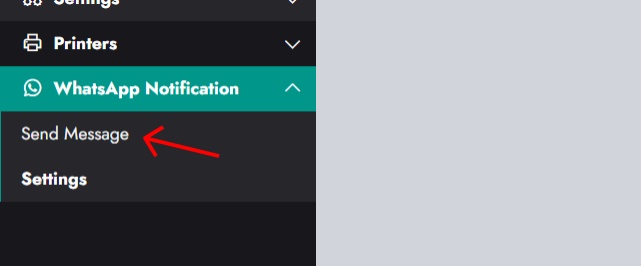
You will see the Send Message page.
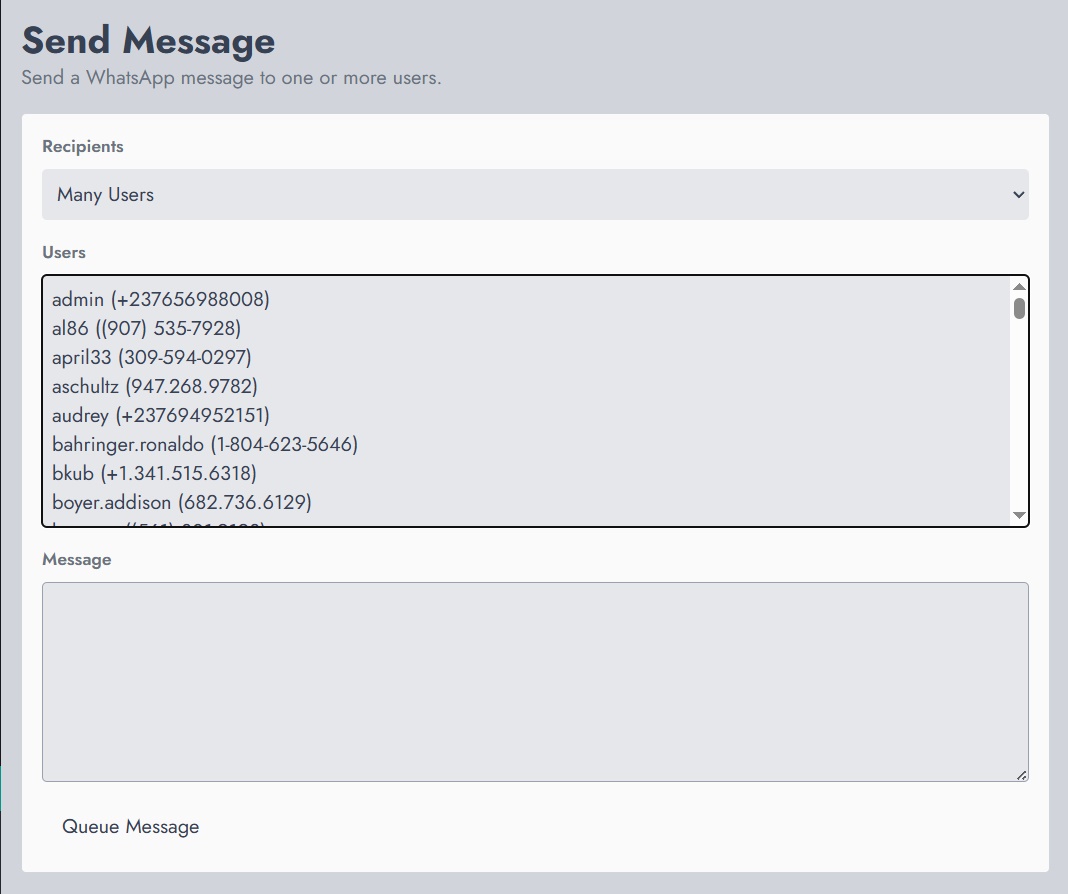
From this page, you can send WhatsApp messages to:
One userMultiple usersAll users with a valid phone number
Select the recipient mode, choose the users if necessary, write your message, then click:
Queue Message
The message will be queued and sent using the selected Odin WhatsApp connection.